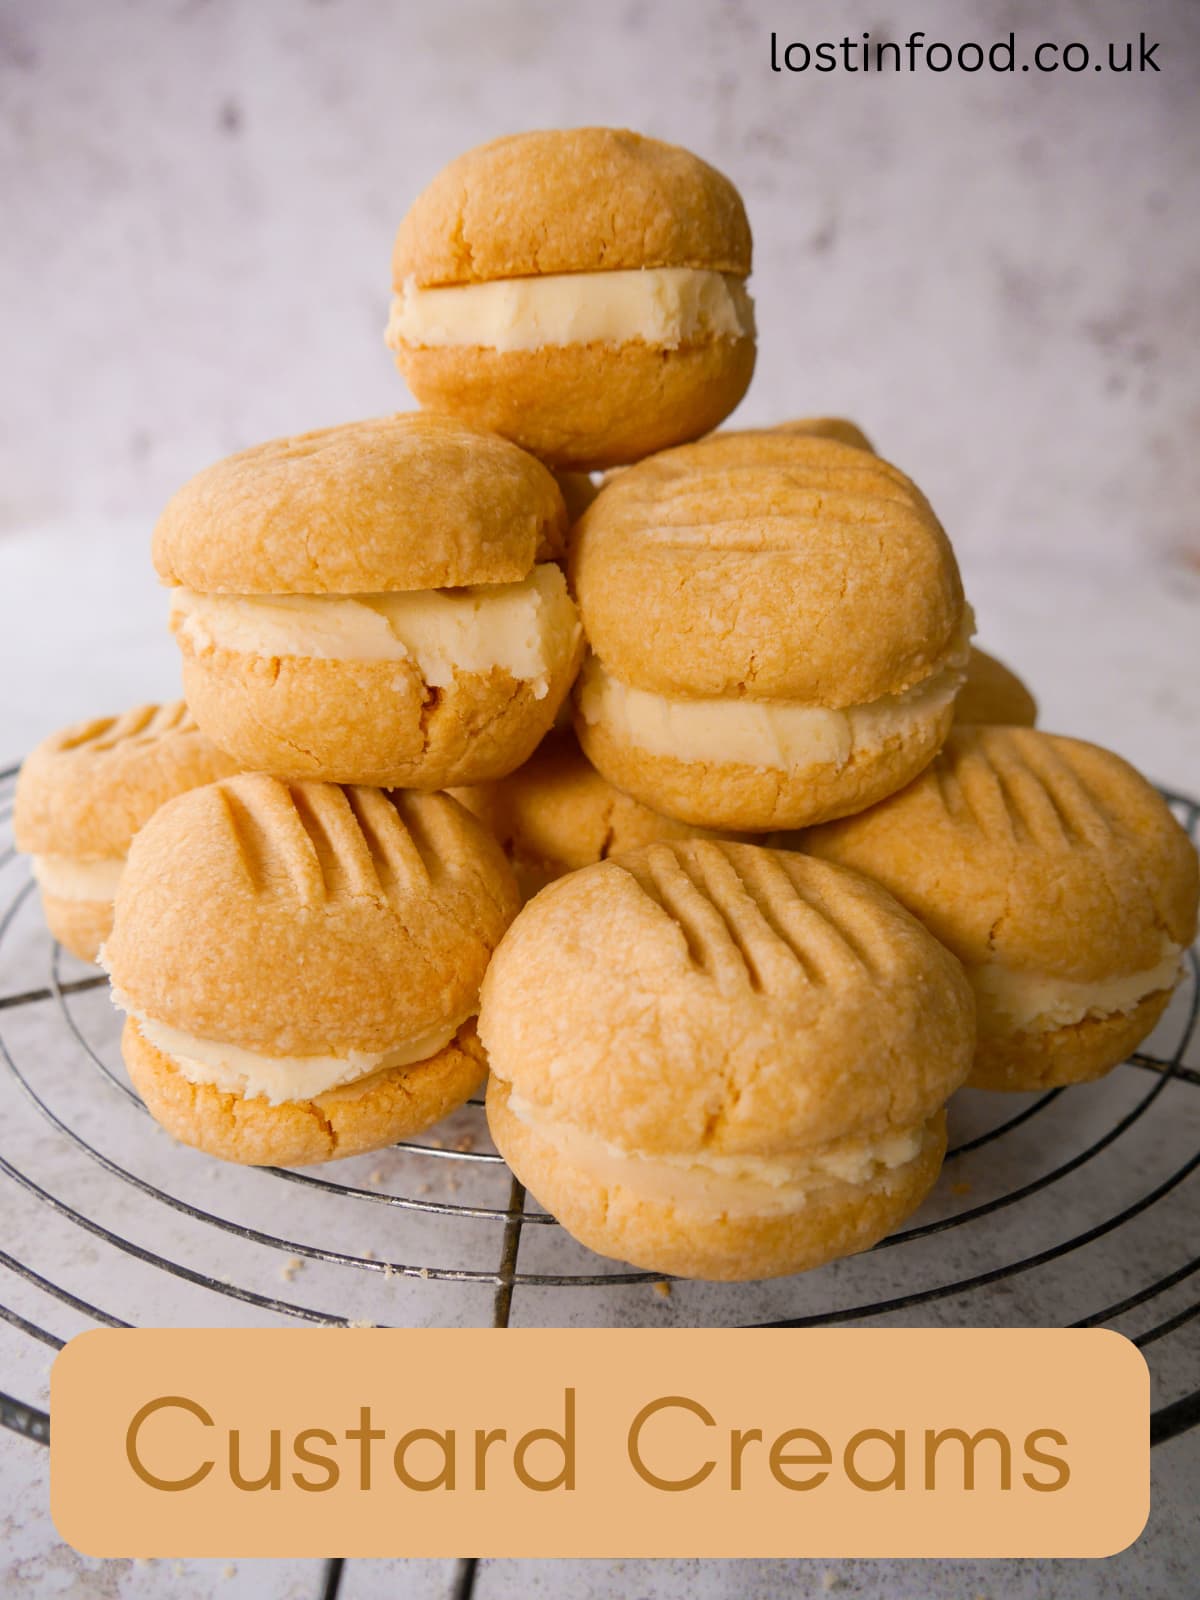
Custard creams are a great simple bake and one I put on here at the request of my daughters who love to bake them. They are quick to bake making them an ideal recipe when baking with young children.
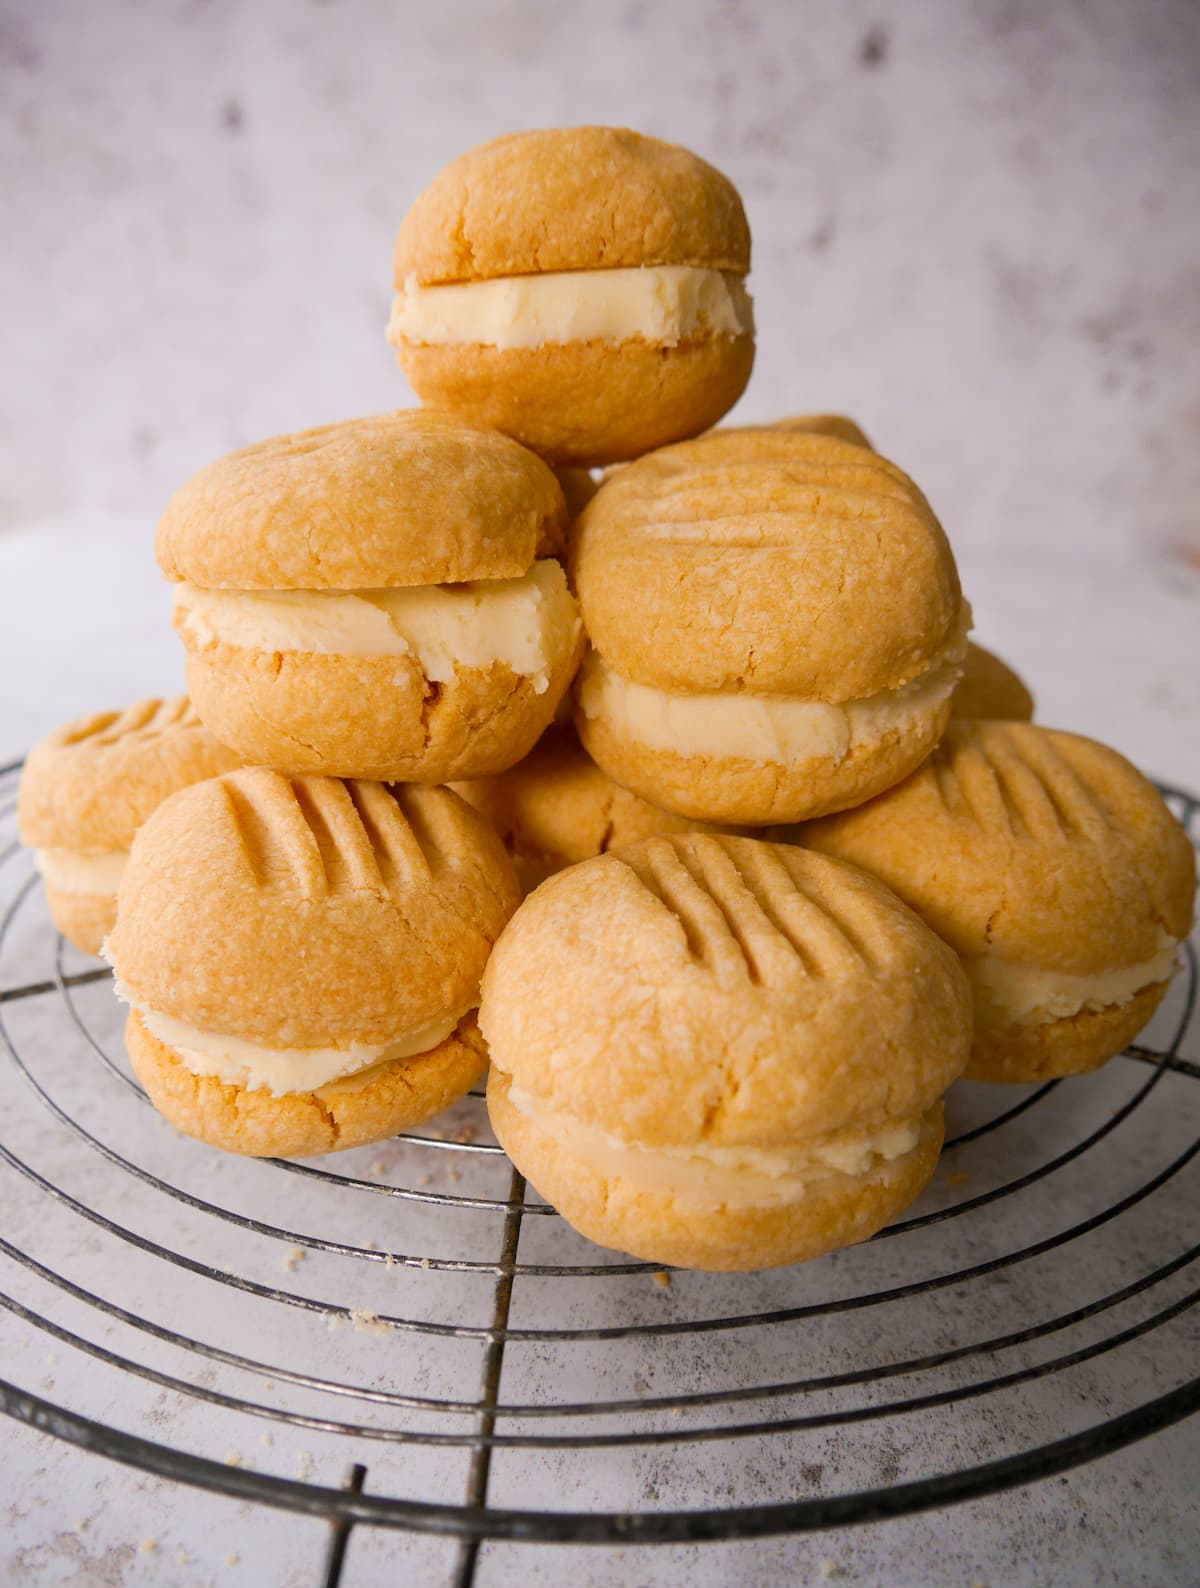
This easy custard cream recipe is a family favourite recipe. I used to bake them as a child and now bake them with my own kids. I can rarely resist this simple biscuit, crumbly with a sweet buttercream filling, perfection!
There isn't much to these classic custard cream biscuits, they are a quick bake with few ingredients. However, I do love eating these crumbly biscuits, far more so than the shop bought equivalent which I don't actually like.
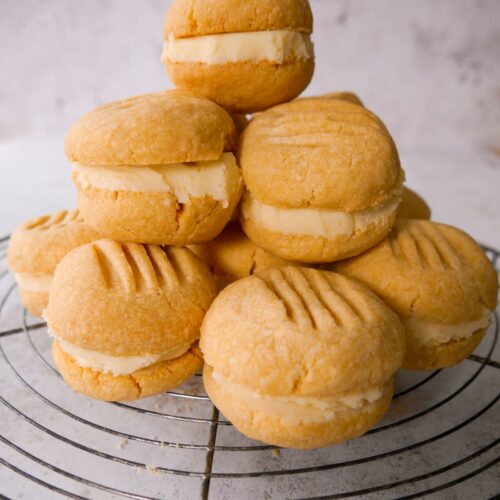
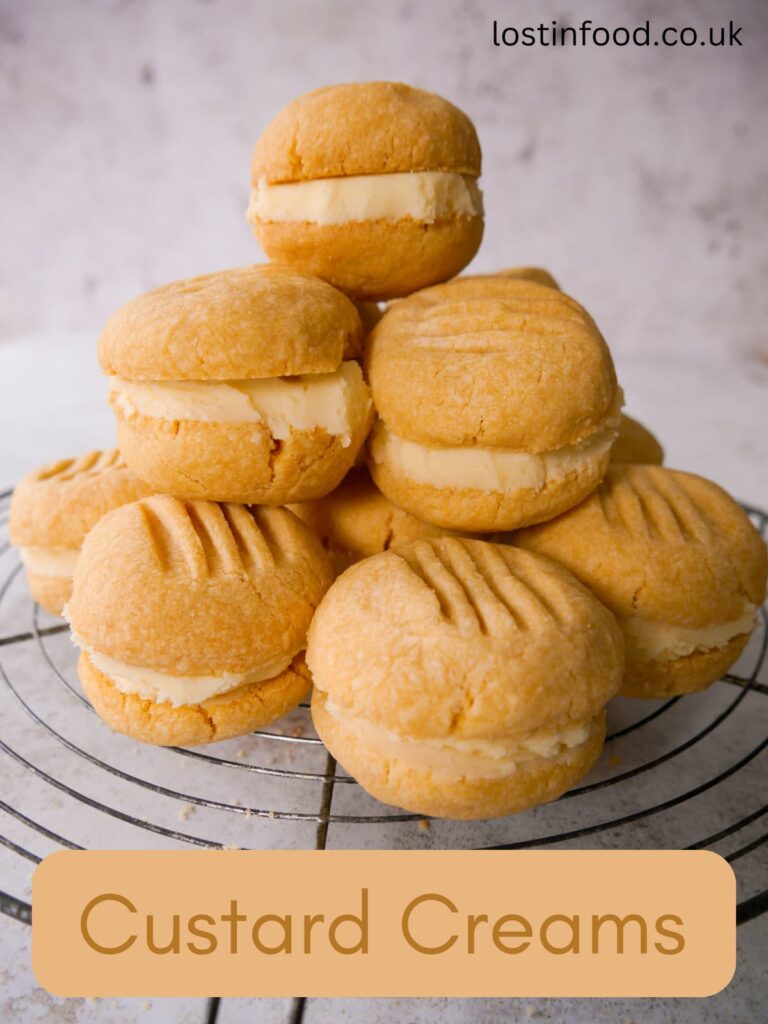
This classic custard cream recipe is my Mum's, she made these for bake sales and coffee mornings. You can buy cutters and stamps to make these biscuits, but I find it just as easy to roll the dough into balls, and press down lightly with a fork to form a biscuit shape. I've been making them this way for years.
Why you'll love this recipe
- An easy bake, ideal for baking with children and grandchildren. These biscuits are the perfect bake for a child looking to bake something on their own with minimal supervision.
- A light and crumbly biscuit that is great with a cup of your favourite brew.
- Uses only 4 simple ingredients most of you will have in your stores at home.
Recipe ingredients
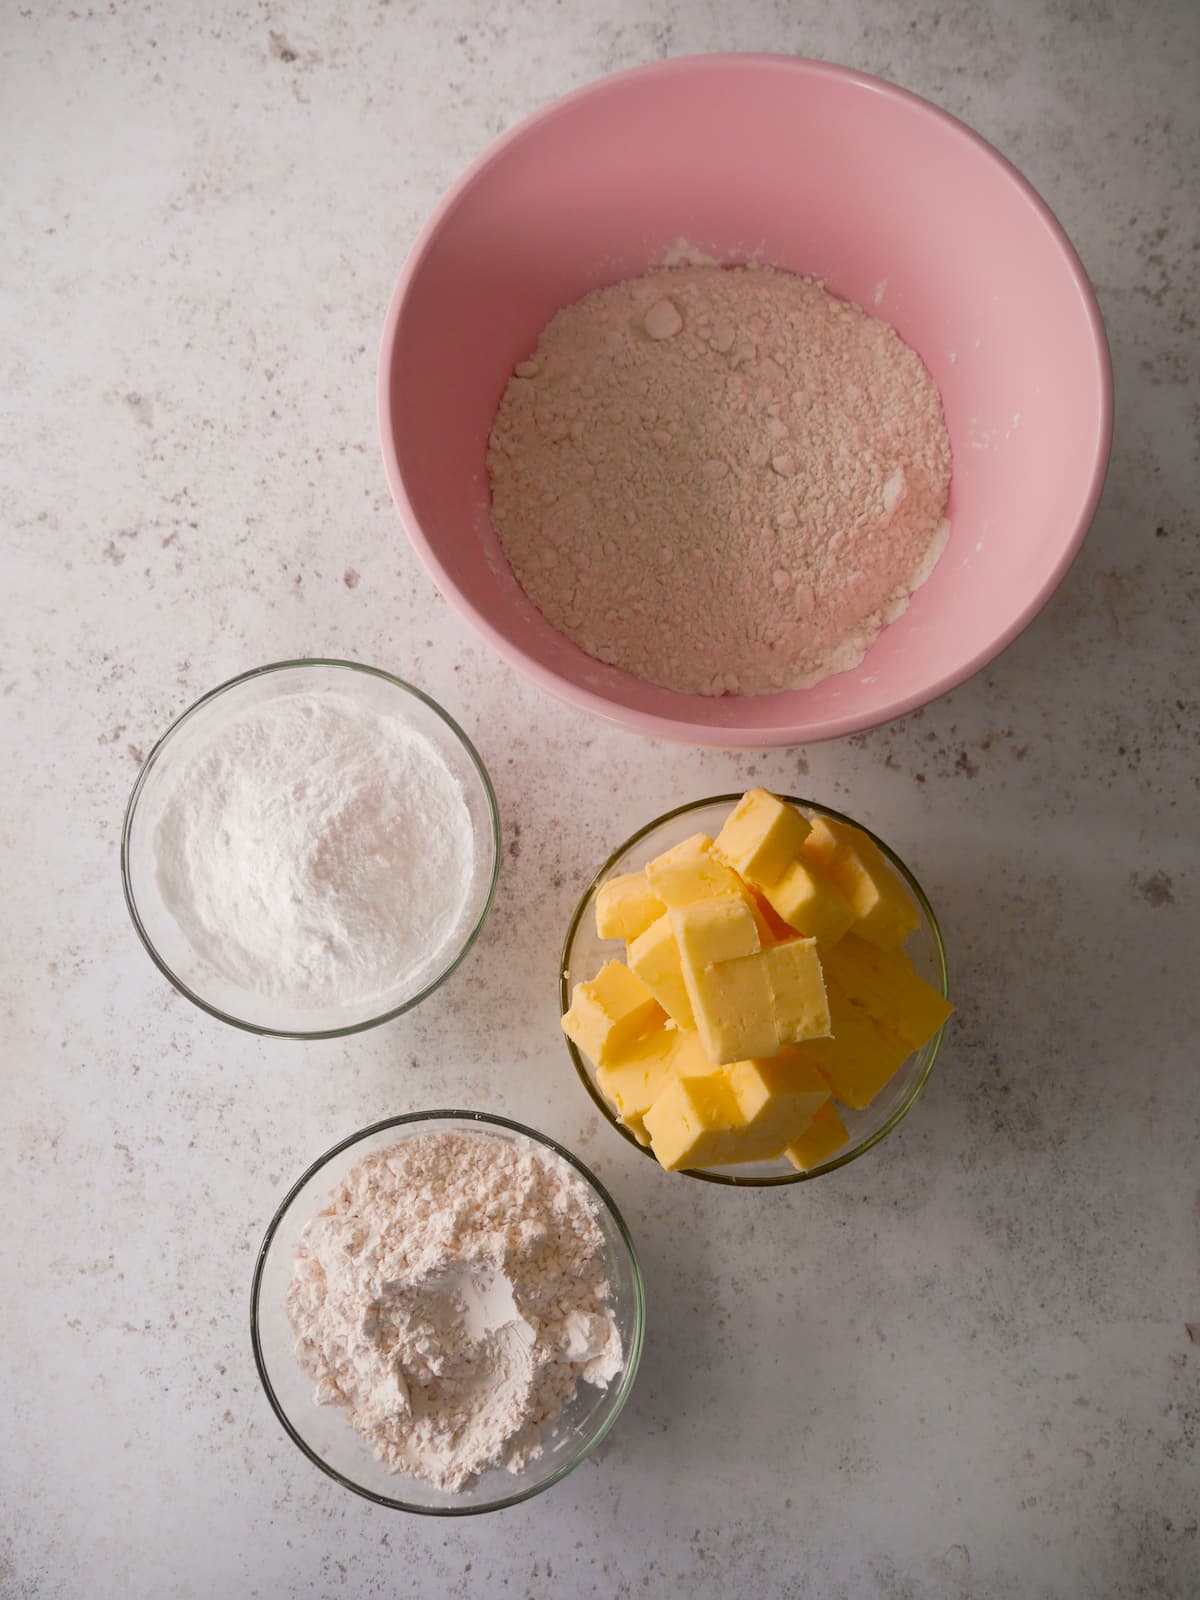
- Butter: I use butter in both the biscuit and in the buttercream filling. You can use salted or unsalted butter, whichever you have to hand.
- Sugar: this recipe uses icing sugar (powdered sugar) both in the biscuit and the buttercream filling.
- Custard powder: use any brand of custard powder in this recipe. I like to use Birds custard powder which gives these biscuits their lovely lemon colour.
- Flour: I use self raising flour to make the biscuits.
How to make custard creams
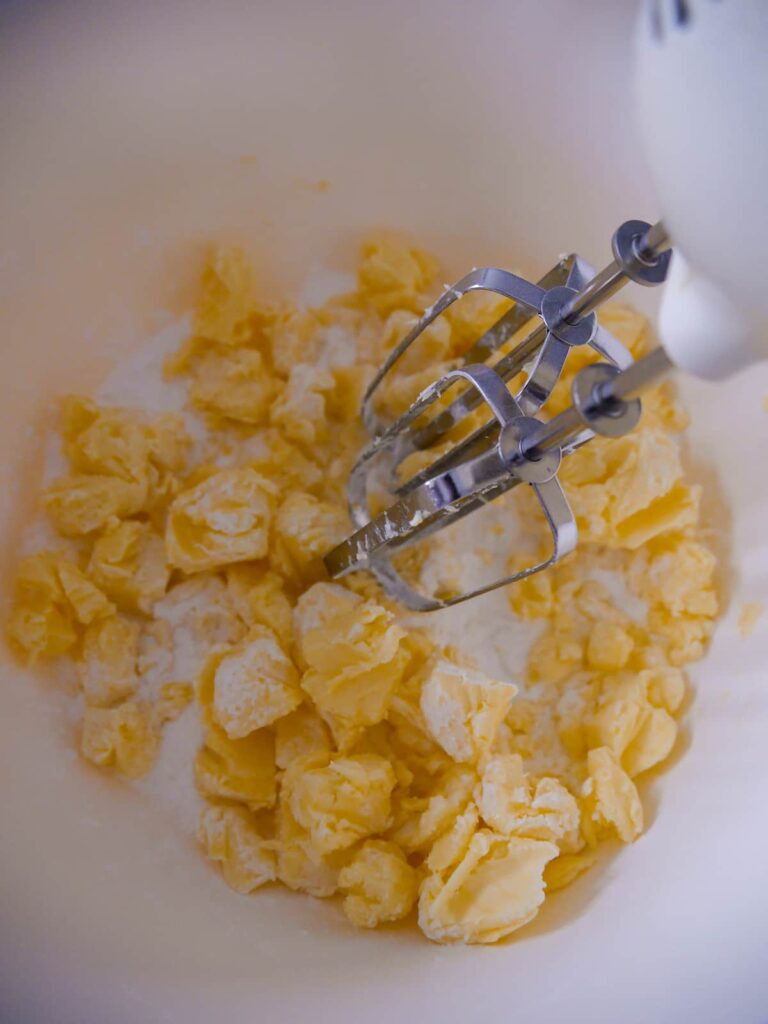
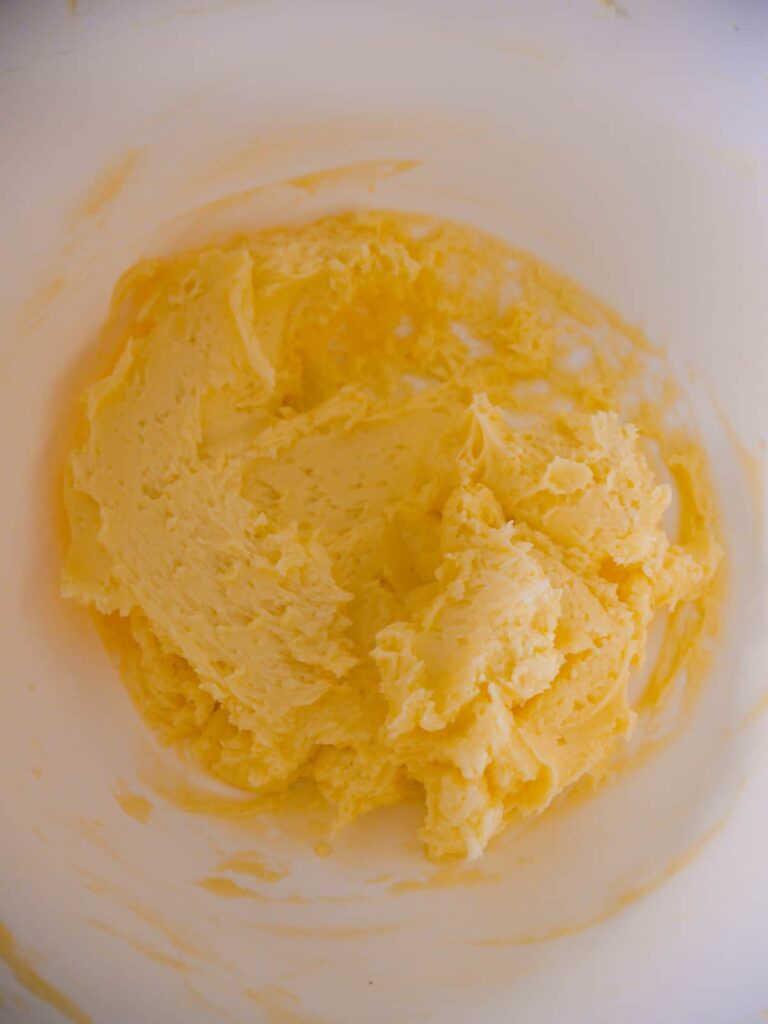
- Cream together the icing sugar and butter until soft and well combined.
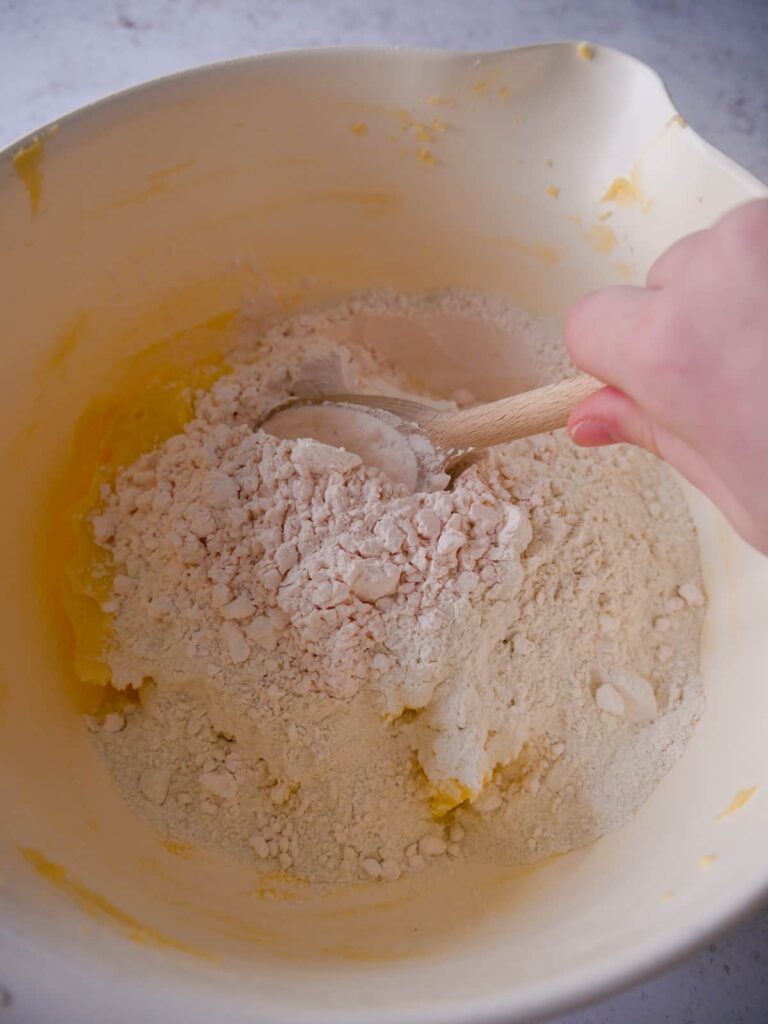
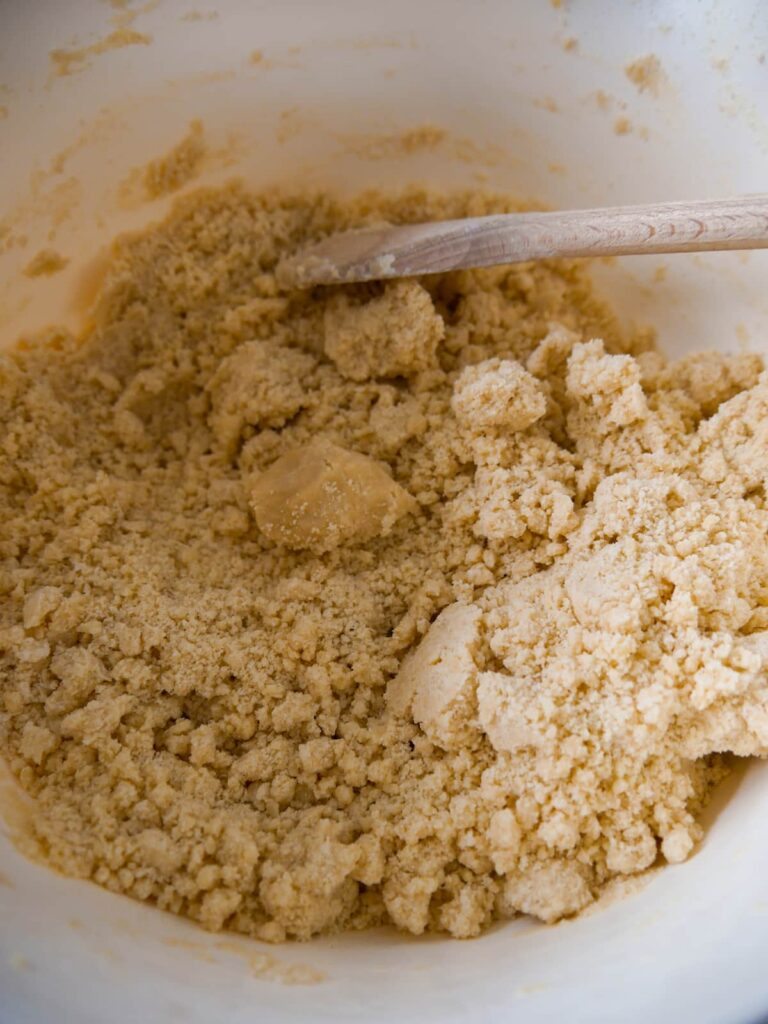
- Stir through the custard powder and the flour. This should form a stiff ball of well combined dough, take care not to overwork the dough, only work it enough to bring it together.
- Line a baking sheet with parchment paper or a silicone mat.
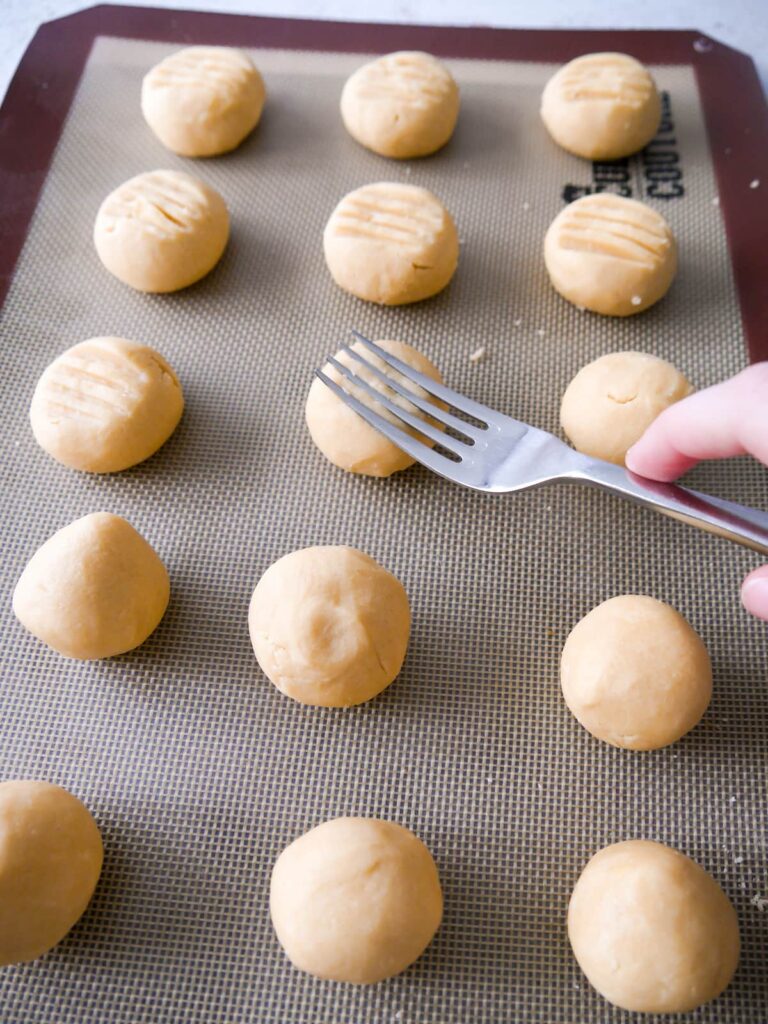
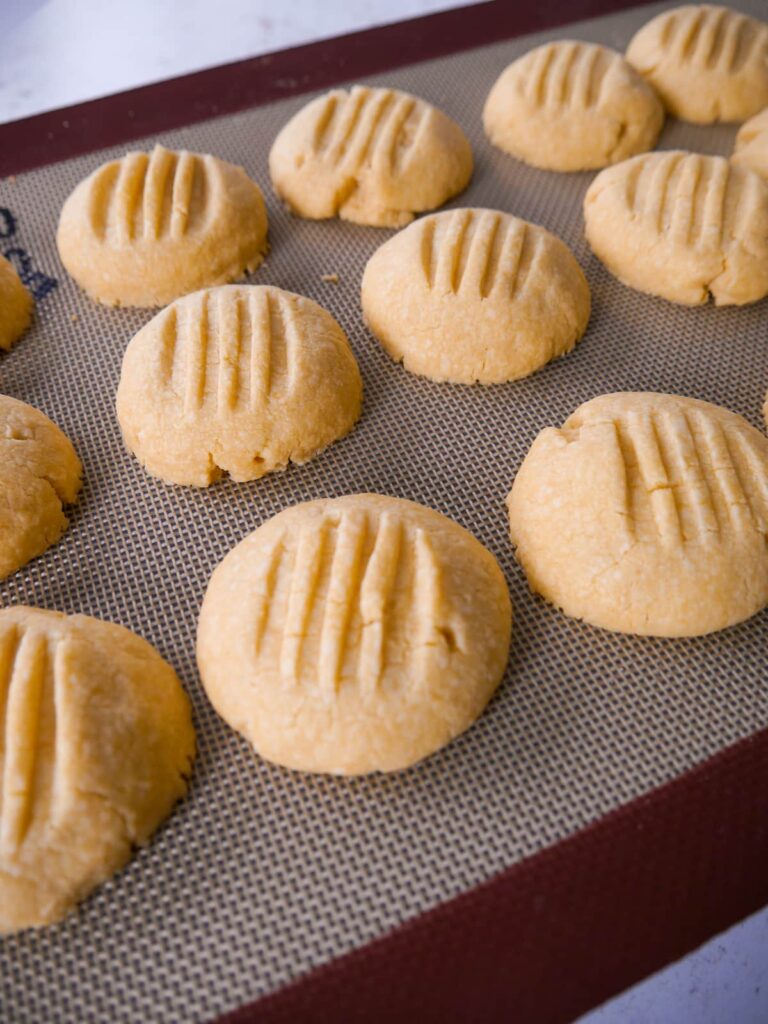
- Take a teaspoon of the dough and roll it into a ball and place it on a baking sheet. Use a fork to gently press down the top of each ball of dough - don't press too hard.
- Leave sufficient space between each ball to allow the biscuits to spread in the oven.
- When done place the custard creams into an oven at 180C/160CFan/355F for 12-15 minutes. The biscuits are baked when just cooked and firm to touch.
- Remove from the oven and place the biscuits on a wire rack to cool.
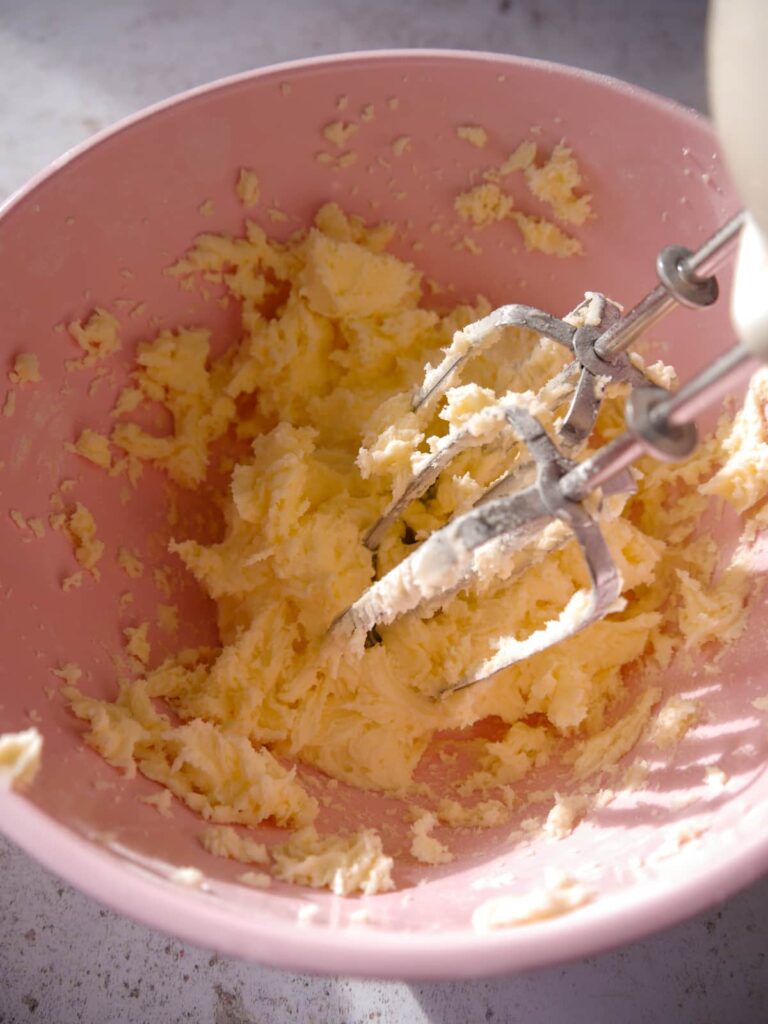
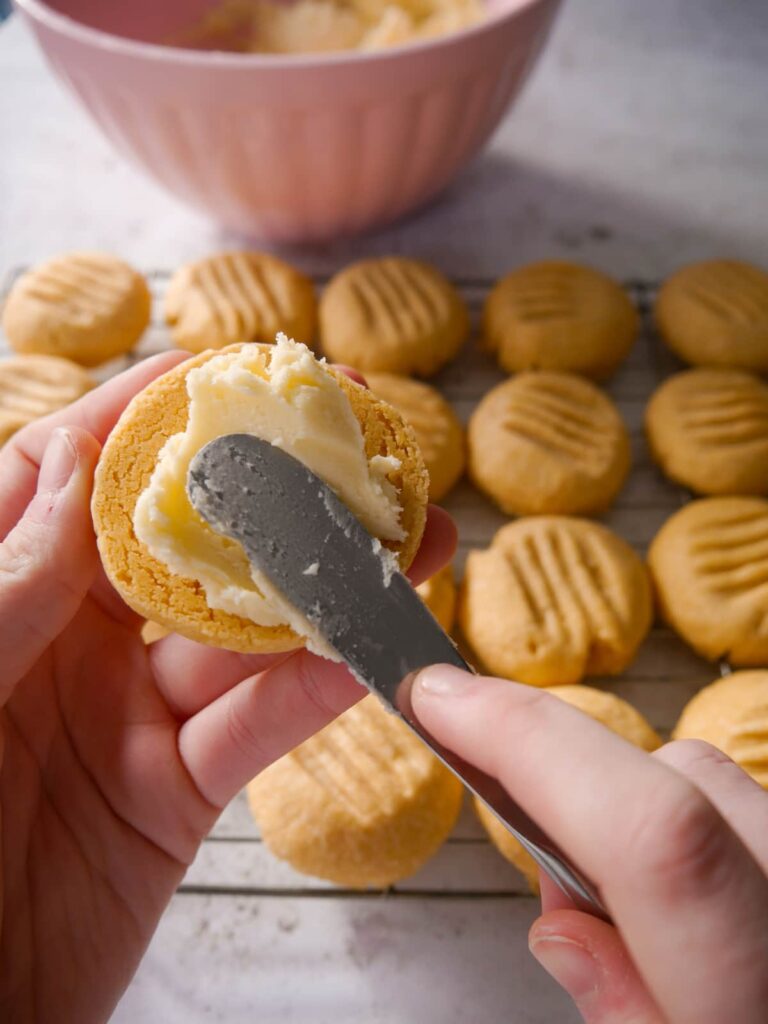
- Meanwhile mix together the icing sugar and butter to make the butter icing.
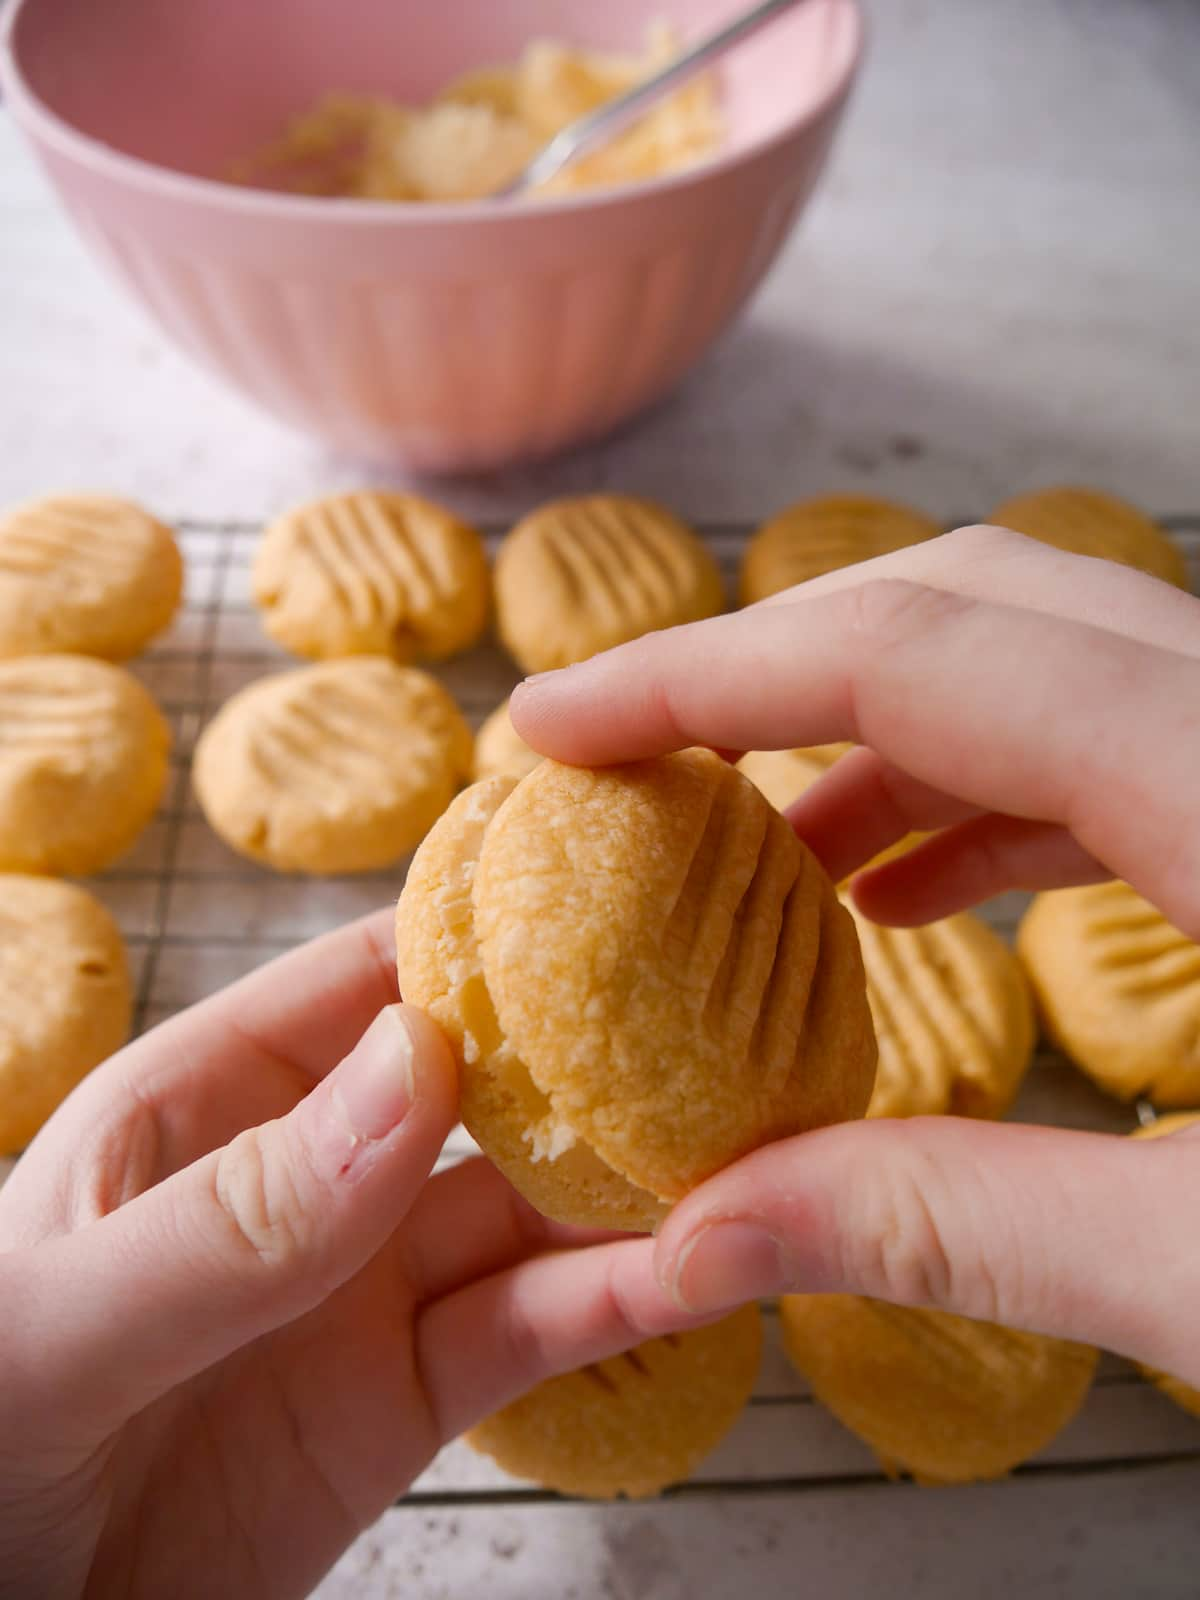
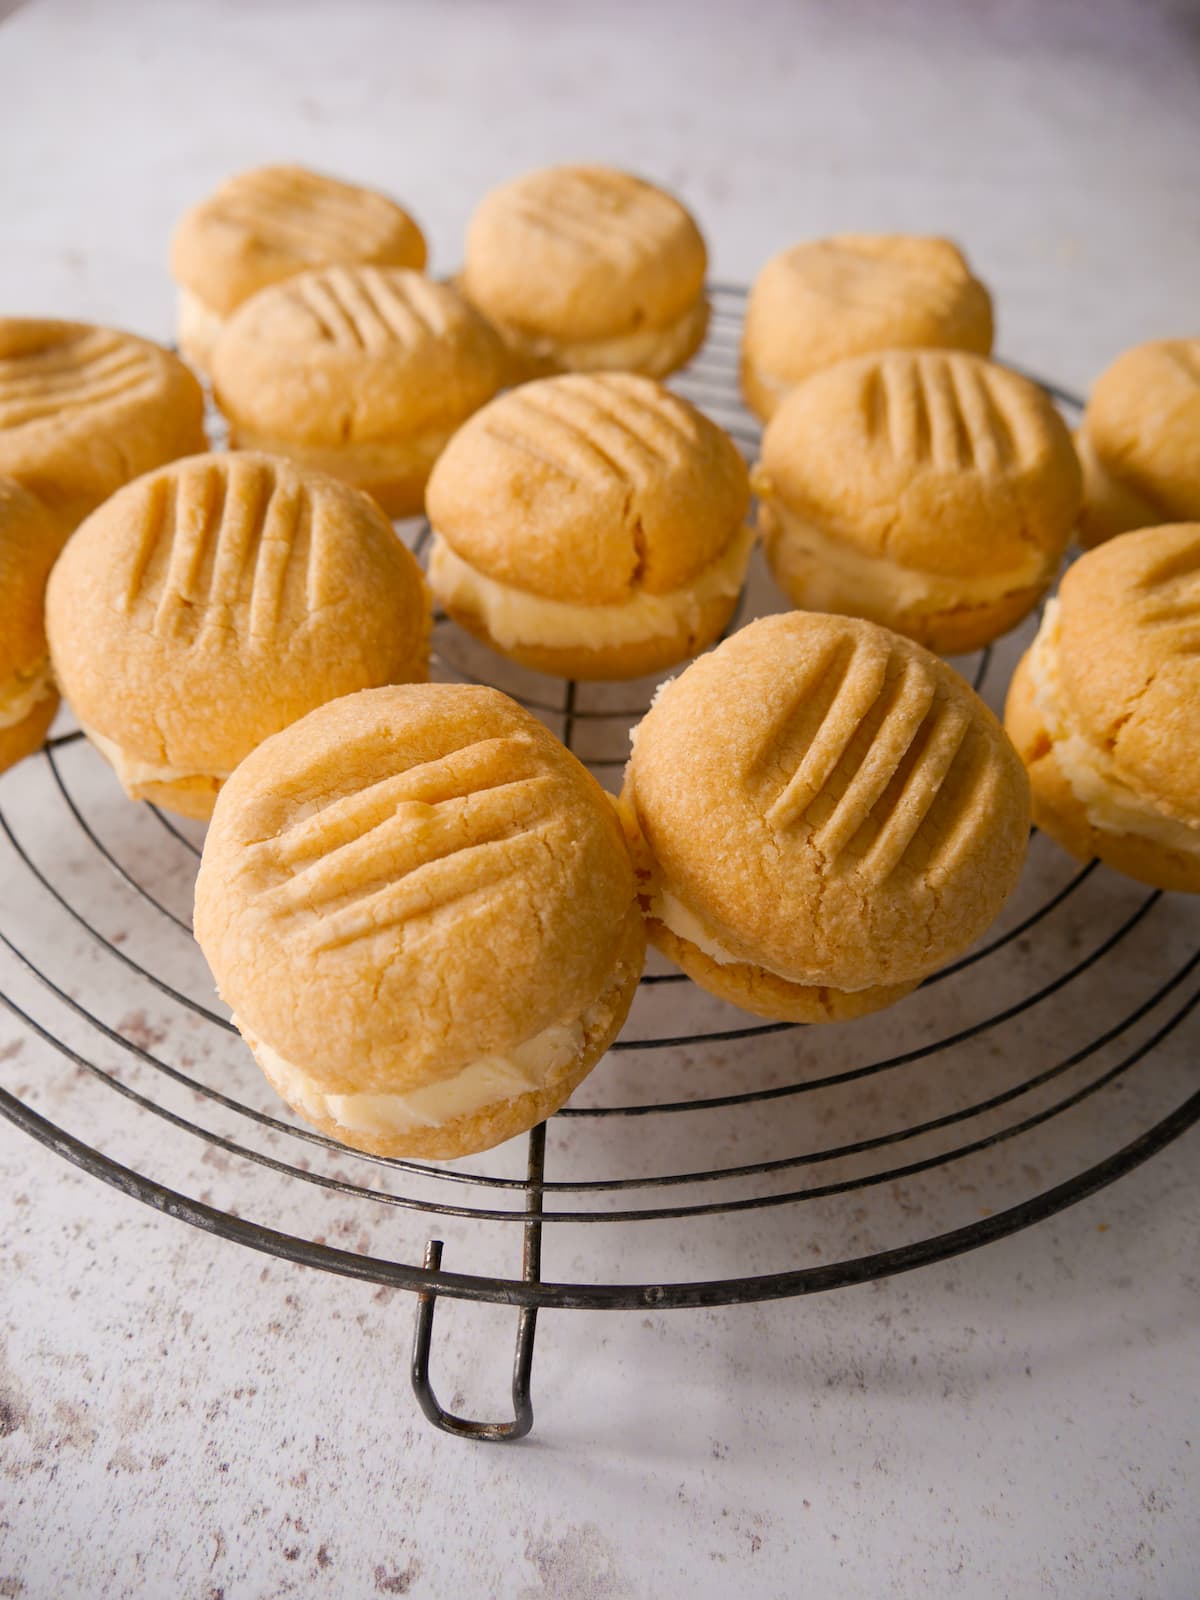
- Once the biscuits have cooled spread some butter icing between two biscuits and allow to the icing to set. Store the sandwiched biscuits in an air-tight container.
Recipe variations
- Add a teaspoon of vanilla extract to the buttercream mixture if you wish.
- Make chocolate buttercream by swapping some of the icing sugar for cocoa powder.
- If the buttercream feels too thick, add a teaspoon or two of milk to loosen it.
- To make vegan custard creams swap the butter in the biscuit and the buttercream for a plant based alternative.
Useful hints and tips
- Take the butter out of the fridge 1 hour before you plan to bake, and allow the butter to soften. This will make it a lot easier to work with when creaming the butter and sugar together both for the biscuits and the buttercream filling.
- Don't overwork the biscuit dough or you will end up with a tough biscuit. Mix it only to bring the dough together, then gently roll into balls ready for baking.
- Don't press down too hard with the fork when making the biscuit shapes, just enough to press down a little as the biscuits will spread in the oven.
- To make vegan custard creams swap the butter for a plant based butter in both the biscuits and the buttercream.
- Allergy advice: egg free, soya free and nut free. For comprehensive and detailed allergy advice go to Allergy UK.
FAQs
Store in an airtight container for a 2-3 days, although they will start to soften a little the longer they are stored.
Rather than freezing the whole biscuit, I suggest baking the biscuits, cooling them then freezing them in a suitable box or container so they don't get knocked around in the freezer. I would then defrost when ready to eat, and make the butter icing at that point to sandwich them together.
Whilst most custards contain egg, custard powder does not. I always use Birds custard powder which does not contain egg. Instead it uses cornstarch as it's base ingredient for thickening.
Pin the recipe
Additional recipe suggestions
If you like this recipe then why not try some of my favourite easy bake recipes:
- Chocolate & Hazelnut Cookies
- Date Oat Cookies with Ginger
- Simple Orange Biscuits
- No-bake Chocolate Tiffin
- No-bake Mars Bar Slice
- Easy Bake Melting Moments
- Chocolate & Pecan Brownies
These are all great simple recipes for a days baking with kids. If you have enjoyed this bake have a look at my Fun Baking with Kids post, full of great recipe suggestions, hint and tip for baking with your children.
Custard Creams
Equipment
- mixing bowl
- Wooden spoon
- Electric hand whisk
- Measuring scales
- Baking sheet
- Parchment paper or silicone liner
Ingredients
- 340 g butter (softened)
- 115 g icing sugar
- 115 g Birds custard powder
- 340 g self raising flour
Buttercream
- 140 g butter (softened)
- 285 g icing sugar
Instructions
- Cream together the icing sugar and butter until soft and well combined.
- Stir through the custard powder and the flour. This should form a stiff ball of well combined dough, take care not to overwork the dough, only work it enough to bring it together.
- Line a baking sheet with parchment paper or a silicone mat.
- Take a teaspoon of the dough and roll it into a ball and place it on a baking sheet. Use a fork to gently press down the top of each ball of dough - don't press too hard.
- Leave sufficient space between each ball to allow the biscuits to spread in the oven.
- When done place the custard creams into an oven at 180C/160CFan/355F for 12-15 minutes. The biscuits are baked when just cooked and firm to touch.
- Remove from the oven and place the biscuits on a wire rack to cool.
- Meanwhile mix together the icing sugar and butter to make the butter icing.
- Once the biscuits have cooled spread some butter icing between two biscuits and allow to the icing to set. Store the sandwiched biscuits in an air-tight container.
Notes
- Take the butter out of the fridge 1 hour before you plan to bake, and allow the butter to soften. This will make it a lot easier to work with when creaming the butter and sugar together both for the biscuits and the buttercream filling.
- Don't overwork the biscuit dough or you will end up with a tough biscuit. Mix it only to bring the dough together, then gently roll into balls ready for baking.
- Don't press down too hard with the fork when making the biscuit shapes, just enough to press down a little as the biscuits will spread in the oven.
- To make vegan custard creams swap the butter for a plant based butter in both the biscuits and the buttercream.
• Please note that the nutrition information provided above is approximate and meant as a guideline only •

Chloe says
Loved these, I've always been put off trying to make them at home because I don't have any fancy cookie stamps but these more freeform ones were so easy and tasted just as good as flat ones. Actually they taste better!
Lesley says
I couldn't agree more Chloe, I actually err away from using cookie stamps as all it does is make the dough dense. Lightly handled and shaped by hand results in a far crumblier biscuit.
Sarah-Jane says
Our 9 year old daughter wanted to bake by herself so apart from helping with oven she followed this recepie to the letter and they turned out fantastic so when her dad mentioned baking for Macmillan coffee morning at his office she jumped at the chance to bake them again. She got lovely feedback from dad's work, so again thank you for this recepie which has now become part of our family memories as our daughter's first solo bake.
Lesley says
Thank you very much Sarah-Jane that’s lovely to hear and I’m delighted they were such a success. I love to see kids baking and becoming confident in the kitchen. It’s a family favourite bake of mine. Made them since childhood and now my kids bake them. Lesley x
Jacqui Bellefontaine says
yes please I will try these. They look fab.
I finally started my blog because my boys were both living away from home and starting to ask for recipes. You are right it is the future.
Lesley says
Thank you Jacqui, to be honest my blogging buddy Michelle and I started this blog with the purpose of writing down all those recipes that we had swimming around in our heads, or written on half scribbled notes of papers. It's a lovely way to share recipes. Lesley x