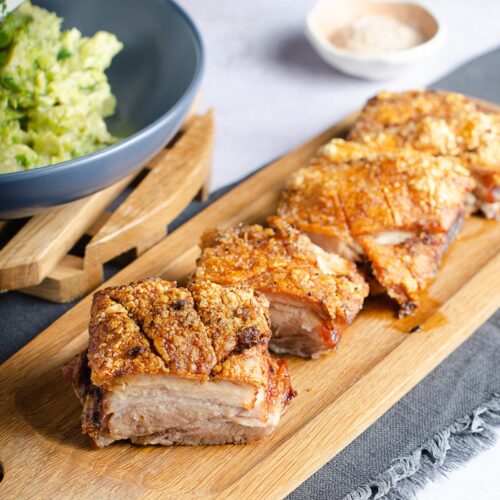
Roast pork belly with crispy crackling is a real treat. Beautifully bubbled crunchy crackling is one of life’s real delights. I love pork, however properly cooked pork crackling takes things to the next level. Funnily enough, round my table, nobody ever offers to share their crackling!
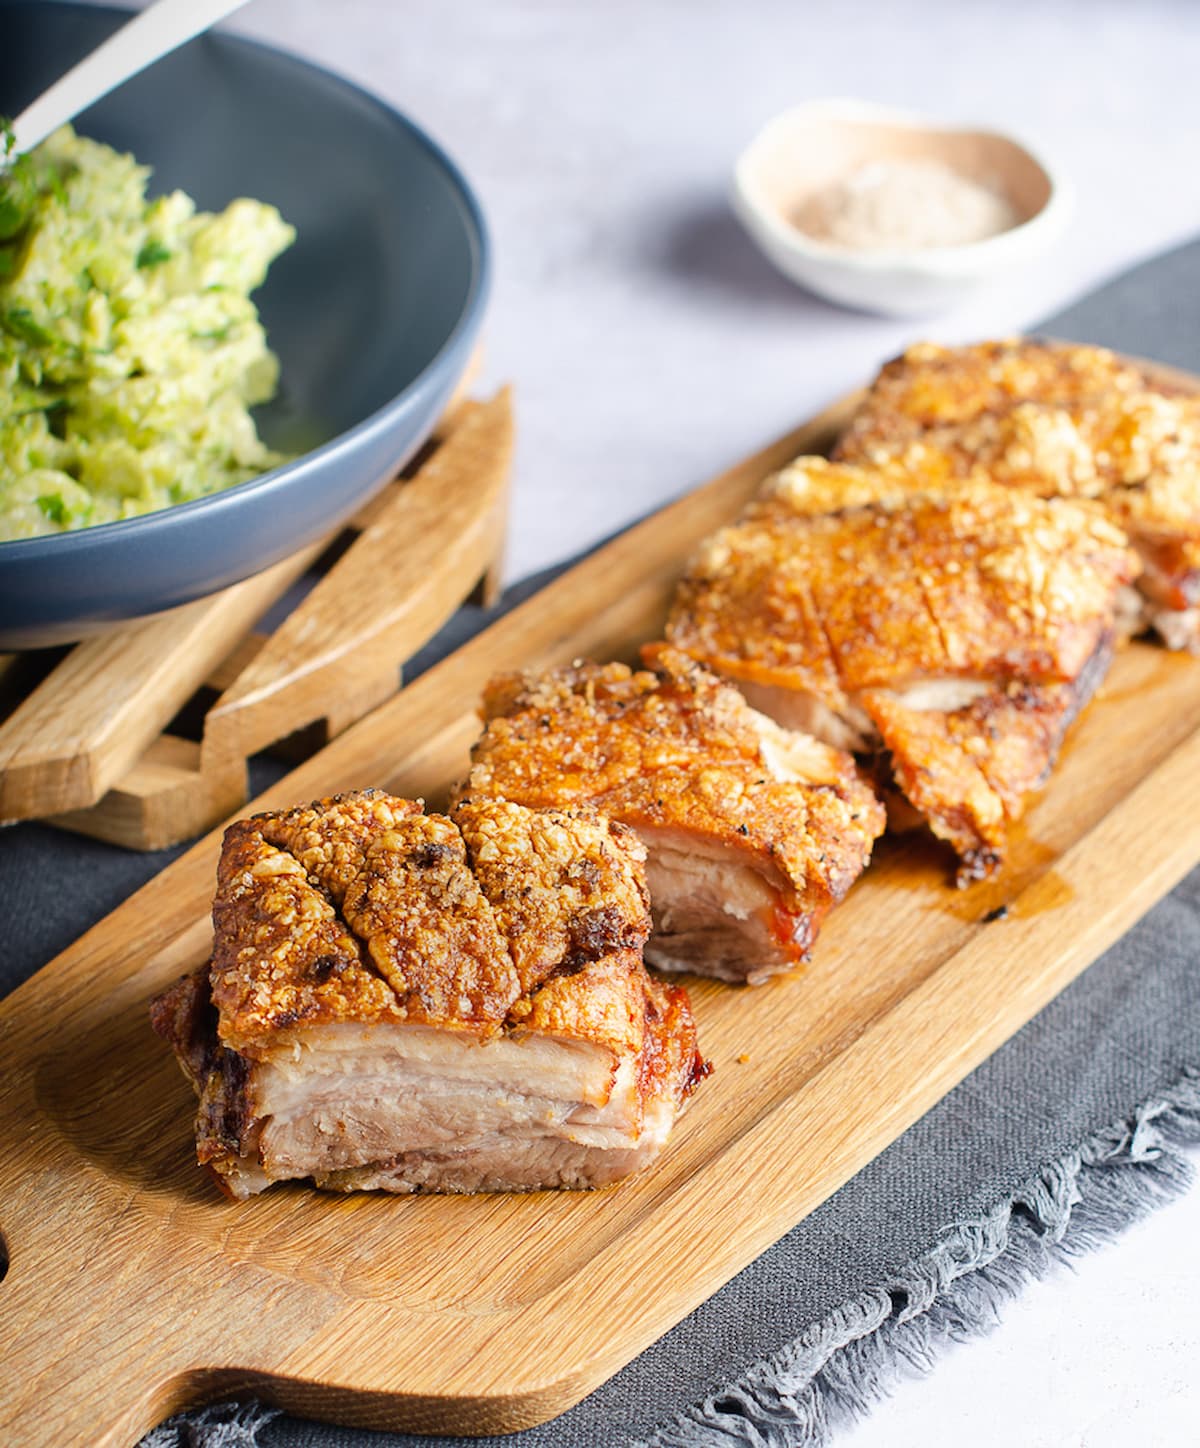
This is my favourite roast pork belly recipe, and despite appearances it’s a lot easier to cook than you might expect. In this post I show you how to cook pork belly in the oven in a few easy steps.
With this slow roast pork belly recipe, I cook the pork at varying temperatures. This allows the fat to be sealed in at a high heat and then slowly melted at lower temperatures, giving you the best flavour in the meat as the rendered fat bastes the pork, keeping it moist and tender.
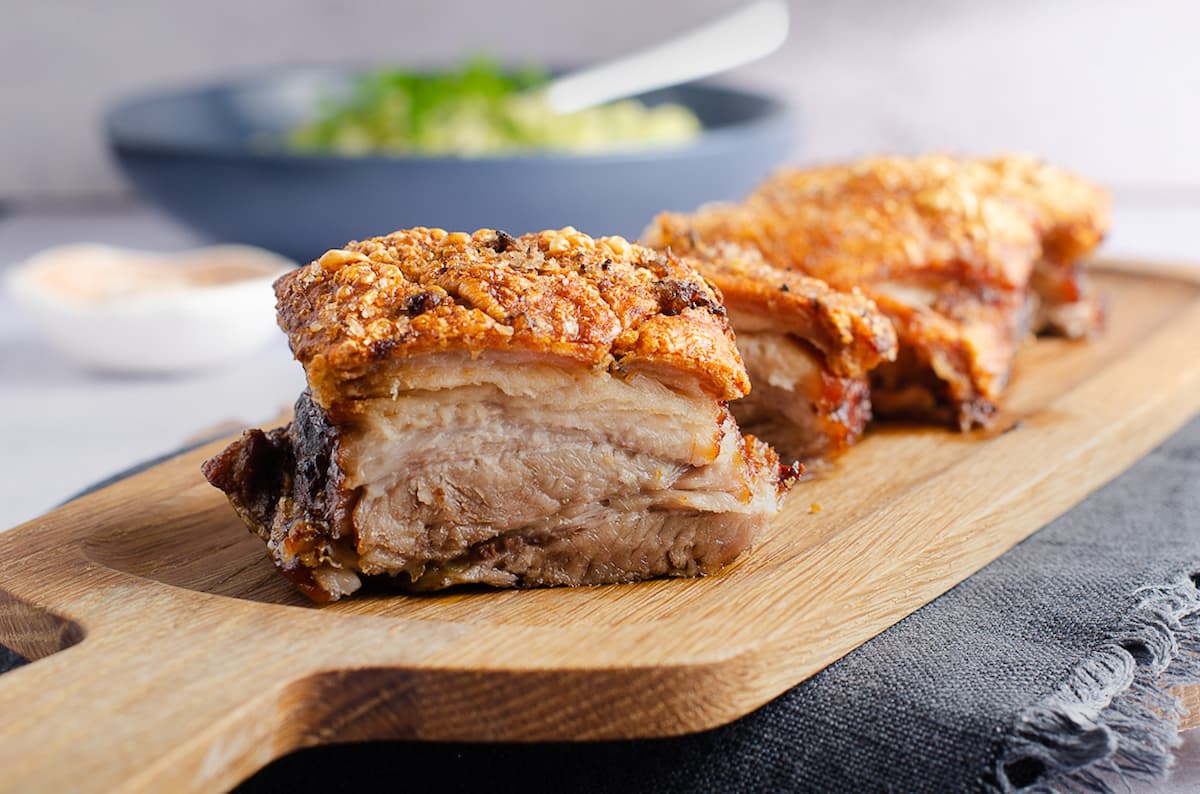
With this pork belly recipe its all about the soft pork, full of flavour, the fat properly rendered down and topped with crackling. That is the key to slow roast pork belly, you must properly render down the layers of fat.
Pork belly is a cut that requires time to cook, the longer you cook it, the more tender the meat will be. Take it out too early and the fat will not have rendered and you risk the meat being chewy. Regardless of how good your crackling is, nobody will thank you for a thick layer of fat underneath.
Why you’ll love this recipe
- Follow these easy steps to assure soft, tender pieces of pork with the crispiest crackling every time.
- Easy to prepare and hands on prep time is minimal.
- Makes the very best of quality pork belly with only a few additional and simple ingredients.
Recipe ingredients
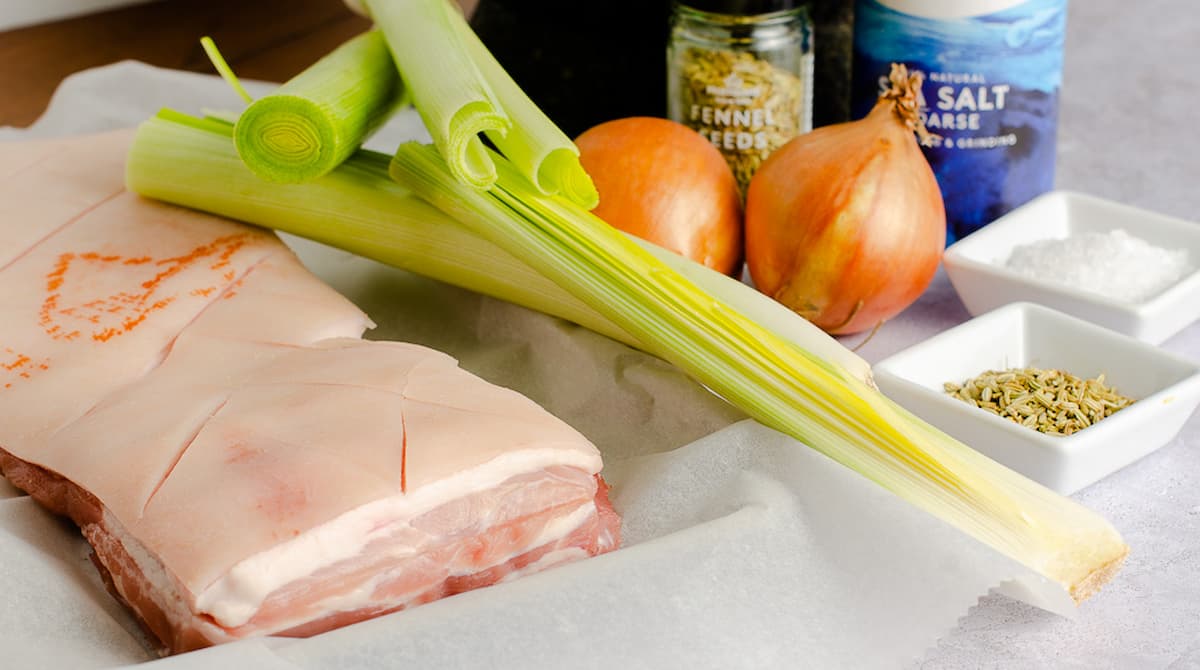
- Pork: Key to cooking this roast is to purchase fresh, good quality pork belly from your butcher. In the UK we’re very luck to have great quality pork available on our doorsteps. I used a 1.5 kg free range pork belly to serve 6, opting for a boneless joint as it’s easier to cut once cooked.
- Vegetables: I use leeks and onions to form a trivet to rest the pork on while it’s roasting in the oven. This not only adds flavour, but also stops the pork flesh from sticking to the base of the roasting pan.
- Seasoning: I season the pork skin with course sea salt and fennel seeds which I crush in a pestle and mortar before pressing over the pork.
- Oil: I use light flavoured sunflower oil to rub over the pork skin, which helps the seasoning to stick.
How to cook pork belly in the oven
- Remove the pork from the refrigerator 1 hour before cooking. Discard any packaging and wipe the top of the skin with a paper towel to remove any excess moisture. Allow the pork to rest at room temperature so its not cold going into the oven.
- When ready to cook, preheat the oven to 250C/230CFan/480F.
Score the pork
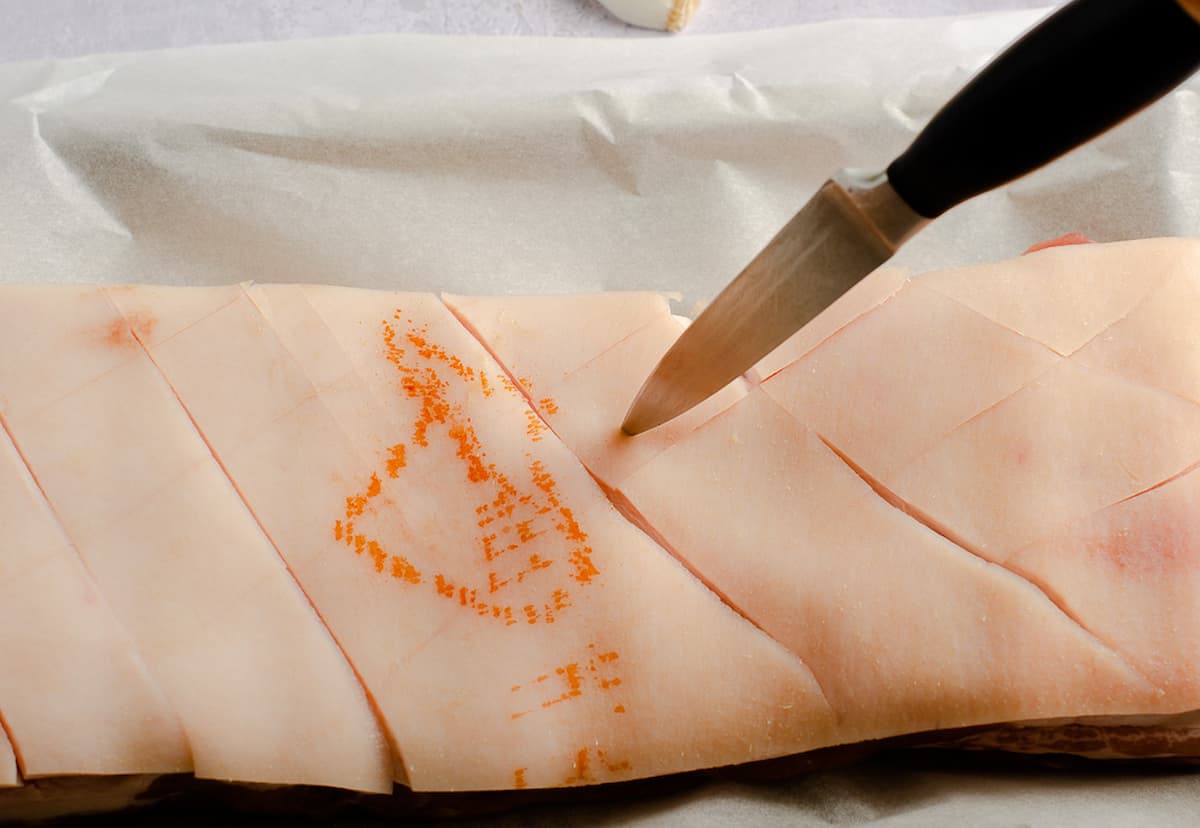
- Start to prepare the pork belly by scoring the skin. Firstly using a very sharp Stanley knife, puncture the skin all over with a stab like motion, taking good care not to allow the knife to penetrate the meat, only the skin and fat.
- You can also score the skin into 1 inch squares as it usually done by the butcher (or have them do it for you).
TOP TIP: Then using the same knife, portion the skin into 6 even-sized portions, as this will make it easier to cut the pork later.
Prepare the roasting pan
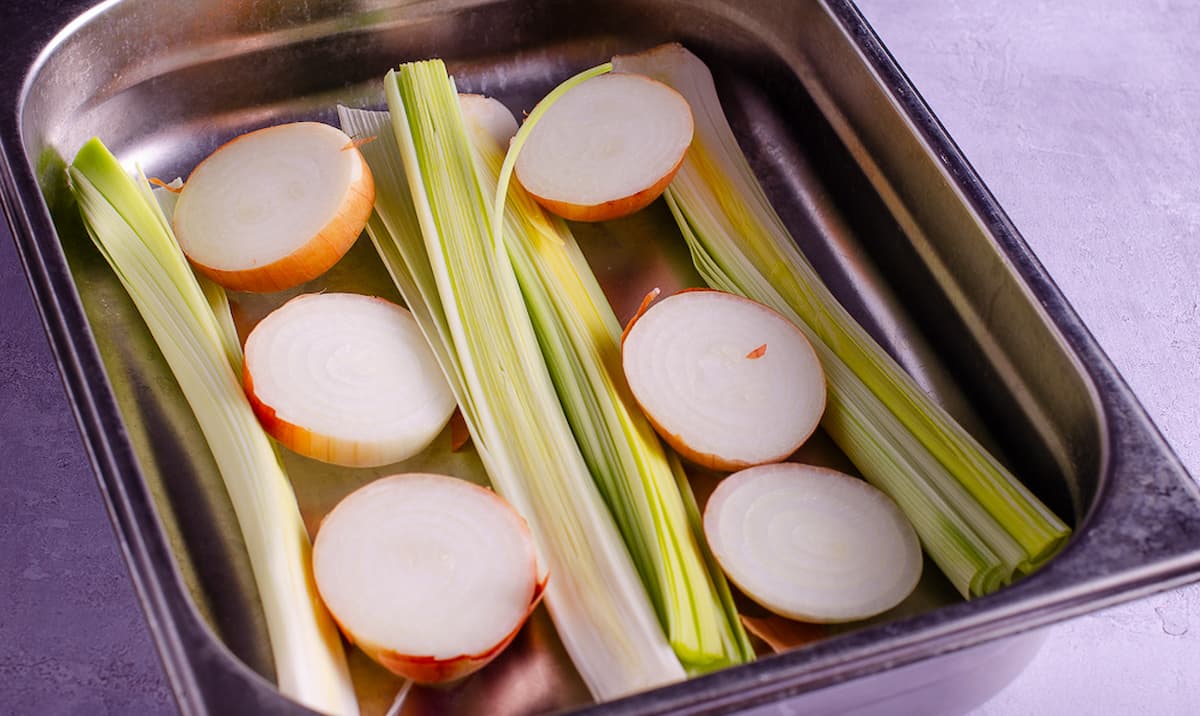
- Once the pork is prepared, wash and rinse the leeks to ensure no grit is left in them. Slice them lengthways and set aside.
- Slice the onions into thick rounds, you don’t need to worry about peeling them as these are only for flavour. Set aside.
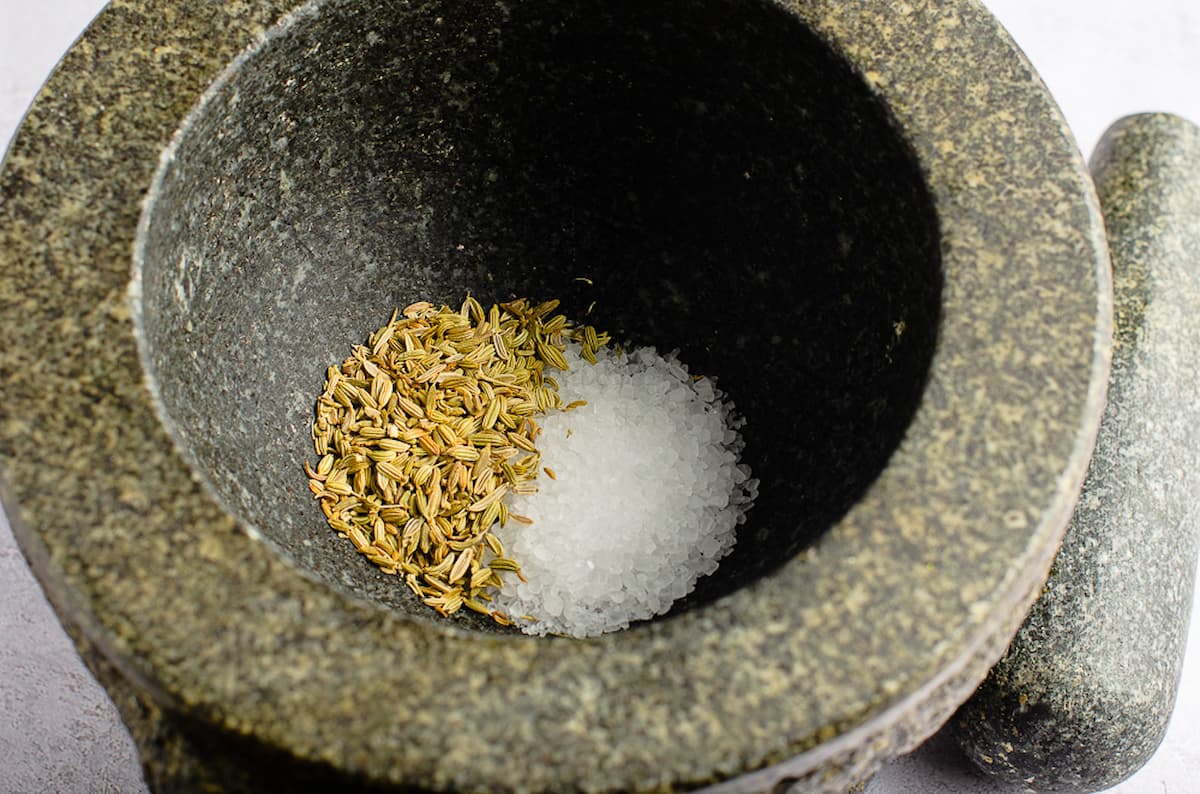
- In a small pestle and mortar, bash up the rock salt and fennel seeds to a course consistency.
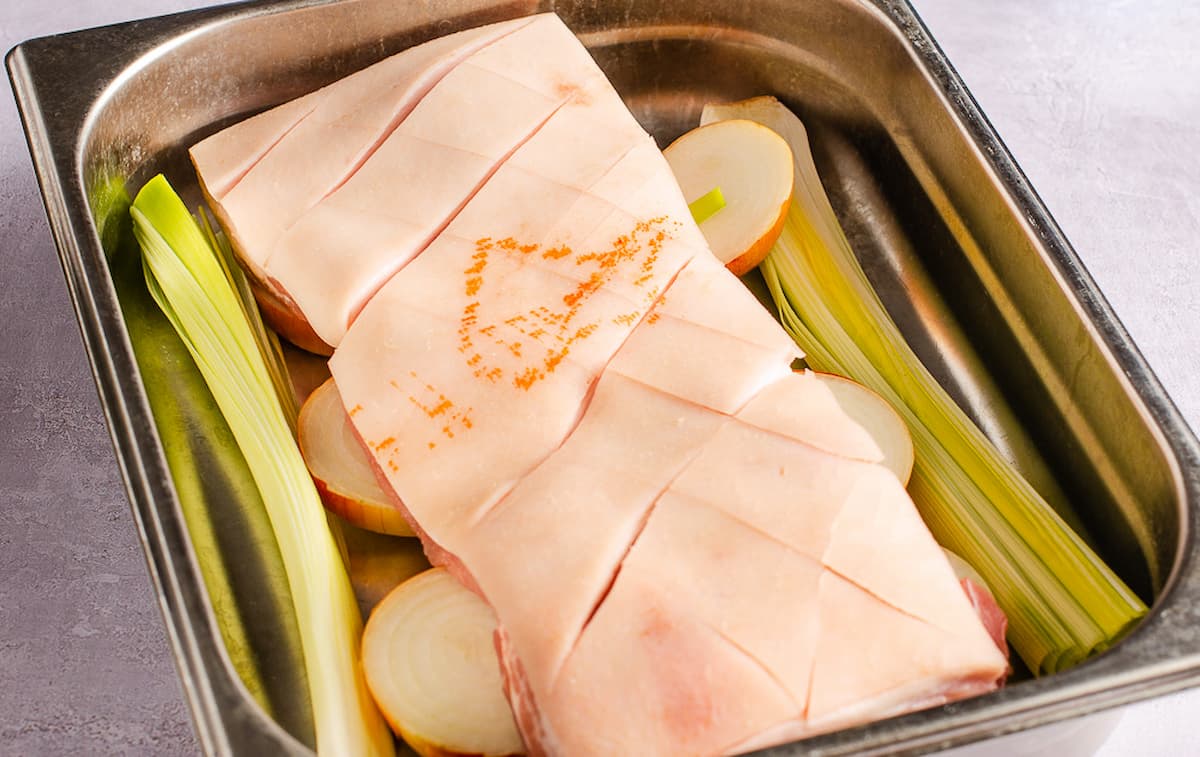
- Now arrange the vegetables in a single layer in the bottom of your roasting tin. Place the pork belly on top of the vegetables.
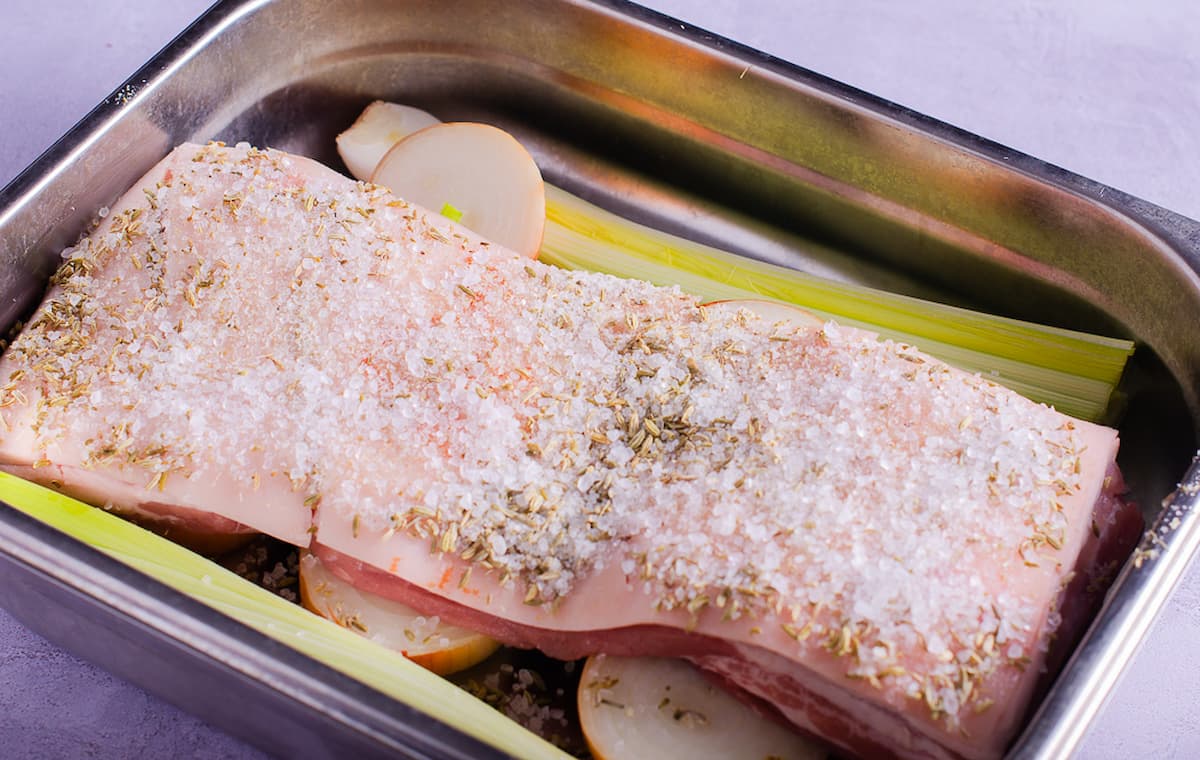
- Rub a teaspoon of sunflower oil onto the skin to allow the salt & fennel seeds to stick. Pour over the salt & fennel seeds and rub to cover all of the skin.
Cook the pork
- Place into the preheated oven at 250C/230CFan/480F for 20 minutes.
- Now reduce the oven temperature to 220C/200CFan/430F and cook the pork for a further 40 minutes.
- Reduce the oven temperature again down to 180C/160CFan/360F. Take the pork from the oven and using a spoon or fork crack the salt mixture and remove as much as you can from the belly and push to the side. Put the belly back in the oven and allow to cook another 40 minutes.
- Finally reduce the oven temperature to 140C/120CFan/285F and allow the pork to cook for another 60-80 minutes until the internal temperature reaches about 75C/170F, or the pork falls apart when tested.
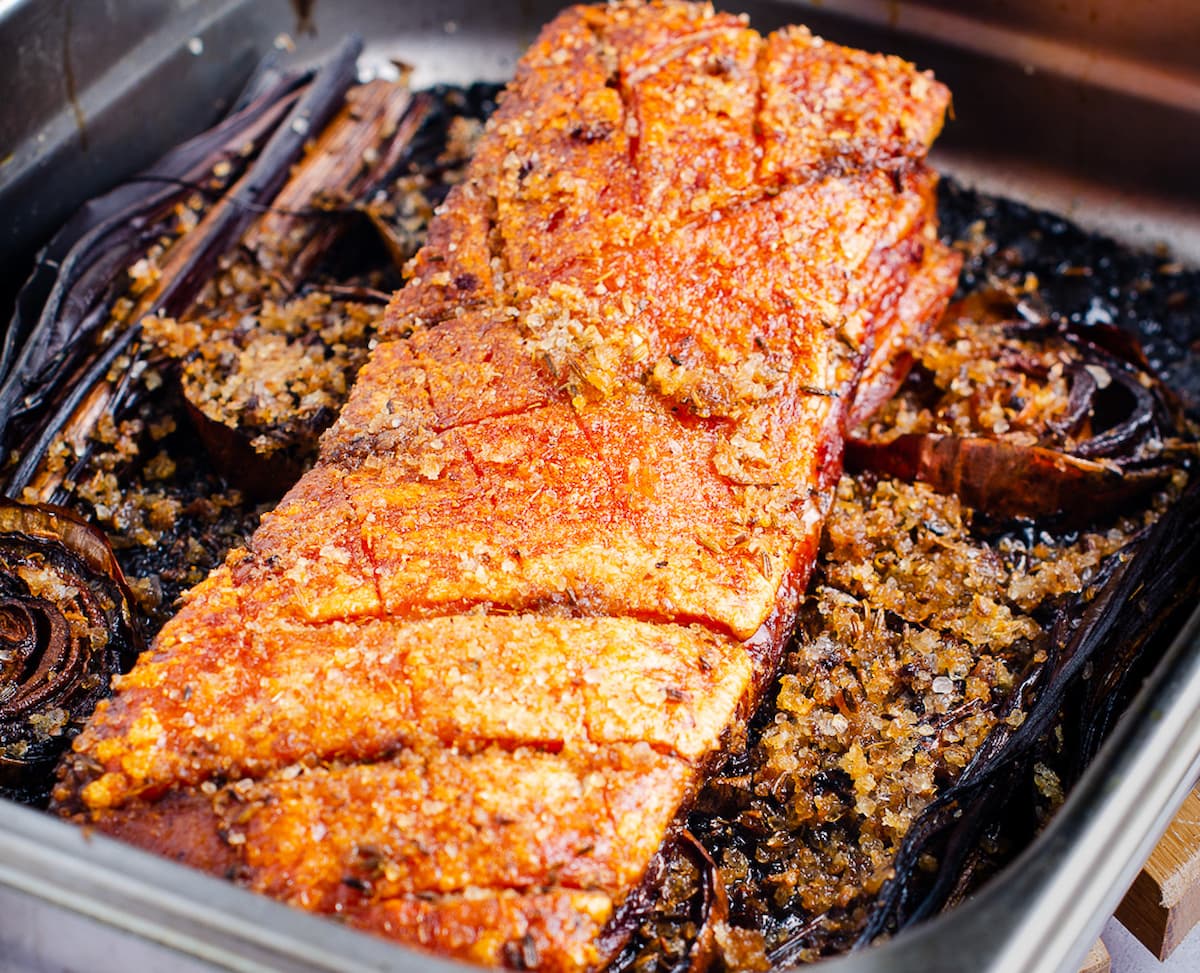
- Remove the pork from the oven, place onto another oven proof tray to finish off the crackling. Discard the vegetables as these will be almost burnt by now and full of salt.
- Turn the oven to grill setting on high, approximately 220C/430F . Once the grill is hot, place the pork under and allow the crackling to finish crisping up.
TOP TIP: DO NOT LEAVE UNATTENDED at this point! This is a crucial step if you want extra crispy crackling and only takes minutes to ruin.
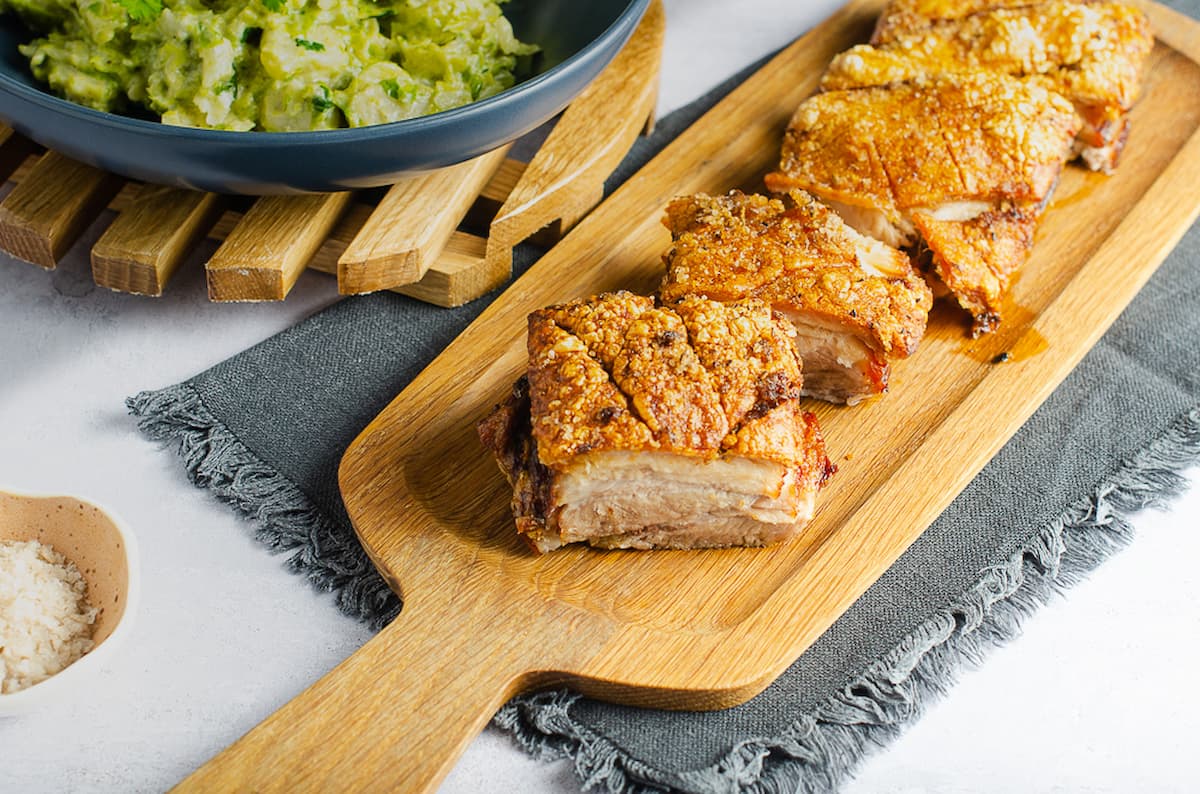
- You will see the bubbles start to form on the skin. When its golden brown remove from oven, allow to rest for 20 minutes before cutting and serving.
TOP TIP: For the crispiest crackling DO NOT cover the meat while it is resting as this will allow moisture into the crackling and soften it.
Serving suggestions
Pork works with a wide range of vegetables, the trick is not to serve something too oily as you want the vegetables to work with the fatty pork. I usually opt for a simple potato side dish like my Hasselback Potatoes, and a couple of vegetable sides.
A great suggestion would be my Creamed Brussels Sprouts, Roasted Honey Glazed Carrots with Cumin or Easy Honey Roasted Vegetables. Another suggestion would be my Savoy Cabbage with Bacon & Cider, as the cider cut through the pork. My Braised Red Cabbage, would also work as the light sweet pickle would compliment the pork.
Useful hints and tips
- I recommend using a meat probe thermometer when checking the internal temperature of meat. This is the easiest way to ensure it is done and cooked through.
- Do not walk away from the grill when grilling the pork crackling, as the crackling can burn in seconds.
- Cutting the pork for serving: If you are struggling to portion the belly after its rested I recommend using a pair of kitchen scissors to cut through the crackling, then use a large knife to cut through the meat.
- Allergy advice: gluten free, dairy free, egg free, soya free and nut free. For comprehensive and detailed allergy advice go to Allergy UK.
FAQs
Firstly ensure you buy your belly pork joint with the skin on. You can get your butcher to score it for you if you would rather. However, it is really easy to do this yourself. Using a really sharp knife, or a Stanley knife (I keep one solely for the purpose of scoring meat), score the skin and fat layers, almost down to the meat, but you don’t want to cut into the meat itself.
It is traditional to score in a diagonal pattern. However, you can cut in thin lines. I also like to score into portion sized sections to make it easier to cut into servings later. The pork belly will shrink a little, so keep that in mind when scoring out your portions.
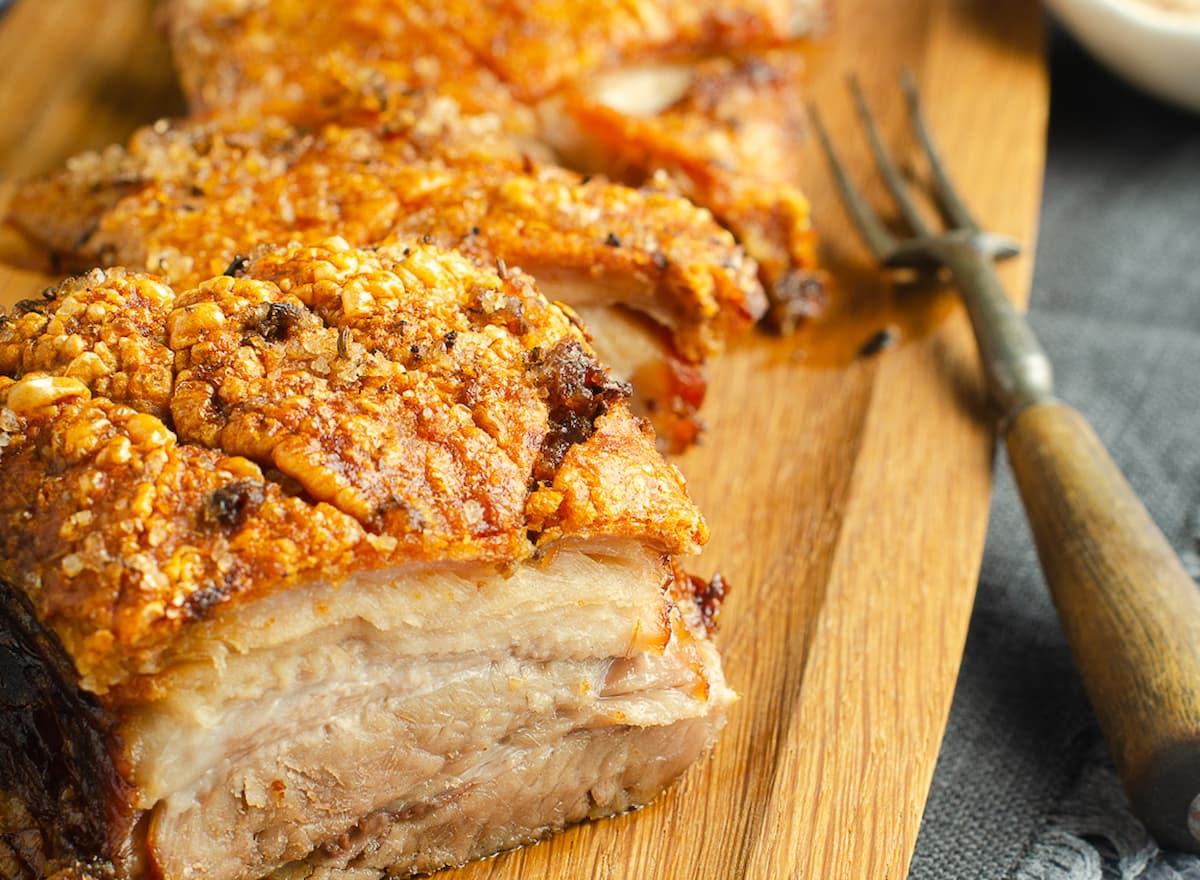
To obtain the best crackling you need to give the heat of your oven access to the layer of fat underneath the skin. Scoring helps this, but I take it one step further and use a sharp knife to pierce the skin in a stabbing motion all over the layer of skin. Doing this increases the area the heat has access to and in turn gives the most amazing crackling.
I then finish the crackling with a quick blast of heat under the grill. Just don’t walk away when you’re doing this as it can burn. You don’t want to have gone to all that effort, then burn the skin just before serving because you took your eye off the ball!
I suggest resting the pork for around 15-20 minutes, this will ensure the pork juices are absorbed back into the meat resulting in moist and tender portions of pork. Just make sure you don’t cover the pork while it’s resting or you will soften the crackling.
Once cooked and cooled, place into an airtight container and store in the refrigerator for 4-5 days. Or freeze the pork belly for up to 6 months. Just be aware that the crackling won’t be quite as crispy once moisture gets to it.
Pin the recipe
Additional recipe suggestions
If you like this recipe then try some favourite weekend dinner, or Sunday lunch dishes:
- Pork Fillet Wrapped in Bacon
- Roast Leg of Pork stuffed with Bacon & Cranberries
- How to Roast a Turkey Crown
- Roast Guinea Fowl with Chicken Jus
- Chorizo & Bean Stew with Roast Chicken
- Pan-fried Chicken with Bacon & Beans
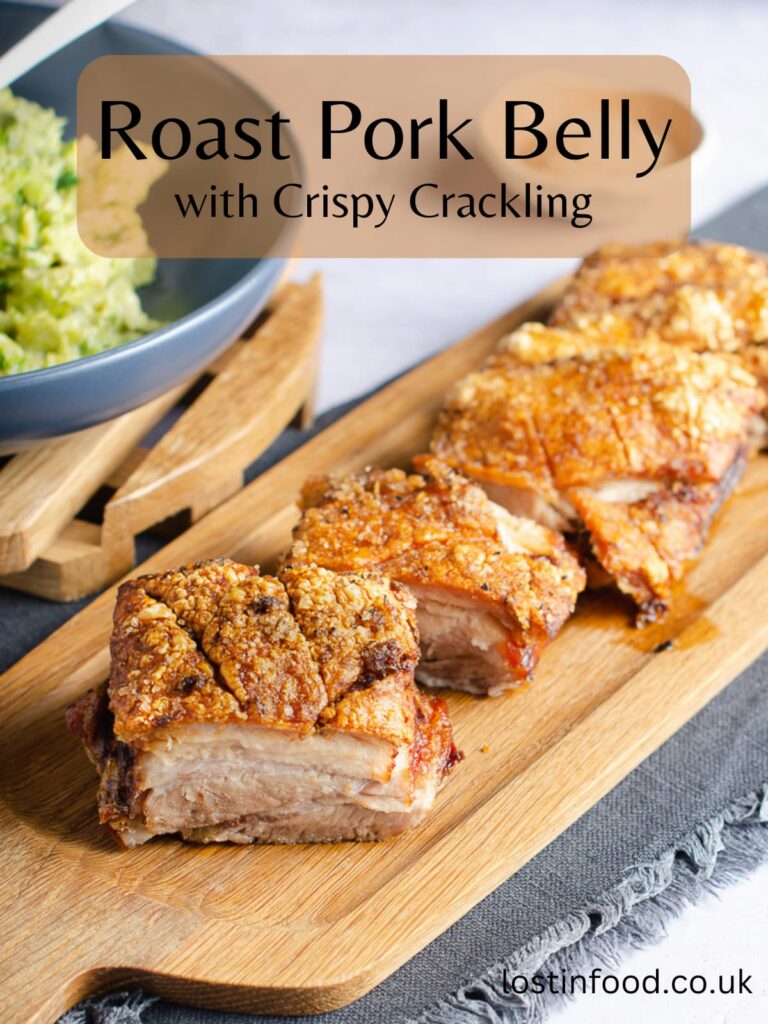
Roast Pork Belly with Crispy Crackling
Equipment
- Roasting pan
- Sharp kitchen knife or clean Stanley knife
- Wooden board
- Pestle and mortar
- measuring spoons
Ingredients
- 1.5 kg free range pork belly (boneless)
- 2 large leeks
- 2 large onions
- 2 tsp fennel seeds
- 2 tbsp sea salt flakes
- 1 tsp sunflower oil
Instructions
- Remove the pork from the refrigerator 1 hour before cooking. Discard any packaging and wipe the top of the skin with a paper towel to remove any excess moisture. Allow the pork to rest at room temperature so its not cold going into the oven.
- When ready to cook, preheat the oven to 250C/230CFan/480F.
Score the pork
- Start to prepare the pork belly by scoring the skin. Firstly using a very sharp Stanley knife, puncture the skin all over with a stab like motion, taking good care not to allow the knife to penetrate the meat, only the skin and fat.
- You can also score the skin into 1 inch squares as it usually done by the butcher (or have them do it for you).
- TOP TIP: Then using the same knife, portion the skin into 6 even-sized portions, as this will make it easier to cut the pork later.
Prepare the roasting pan
- Once the pork is prepared, wash and rinse the leeks to ensure no grit is left in them. Slice them lengthways and set aside.
- Slice the onions into thick rounds, you don't need to worry about peeling them as these are only for flavour. Set aside.
- In a small pestle and mortar, bash up the fennel seeds and sea salt to a course consistency.
- Now arrange the vegetables in a single layer in the bottom of your roasting tin. Place the pork belly on top of the vegetables.
- Rub a teaspoon of sunflower oil onto the skin to allow the salt & fennel seeds to stick. Pour over the salt & fennel seeds and rub to cover all of the skin.
Cook the pork
- Place into the oven at 250C for 20 minutes.
- Now reduce the oven temperature to 220C/200CFan/430F and cook the pork for a further 40 minutes.
- Reduce the oven temperature again down to 180C/160CFan/360F. Take the pork from the oven and using a spoon or fork crack the salt mixture and remove as much as you can from the belly and push to the side. Put the belly back in the oven and allow to cook another 40 minutes.
- Finally reduce the oven temperature to 140C/120CFan/285F and allow the pork to cook for another 60-80 minutes until the internal temperature reaches about 75C/170F, or the pork falls apart when tested.
- Remove the pork from the oven, place onto another oven proof tray to finish off the crackling. Discard the vegetables as these will be almost burnt by now and full of salt.
- Turn the oven to grill setting on high, approximately 220C/430F . Once the grill is hot, place the pork under and allow the crackling to finish crisping up. DO NOT LEAVE UNATTENDED at this point! This is a crucial step if you want extra crispy crackling and only takes minutes to ruin.
- You will see the bubbles start to form on the skin. When its golden brown remove from oven, allow to rest for 20 minutes before cutting and serving.
- TOP TIP: For the crispiest crackling DO NOT cover the meat while it is resting as this will allow moisture into the crackling and soften it.
Notes
- I recommend using a meat probe thermometer when checking the internal temperature of meat. This is the easiest way to ensure it is done and cooked through.
- When crisping up the cracking, so not walk away from the grill. This is a crucial step if you want extra crispy crackling and only takes minutes to ruin.
- For the crispiest crackling DO NOT cover the meat while it is resting as this will allow moisture into the crackling and soften it.
- If you are struggling to portion the belly after its rested I recommend using a pair of kitchen scissors to cut through the crackling, then use a large knife to cut through the meat.
• Please note that the nutrition information provided above is approximate and meant as a guideline only •

Sandra
Sunday 24th of March 2024
I cooked this for my family last weekend and it came out perfectly! The cracking went down a storm and the meat was perfect.
Lesley
Monday 25th of March 2024
Thank you Sandra, it is easily one of my favourite roast dinners.
Sisley White - Sew White
Monday 18th of March 2024
This was so delicious and I loved how incredible it tasted after being slow roasted.
Lesley
Tuesday 19th of March 2024
Glad you enjoyed it Sisley.
Hazel
Saturday 16th of March 2024
I've always struggled to get crackling really crispy. Your clear instructions made it so easy and everyone was very impressed.
Lesley
Tuesday 19th of March 2024
Thank you Hazel, it's such a fail safe way to achieve perfect crackling.
Chloe
Wednesday 13th of March 2024
Crackling I quite frankly didn't share and perfectly soft and sticky meat - this was absolutely perfect!
Lesley
Tuesday 19th of March 2024
Chloe, it's fair to say that I've never shared my crackling.
John
Sunday 5th of November 2023
Cooked this many times, varied results from my own conditions too cook and different sizes of belly to contend with. My best ones have been with >1kg belly, smaller has been very hit and miss.
When it’s done well, it’s unbelievably good!
Lesley
Tuesday 7th of November 2023
Thank you John, I'm glad you've enjoyed the recipe. I agree, when cooking with smaller joints it can be a bit hit and miss. Pork belly is a bit more forgiving than other cuts as it contains so much fat which helps. I recommend always keep a meat thermometer handy, that way you can check when it's done.