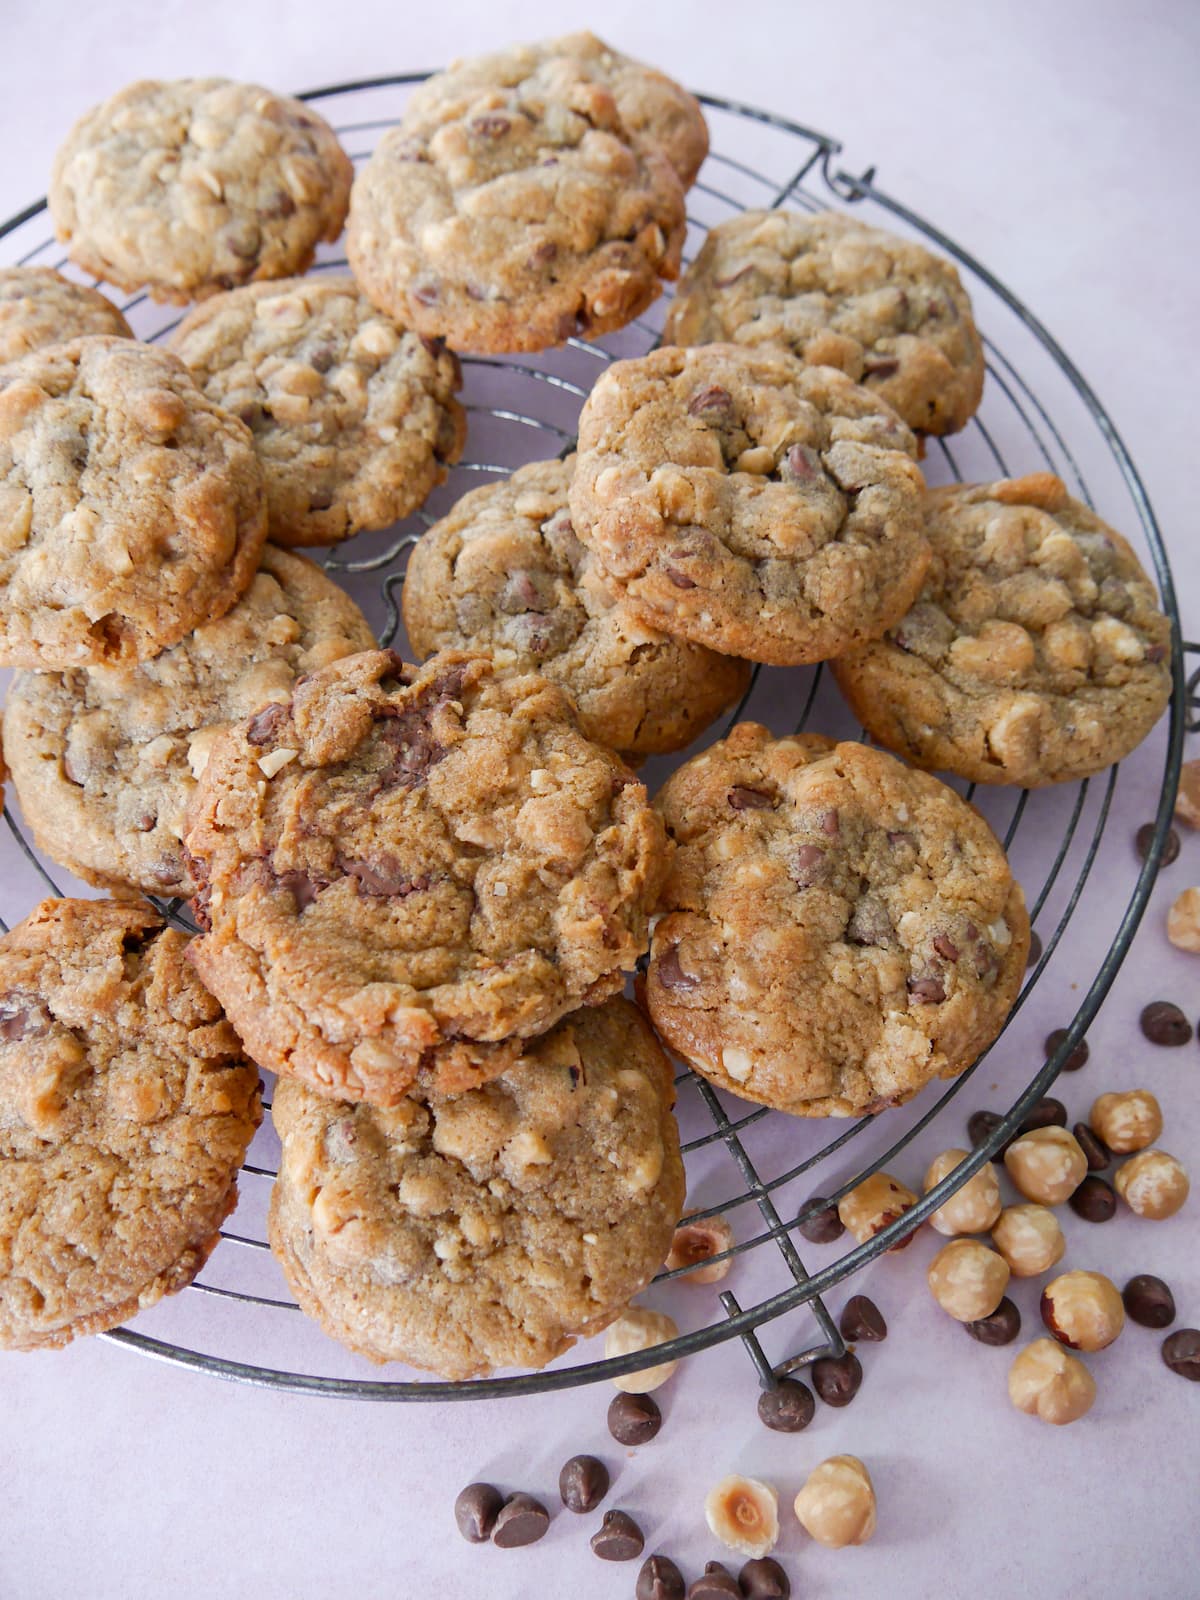
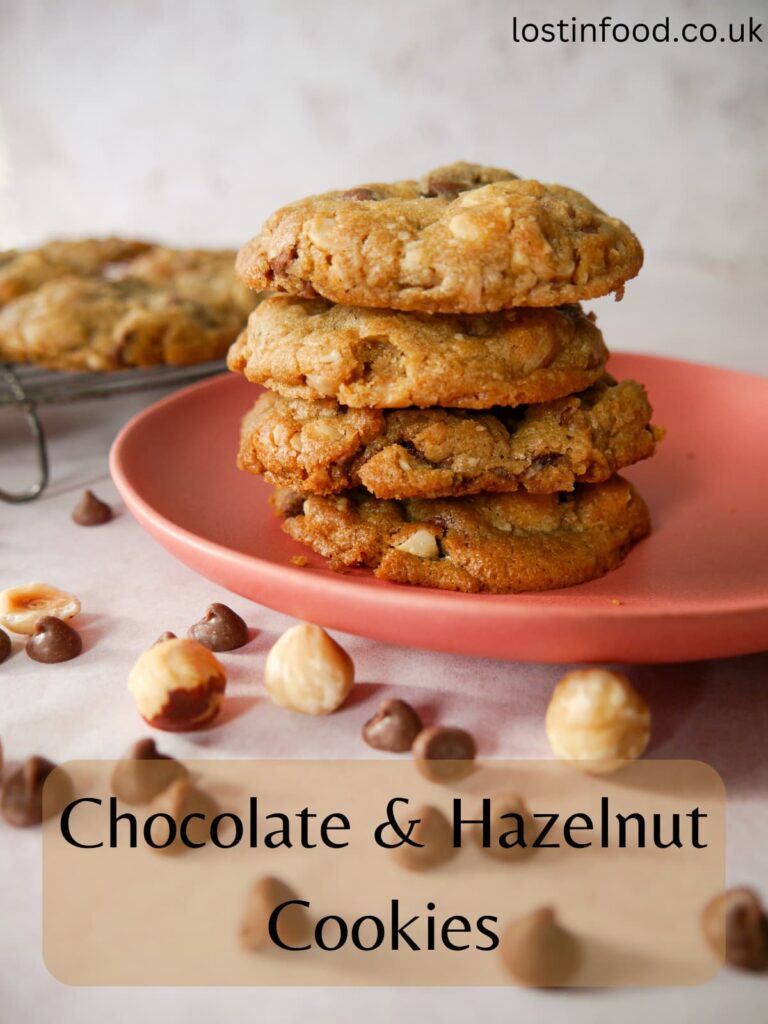
My milk chocolate & hazelnut cookies are quick and easy bake, making them ideal for baking with children. A simple bake that not only tastes great but can be prepared and baked in minutes.
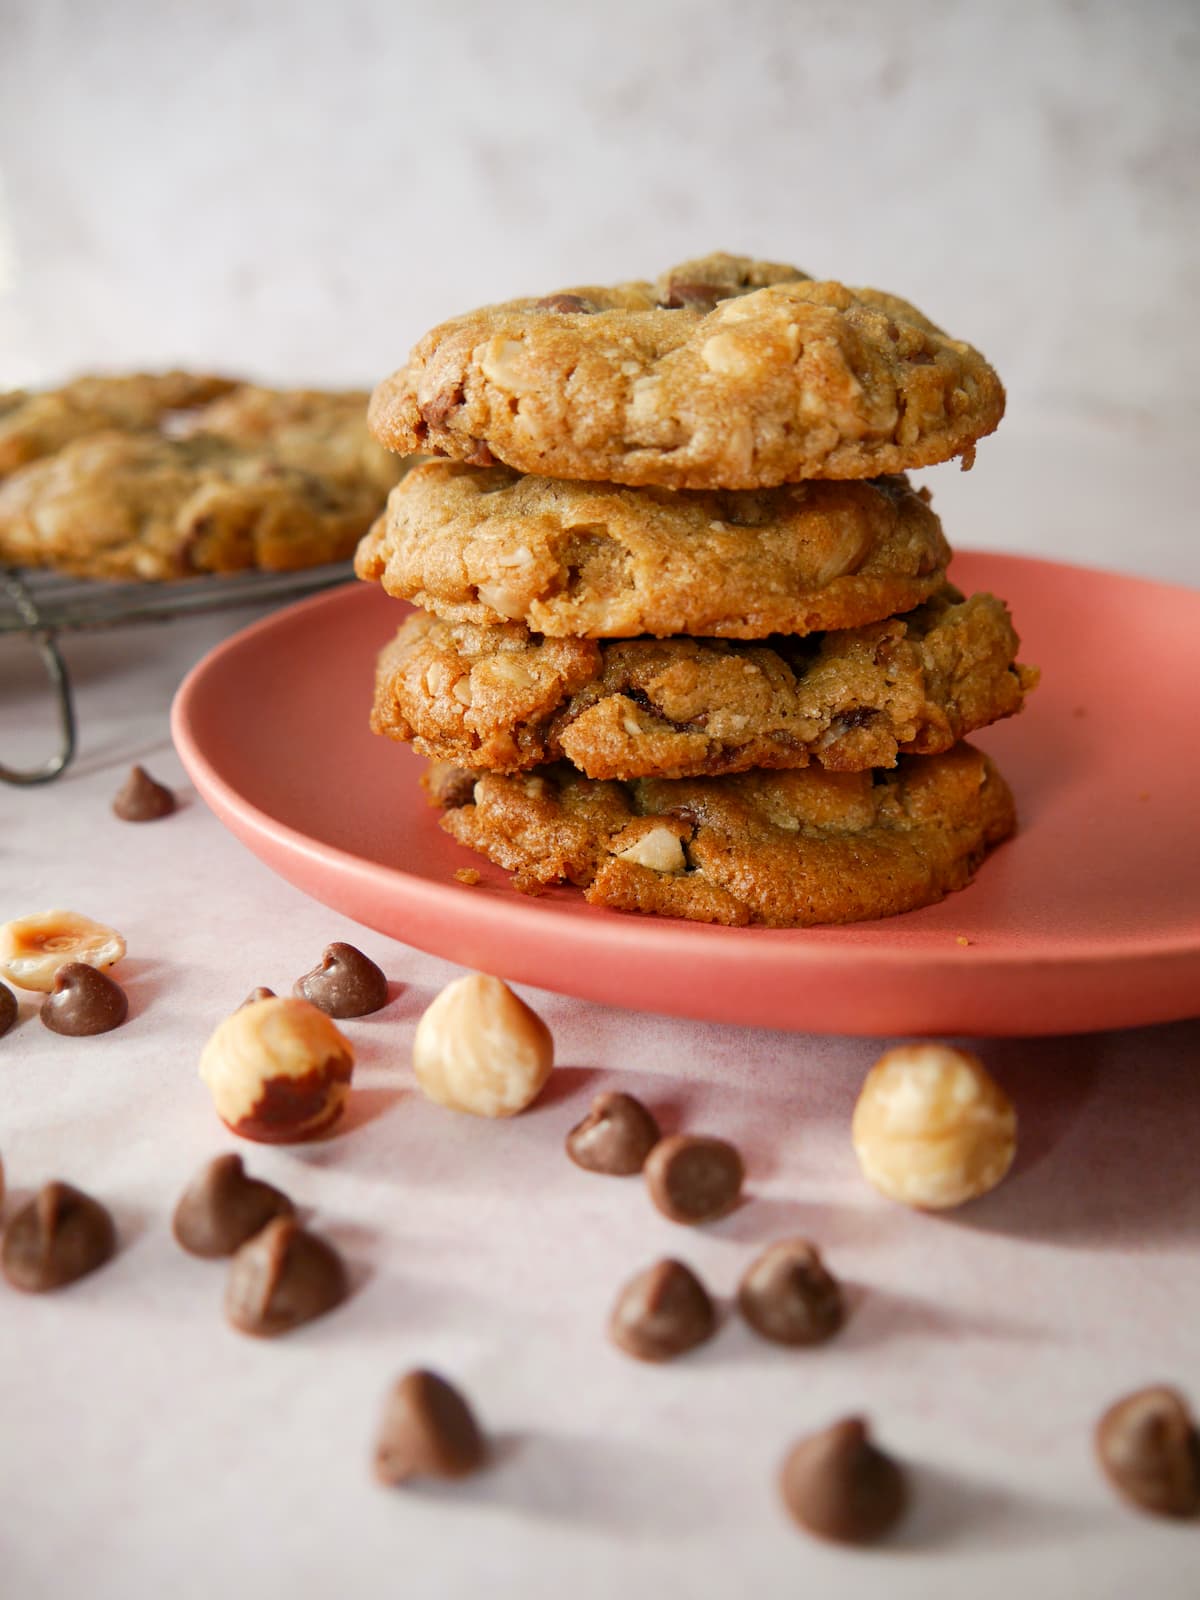
These best chocolate & hazelnut cookies are one of my favourite biscuits. However, I do prefer to make my own as I find shop bought just a bit too hard and really not what I want from a cookie.
Also store bought cookies rarely contain enough hazelnuts for me. I like my cookies loaded in hazelnuts, there should be just as much hazelnut as there are chocolate chips.
These homemade chocolate cookies are a great quick and straightforward bake. There's little effort involved in pulling together a cookie batter and after a quick bake in the oven you have a far superior biscuit to anything you can buy shop bought.
These easy chocolate & hazelnut cookies are great for a child's first solo bake. Cookies are forgiving, there's no uniform shape, they are not meant to be dainty. For an extra special treat, my kids enjoy these with my 2 Ingredient Nutella Hot Chocolate.
Why you'll love this recipe
- Quick to prepare and bake, these cookies can be cooked and out of the oven ready to eat in less than 30 minutes.
- The ideal bake with children as this is a simple bake that most kids can handle on their own with just a little help from adults to get them in and out of the oven.
- This recipe easily makes 25-30 cookies so bake some cookies to enjoy now and freeze some to enjoy another day.
Recipe ingredients
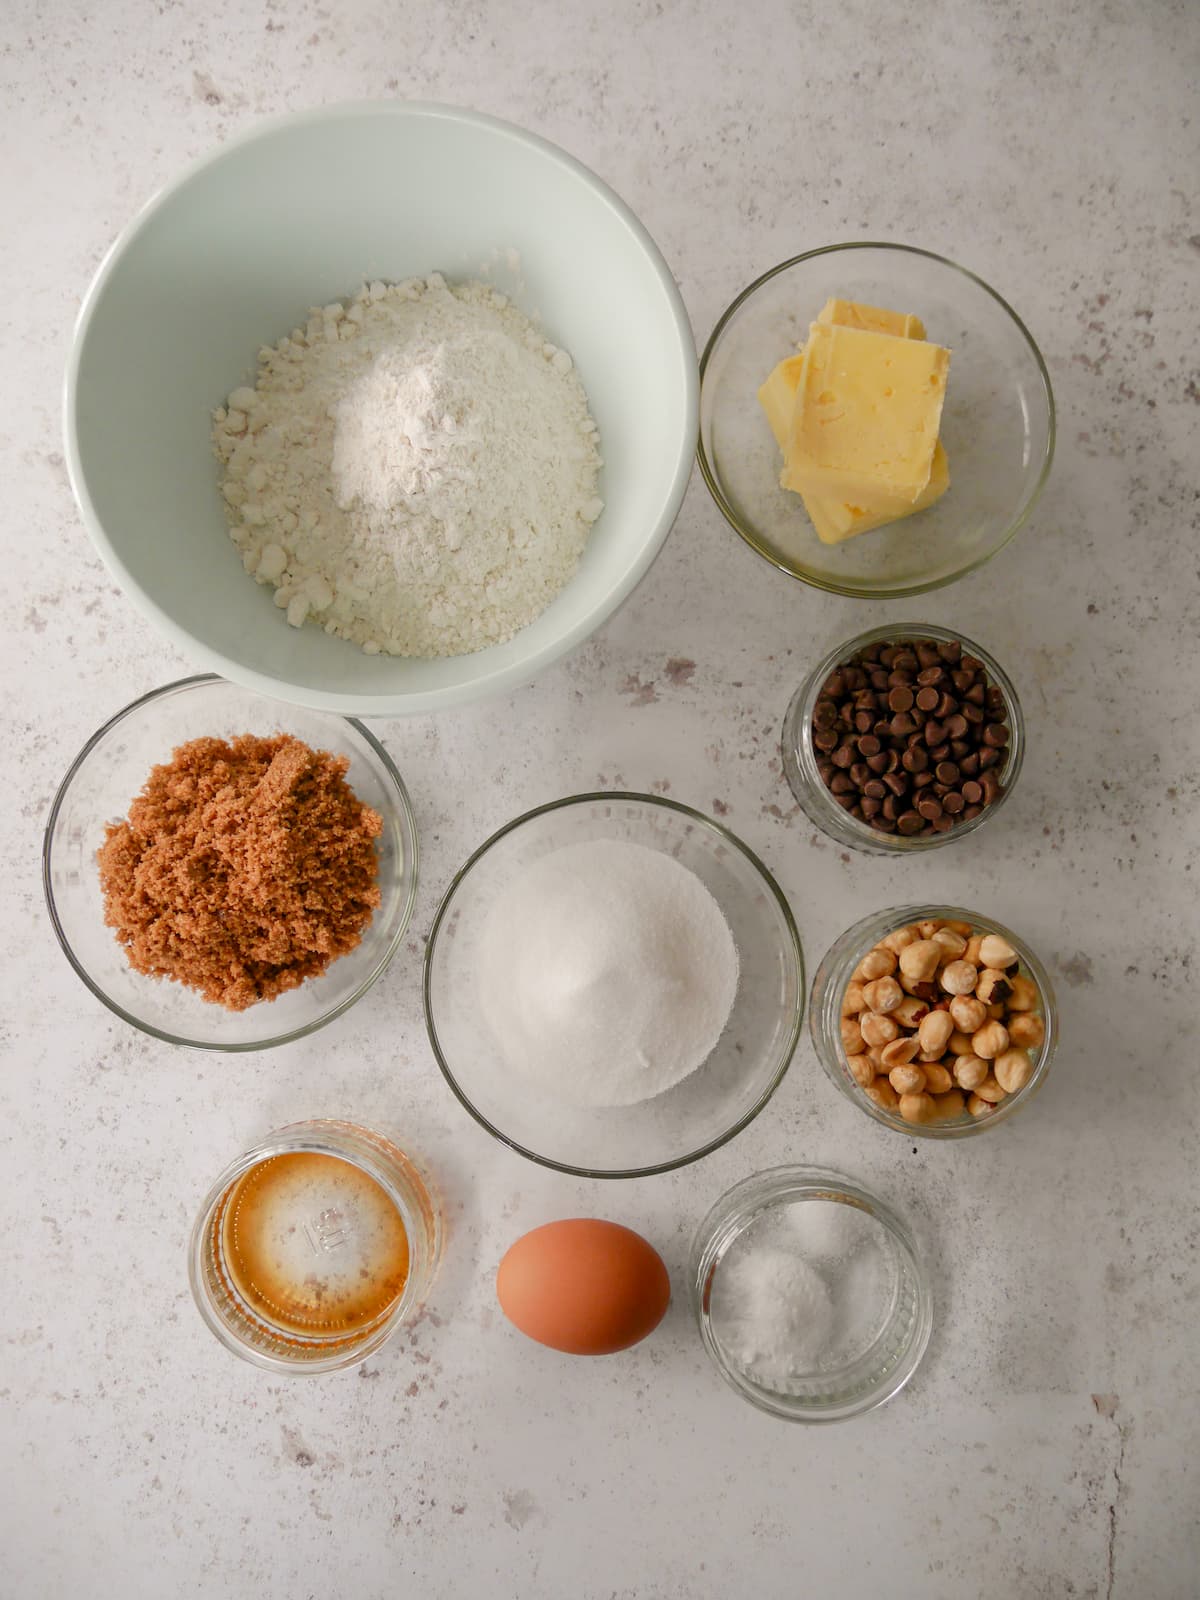
- Sugar: I use a combination of granulated and light muscovado sugar as it has a great molasses flavour that really works in these chocolate cookies. A good substitution would be soft light brown sugar or a golden caster sugar.
- Butter: I use unsalted butter, but you could also use salted butter. Don’t be tempted to use margarine as you won’t get the same flavour or set in the cookies.
- Vanilla Extract: adds great flavour to these chocolate cookies, you could also use vanilla paste. Vanilla essence would also work but it won't have the same depth of flavor.
- Eggs: use 1 large beaten eggs in this recipe as it helps to bind the cookie dough.
- Flour: plain flour (all purpose) is used in this recipe.
- Bicarbonate of Soda: is added to give the cookies a little rise and create a light, soft cookie.
- Chocolate Chips: I use milk chocolate chips to make milk chocolate and hazelnut cookies, but you can use dark chocolate, white chocolate, chocolate orange chips - whichever you prefer.
- Hazelnuts: add great crunch to these chocolate cookies. You can swap the hazelnuts for any other nut, or leave them out entirely if you prefer.
TOP TIP: To intensify the hazelnut flavour in these cookies, one of my readers Ro, recommends roasting the hazelnuts first and also adding a little hazelnut extract. I'll be trying this next time I bake them.
How to make chocolate hazelnuts cookies
- Preheat the oven to 190C/170CFan.
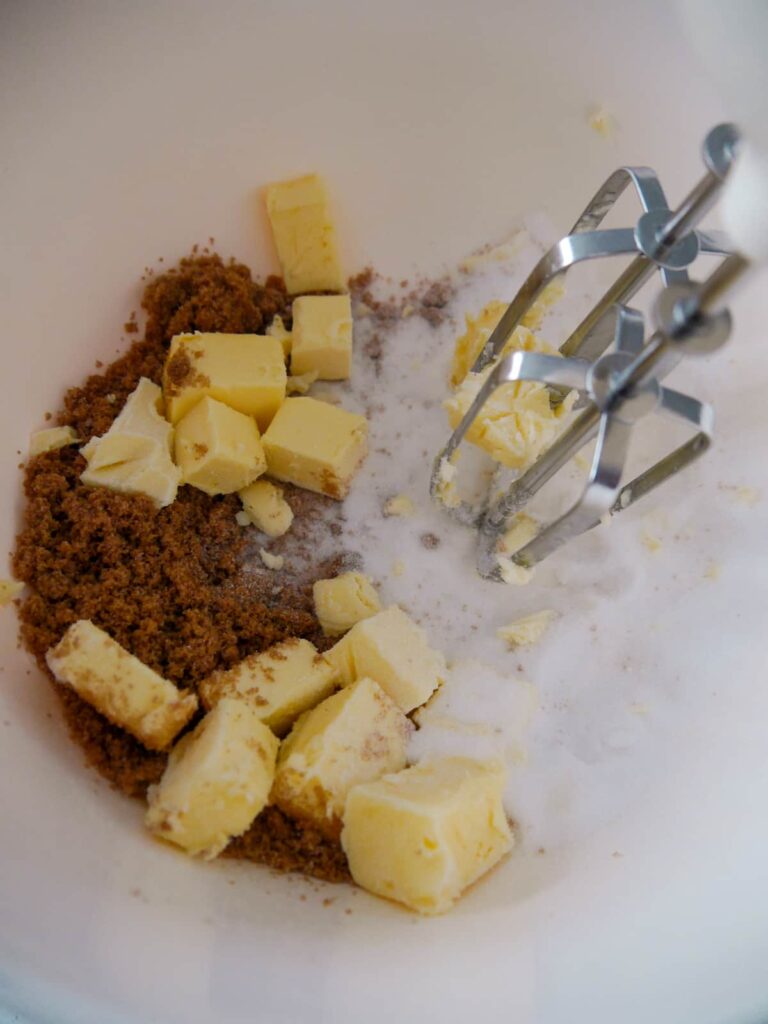
- Place the butter and both sugars into a bowl and beat well until you get a creamy mixture.
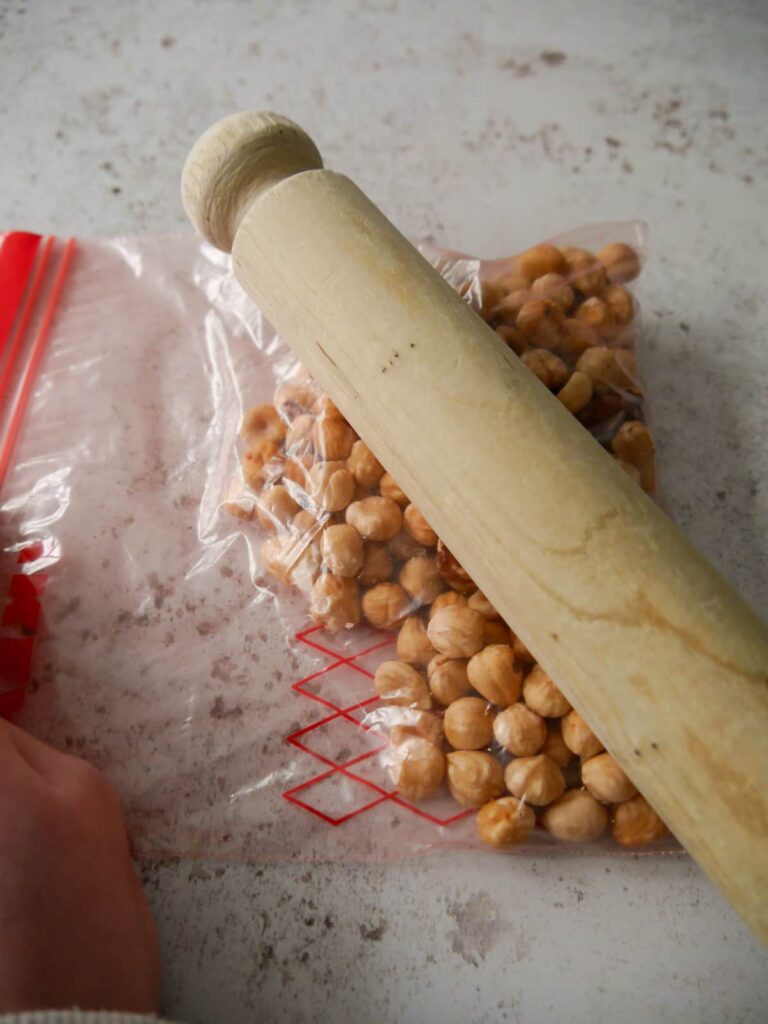
- Meanwhile place the hazelnuts in a sealed plastic bag and bash up gently with a rolling pin to create small chunks of nut.
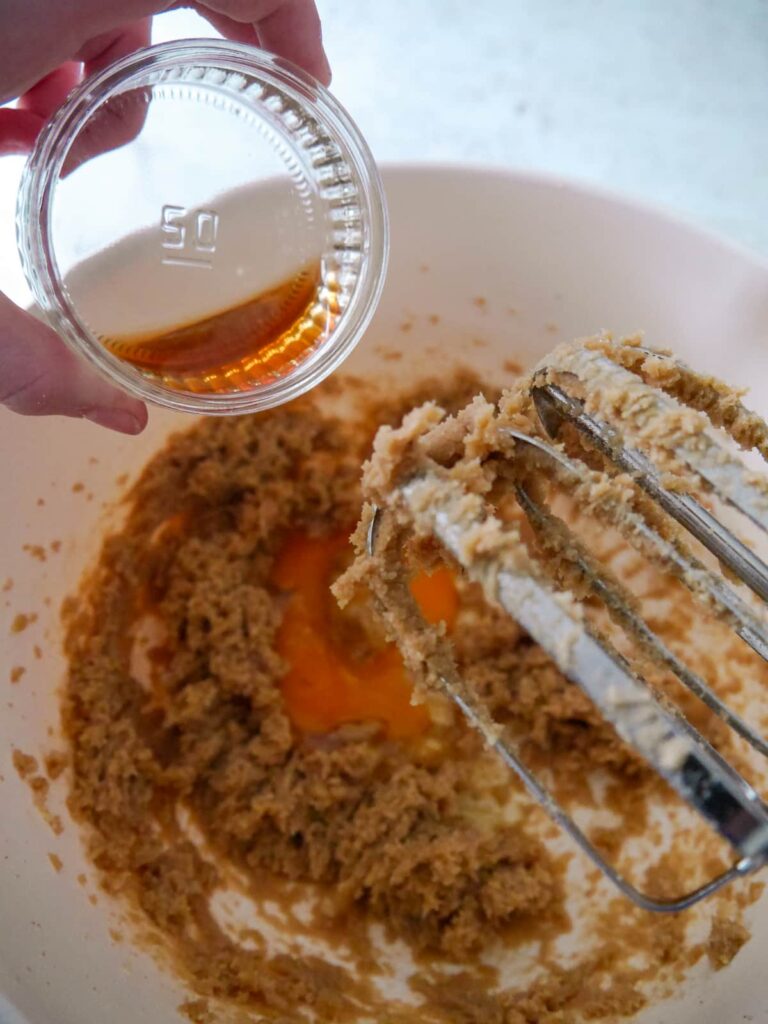
- Once you have beaten the butter and sugars together, beat in the vanilla extract and the egg, mixing well to combine.
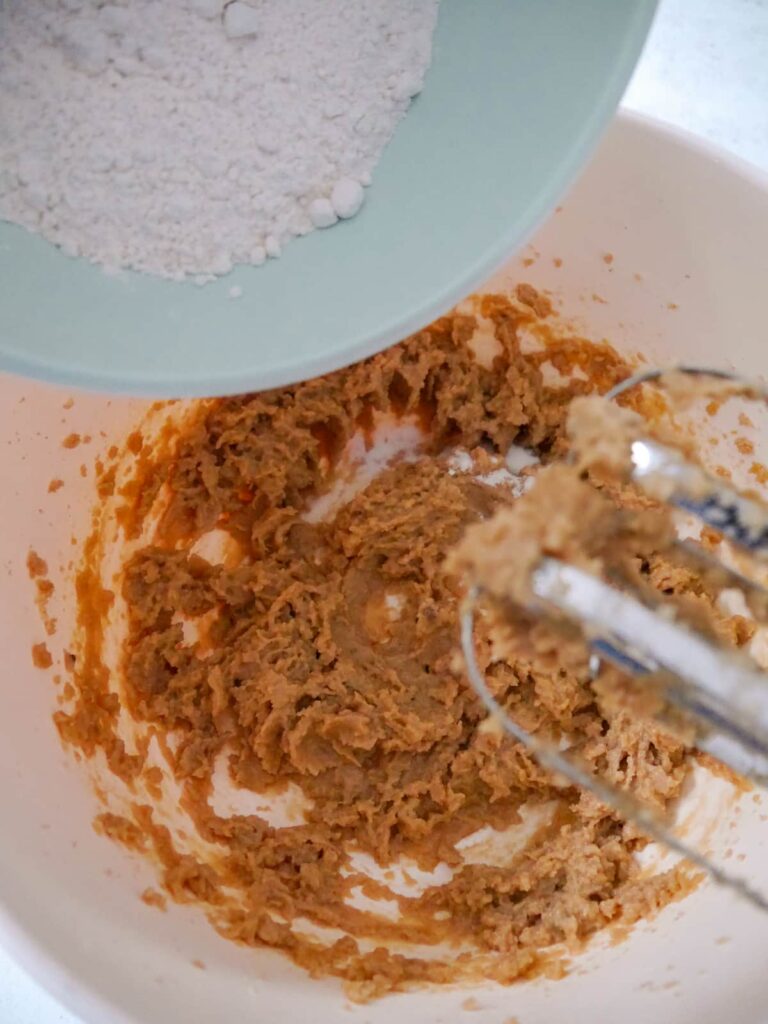
- Add the flour, bicarbonate of soda and salt to the bowl and continue to mix well until you have a rough dough.
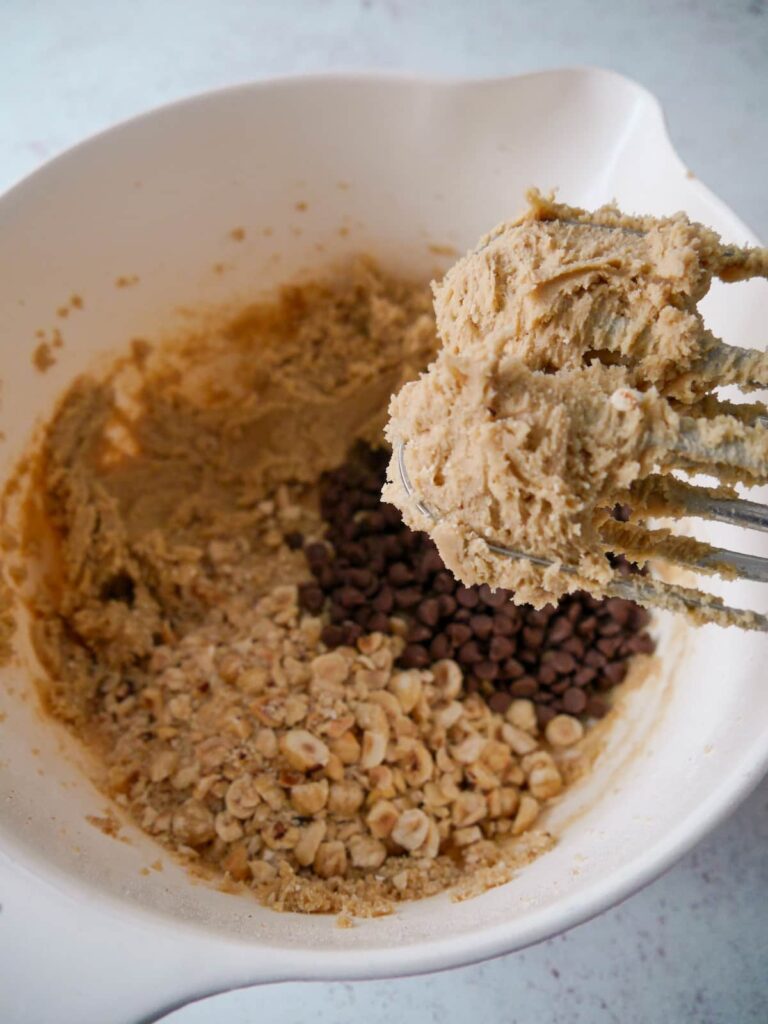
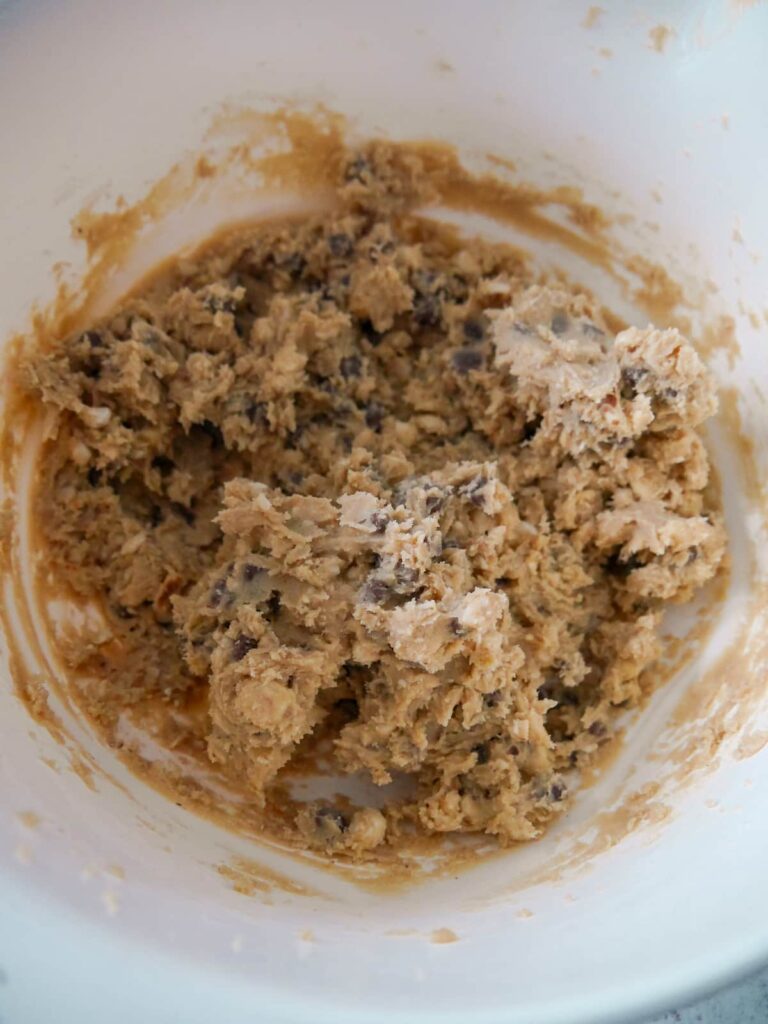
- Add the milk chocolate chips and hazelnuts to the dough and mix until you have a well combined dough.
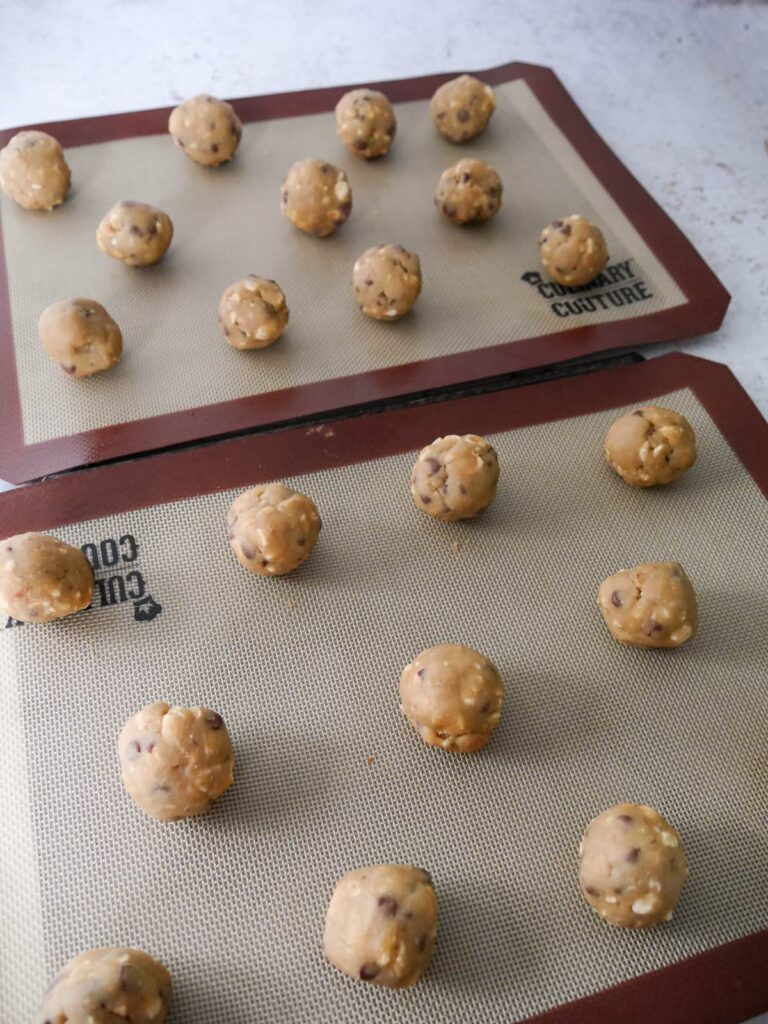
- Pull together small golf ball sized balls of the cookie dough and place these on a tray lined with baking parchment. Space the cookies well apart as they will spread in the oven. However do not flatten out the balls of dough.
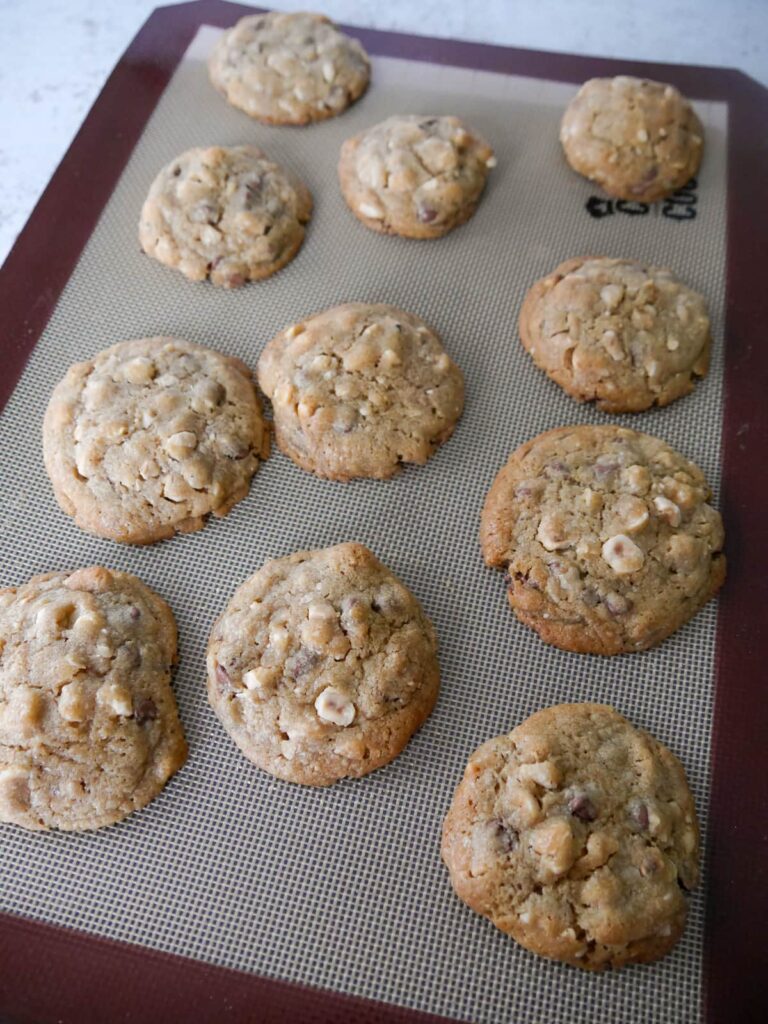
- Once you have shaped all the cookies, you should get 25-30 cookies from this mix, place the trays into the hot oven. Bake the cookies for 10 minutes, they should be a little soft in the middle.
TOP TIP: The cookies will spread in the oven, so leave plenty space between each ball of cookie dough.
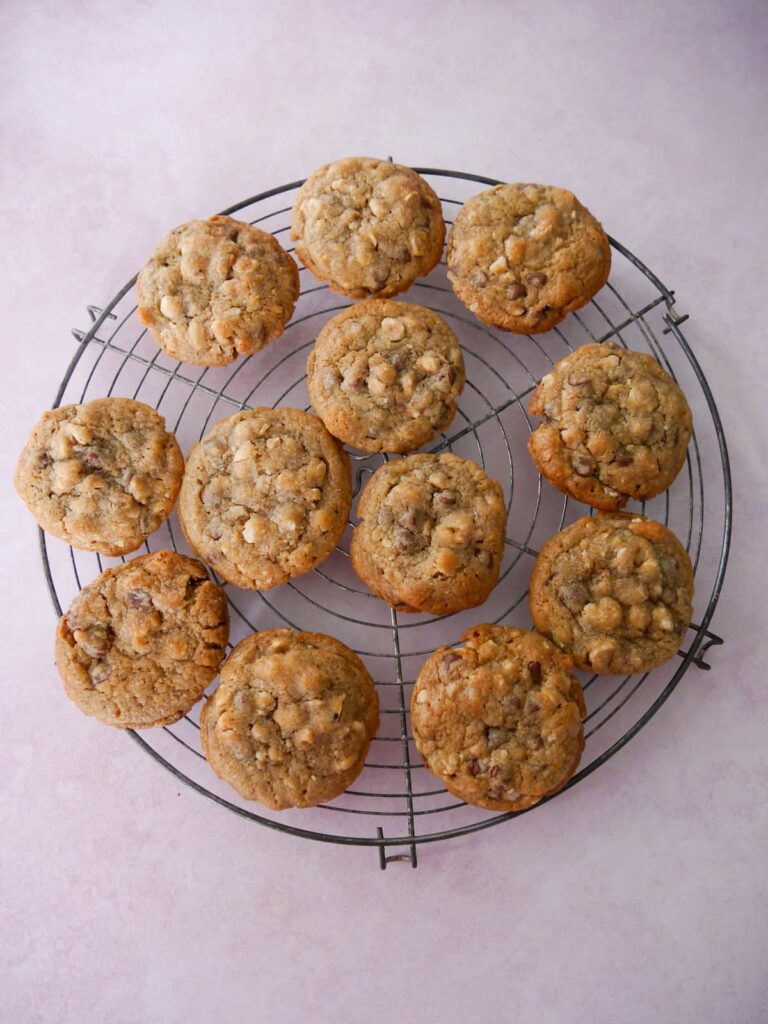
- Remove the cookies from the oven, place the tray on a wire cooling rack and allow to cool for 10 minutes and set a little.
- After 10 minutes gently place the cookies directly onto the wire rack to completely set and cool.
- Once cool store in an airtight container.
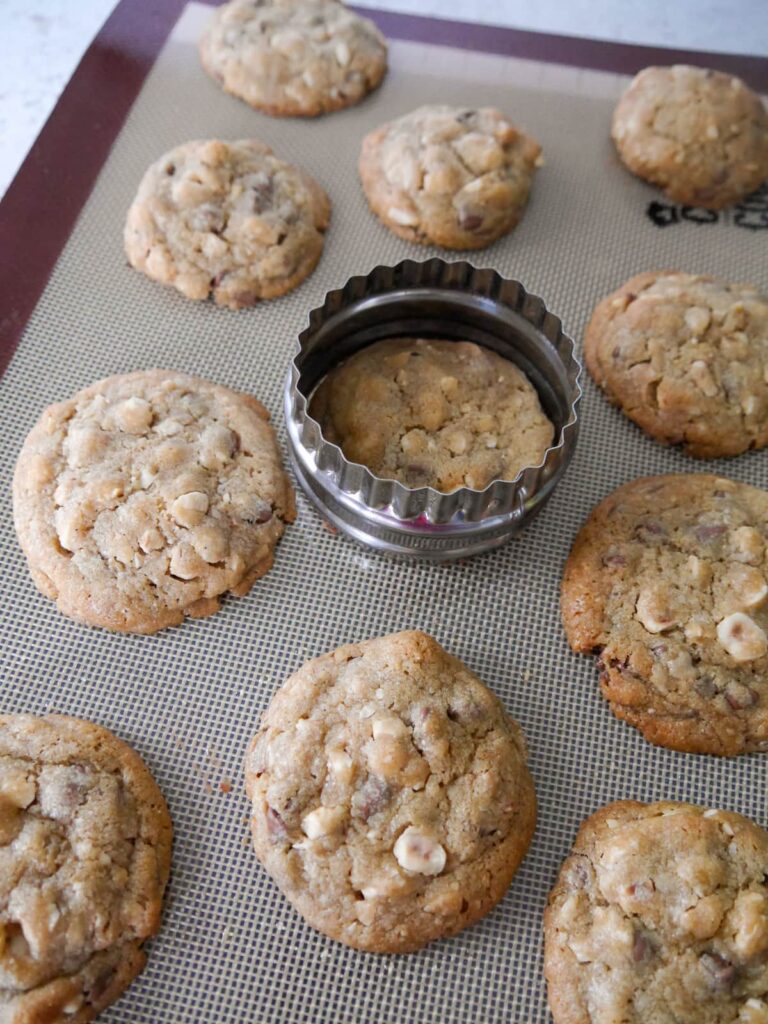
TOP TIP: If you want your cookies to look a uniform size, or if some have really spread in the oven, I have a simple trick to fixing this. As soon as the cookies come out of the oven they will still be soft and pliable. Get a circular cookie cutter and place smooth side down over the cookie, taking care not to touch the sides of the cookie. Now working in a circular motion, move the cutter and gently reshape the cookies.
Recipe variations
This recipe is simple, a basic cookie dough to which I've added the flavours of chocolate, hazelnut and vanilla. That's what I like about a basic recipe, you can play around with it and add the flavours that you enjoy and like to eat.
- Chocolate Chips - use whatever flavour you enjoy: milk; dark; white; chocolate orange. Or mix up your flavours, so long as you end up with 140g of chocolate chips.
- Nuts - I love adding nuts to cookies for added crunch. Try chopped almonds; pecans; brazil or macadamia nuts.
- Dried Fruits - raisin; sultanas; currants; cranberry; blueberry; all work with a basic cookie.
- Citrus Burst - ramp up the fruity flavour by adding some citrus zest. When it comes to flavouring lemon; lime; or orange zest can transform a simple cookie.
Useful hints & tips
- Line the baking tray with a silicone baking sheet or baking parchment as this will stop the cookies sticking to the tray.
- For anyone with a nut allergy, simply leave out the hazelnuts and increase the chocolate chips to 200g if you wish.
- Allergy advice: for comprehensive and detailed allergy advice go to Allergy UK.
FAQs
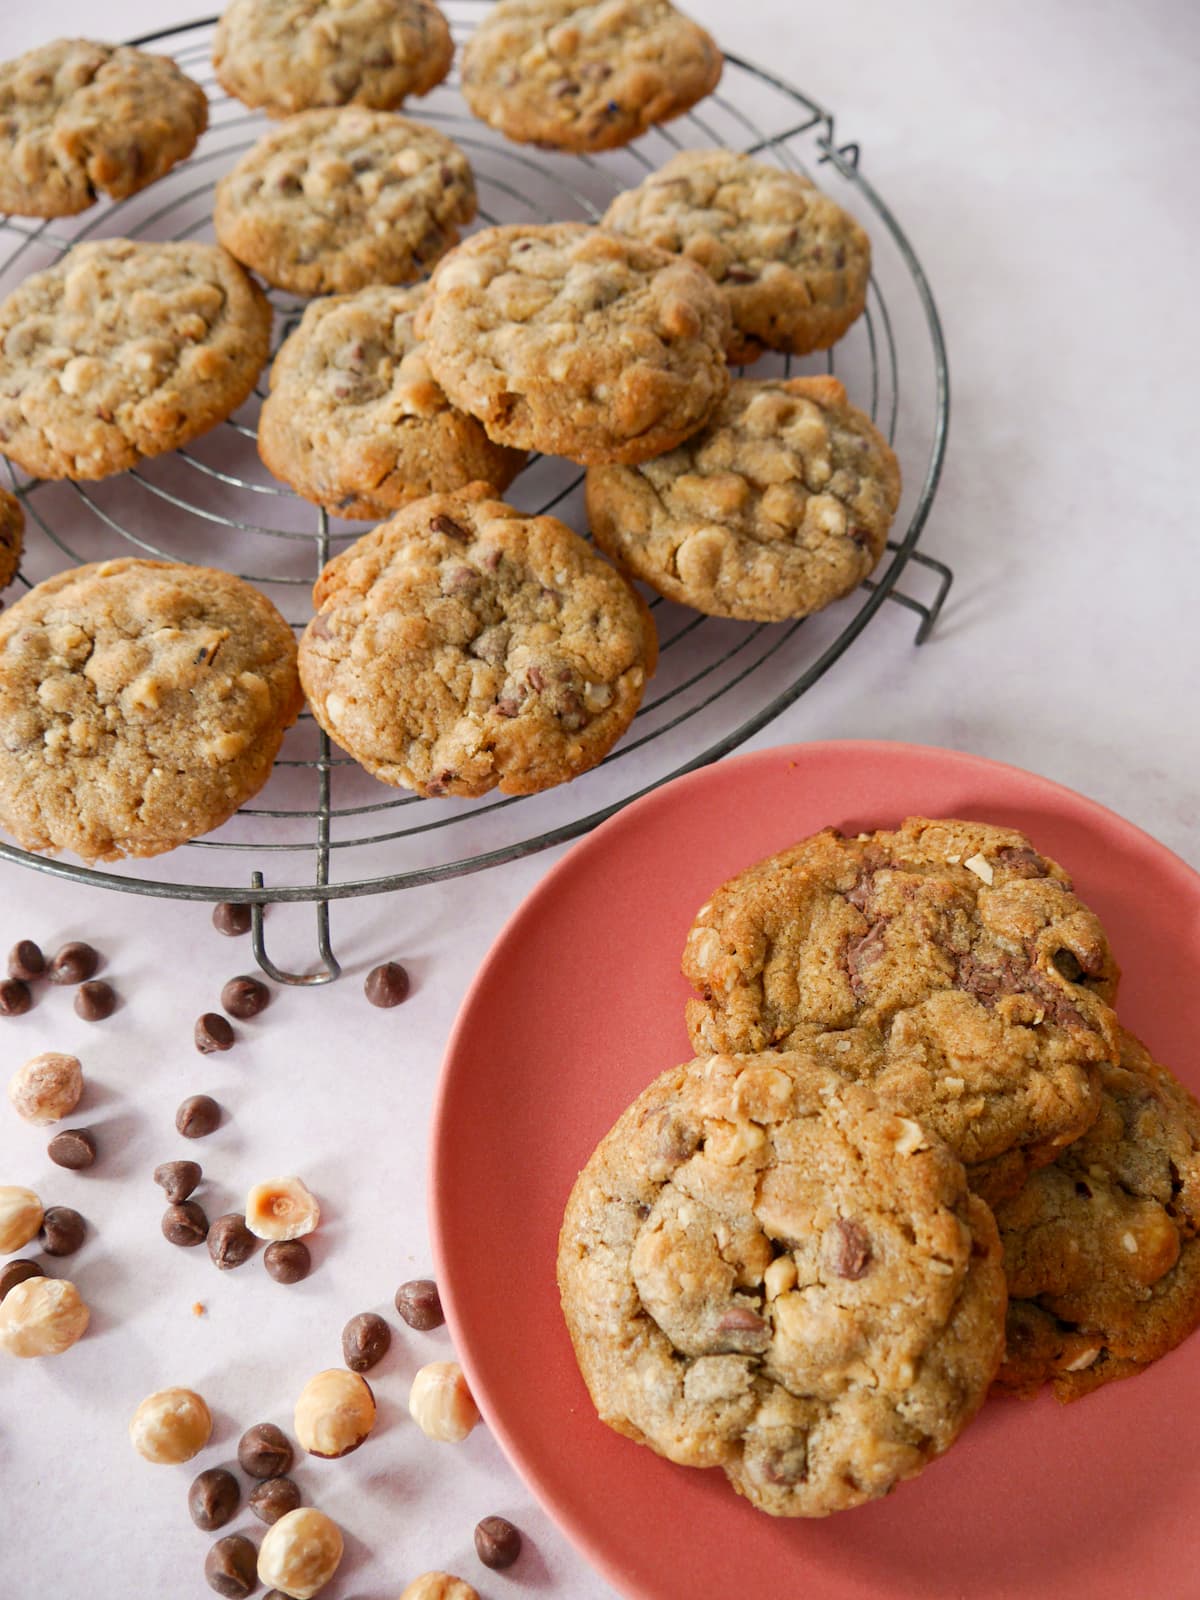
If you keep these cookies in an airtight container, they will remain fresh for up to a week. Not that they ever last that long in my house! However, do not be tempted to refrigerate these cookies as they will go soft and stale in the fridge.
Yes you can store these homemade chocolate cookies in an airtight container for up to 3 months in the freezer. When ready to enjoy just defrost at room temperature.
However, rather than freeze the cookie itself, what I like to do is freeze the dough, that way I can enjoy warm cookies straight from the oven. See the next FAQ below on how to freeze the dough.
Yes you can! Sometimes I make a double batch of chocolate and hazelnut cookie dough then split it into 3 portions. I bake 1 portion and freeze the other 2 for baking fresh at a later date.
Roll the dough into a log shape, wrap in clingfilm and place in a container suitable for the freezer. This means you have fresh cookie dough, ready to bake any time you fancy a sweet treat. Simply remove from the freezer, defrost and roll into rough balls, as shown above, and bake!
Pin the recipe
Additional recipe suggestions
If you like this recipe then why not try some of my favorite simple biscuit recipes:
- Pistachio White Chocolate Cookies
- Lemon Pistachio Cookies
- Date Oat Cookies with Ginger
- Orange Butter Biscuits
- Lemon Butter Biscuits
- Custard Creams
- Ginger & Chilli Biscuits
- No-bake Mars Bar Slice
If you enjoyed this bake have a look at my Fun Baking with Kids post, full of great recipe suggestions for baking with children.
Chocolate & Hazelnut Cookies
Equipment
- Baking sheet
- Baking parchment or silicone liner
- mixing bowl
- measuring spoons
- Wooden spoon
- weighing scales
- Electric hand whisk
Ingredients
- 80 g granulated sugar
- 80 g light brown muscovado sugar
- 150 g unsalted butter (softened)
- 2 teaspoon vanilla extract
- 1 large egg
- 225 g plain flour
- ½ teaspoon bicarbonate of soda
- ¼ teaspoon salt
- 140 g milk chocolate chips
- 140 g hazelnuts
Instructions
- Preheat the oven to 190C/170CFan/375F.
- Place the butter and both sugars into a bowl and beat well until you get a creamy mixture.
- Meanwhile place the hazelnuts in a sealed plastic bag and bash up gently with a rolling pin to create small chunks of nut.
- Once you have beaten the butter and sugars together, beat in the vanilla extract and the egg, mixing well to combine.
- Add the flour, bicarbonate of soda and salt to the bowl and continue to mix well until you have a rough dough.
- Add the milk chocolate chips and hazelnuts to the dough and mix until you have a well combined dough.
- Pull together small golf ball sized balls of the cookie dough and place these on a tray lined with baking parchment. Space the cookies well apart as they will spread in the oven. However do not flatten out the balls of dough.
- Once you have shaped all the cookies, you should get 25-30 cookies from this mix, place the trays into the hot oven. Bake the cookies for 10 minutes, they should be a little soft in the middle.
- Remove the cookies from the oven, place the tray on a wire cooling rack and allow to cool for 10 minutes and set a little. After 10 minutes gently place the cookies directly onto the wire rack to completely set and cool. Once cool store in an airtight container.
Notes
-
- Line the baking tray with a silicone baking sheet or baking parchment as this will stop the cookies sticking to the tray.
- For anyone with a nut allergy, simply leave out the hazelnuts and increase the chocolate chips to 200g if you wish.
- To intensify the flavour of hazelnut, try roasting the nuts first then adding a little hazelnut extract to the dough.
- The cookies will spread in the oven, so leave plenty space between each ball of cookie dough.
- If you want your cookies to look a uniform size, or if some have really spread in the oven, I have a simple trick to fixing this. As soon as the cookies come out of the oven they will still be soft and pliable. Get a circular cookie cutter and place smooth side down over the cookie, taking care not to touch the sides of the cookie. Now working in a circular motion, move the cutter and gently reshape the cookies.
- Cookie dough freezes really well so make a double batch, freezing some of the dough to make cookies another day.
• Please note that the nutrition information provided above is approximate and meant as a guideline only •


Chloe says
Perfect! Cookies have to be soft and these were spot on!
Lesley says
Thank you Chloe, I'm glad you enjoyed this simple bake.
Hazel says
I made these cookies and I've only one issue...they didn't last very long! I'll have to make some more.
Lesley says
Thank you Hazel, strangely enough they never last long in my house either.
Cat says
One of my favourite flavour combinations. These cookies were so delicious!
Lesley says
Thank you Cat, they're my favourite chocolate and nut cookie combo.
ro says
I’ve been baking this recipe for ages. We’ve stopped buying shop bought, this is so much more moist and melt in the mouth.
I roast the hazelnuts and also add a little hazelnut extract to intensify the taste.
Thank you for sharing a great, simple but satisfying recipe. ❤️❤️
Lesley says
Thank you Ro, I'm really glad you enjoy these cookies. This is hands down my favourite cookie recipe, it's so easy to prepare and tastes better than shop bought cookies which are too hard. Great idea roasting the hazelnuts, I'm going to try that next time.
Louise says
Currently isolating & needed to bake! What a fab easy recipe - absolutely delicious Baked for a few minutes longer as that is my preference but will definitely make again - have frozen half the batch in balls to see how they bake from frozen
Like the idea of almost instant home made cookies!!!
Lesley says
Thank you Louise, I hope that you are back up and out again soon! Yes, these are one of my favourite bakes, so simple and easily adapted, use the dough as a base and you can add in pretty much any flavouring that you like. I always like to have some frozen dough ready to bake up when the fancy takes me.
Lucilia says
This is the best cookie recipe I’ve found all my family loved it
It’s now my go to for all my cookies just changing the chocolate an hazelnut for other things but the chocolate and hazelnut are delicious Thankyou for sharing
Lesley says
Thank you very much Lucy, I'm delighted that you like this recipe. It's our favourite too and like you we change up the ingredients from time to time, depending on what's in my cupboards.
Almaz says
Very easy and straightforward recipe, and they tasted lovely.
However I wanted to know what you would suggest to make them a bit less cakey and more “doey” on a the inside just to suit my personal preference. Should I adjust the cooking time or tweak some ingredients?
Lesley says
Thank you Almaz, they are such a simple cookie to bake. Ok a couple of suggestions that you might want to try. Firstly you could try swapping the muscovado sugar for some white sugar as white sugar tends to make a crunchier cookie. However, doing this you would loose some of the depth of flavour. You could also try making the cookies a little smaller and try cooking them for a little longer, however, take care not to burn them.
Rosario Plummer says
Amazing and delicious
Lesley says
Thank you Rosario.
Jackie Thompson says
These look gorgeous sending hubby out for hazelnuts today on the excuse he loves nuts. Can't wait to try them . Thanks for sharing
Lesley says
You’re welcome Jackie. They’re such a simple bake but very moreish. I hope you enjoy them. Lesley
Janice says
I love the look of these cookies, hazelnuts have such a great taste and go really well with chocolate.
Lesley says
Thank you Janice, these are my daughters favourite cookies (mine too) and easy enough that they can bake them themselves. Lesley x
Fiona says
The girls made these at the weekend - half with hazelnuts and half without as one doesn't like nuts. They were delicious!
Michelle says
So pleased you and the girls enjoyed them Fiona, its one of the bakes we make a lot with our girls too. Cheers, Michelle x