

These dark chocolate peppermint cookies are the perfect festive sweet treat. Inspired by last year's Marks & Spencer peppermint bark cookies that my daughter loved, this homemade version combines rich dark chocolate, with vanilla and peppermint and a sprinkling of crushed candy canes for that festive twist.

These soft and chewy peppermint chocolate cookies are packed with festive flavour. Dark chocolate and peppermint is a classic combination, and the crushed candy canes add some festive charm.
Whether baking for family, friends or simply treating yourself, this easy cookie recipe is guaranteed to become a seasonal favourite. Serve them with a mug of your favourite hot chocolate, coffee, or a glass of cold milk.
Jump to:
Why you'll love this recipe
- Dark chocolate and peppermint are a classic Christmas pairing, these festive cookies deliver flavour in every bite.
- A simple cookie recipe with straightforward steps that is easy to follow, and suitable for all levels of baker.
- Great for sharing, double the batch of cookie dough and share some with friends, they are the perfect festive edible gift.
Recipe ingredients
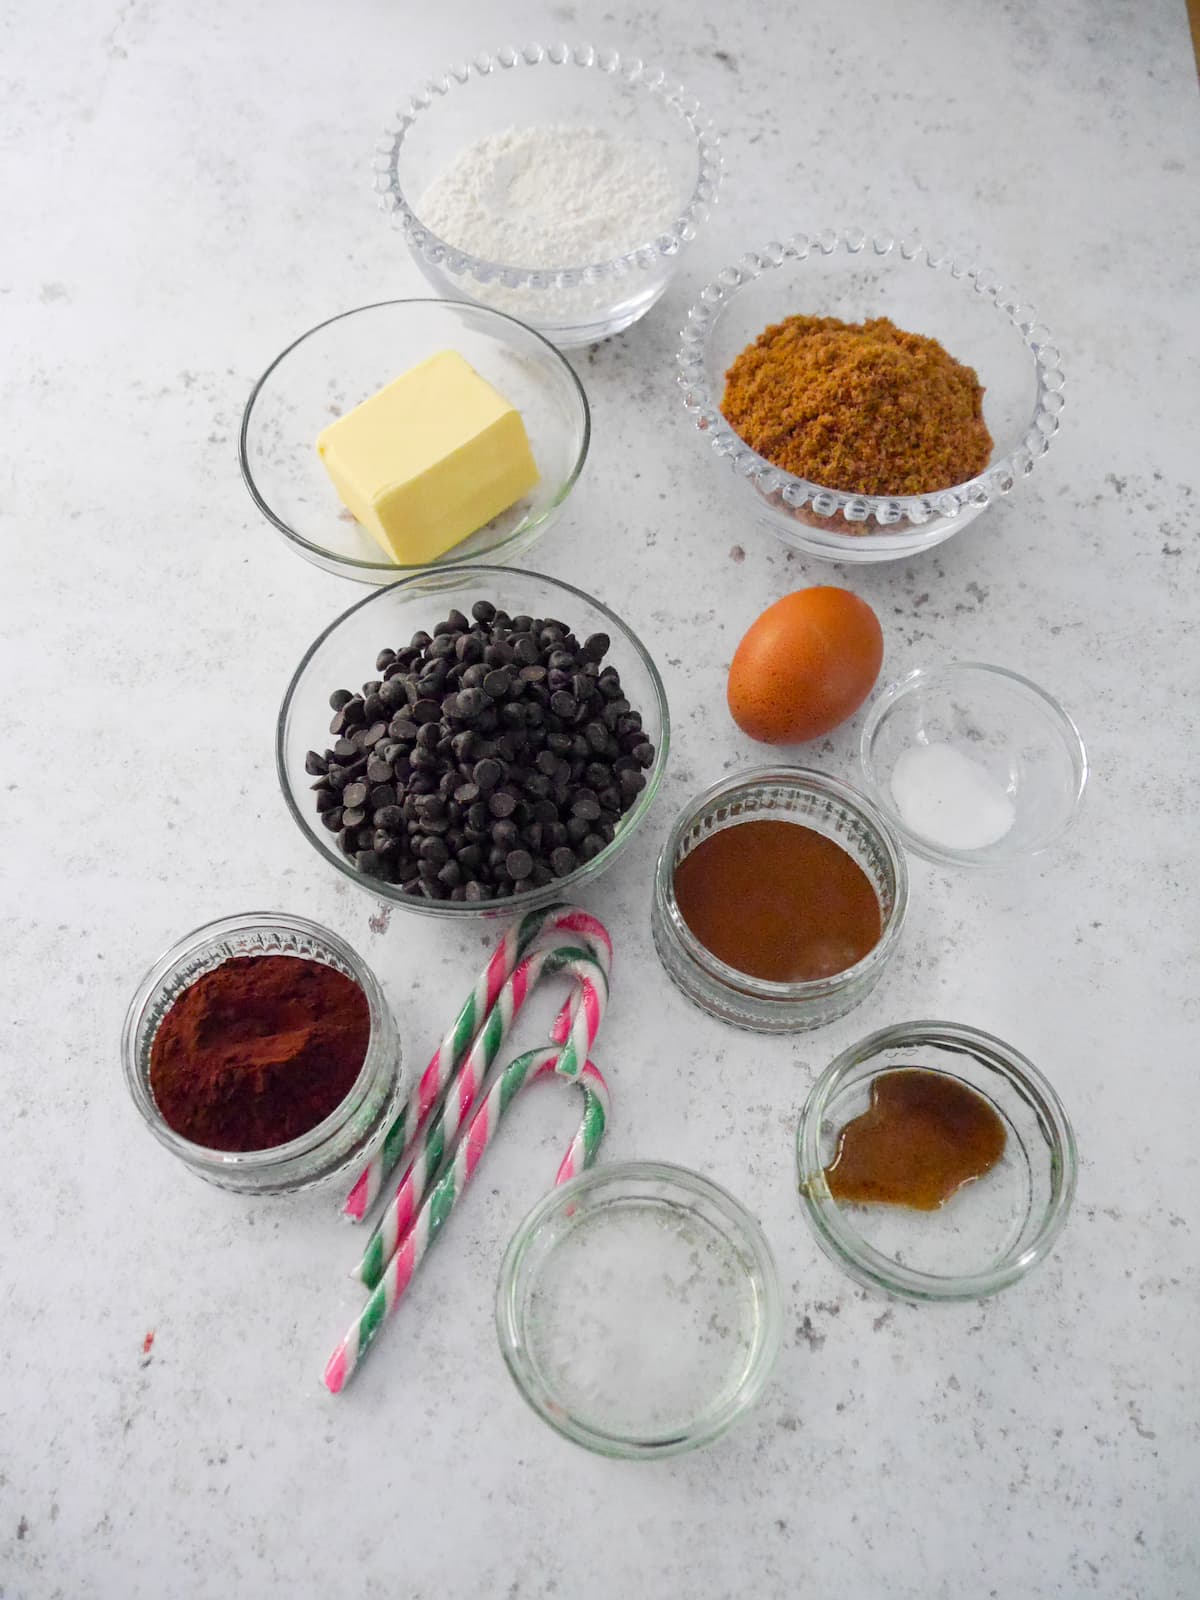
Find the full list of ingredients and quantities in the recipe card below.
- Candy canes - I use 3 peppermint candy canes, roughly crushing them, using the powdered candy cane to add to the cookie dough, and saving the larger pieces to decorate the cookies once baked.
- Butter - I used unsalted butter in this recipe.
- Chocolate - I like to use dark chocolate chips in this recipe. If you can't find dark chocolate chips, just use the same weight of a bar of 60-70% dark chocolate.
- Sugar - I like to use light muscovado sugar in this recipe as it has a great molasses flavour.
- Egg - one large egg is added to help bind the cookie dough and add moisture.
- Flavouring - for a nice rounded flavour, I add both peppermint extract and a little vanilla bean paste (or extract) to the cookie dough.
- Flour - I use plain flour (all purpose) in this recipe.
- Cocoa powder - I use natural cocoa powder in this recipe. If using Dutch processed cocoa powder, swap the bicarbonate of soda for baking powder.
- Coffee - I like to add a teaspoon of instant coffee powder to the dough as the bitterness balances the sweetness in the cookies.
- Salt - I always add a pinch of fine sea salt when baking to balance sweetness.
- Bicarbonate of soda - I add baking soda to the cookie dough as it helps the cookies spread and gives them a chewy texture.
How to make dark chocolate peppermint cookies
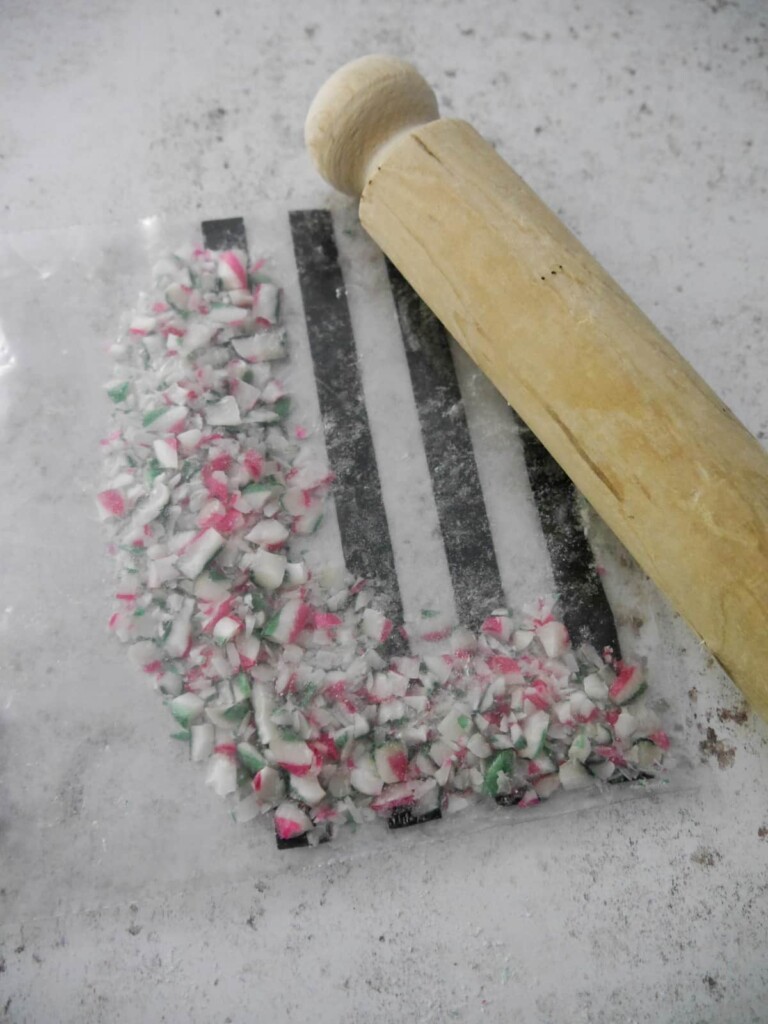
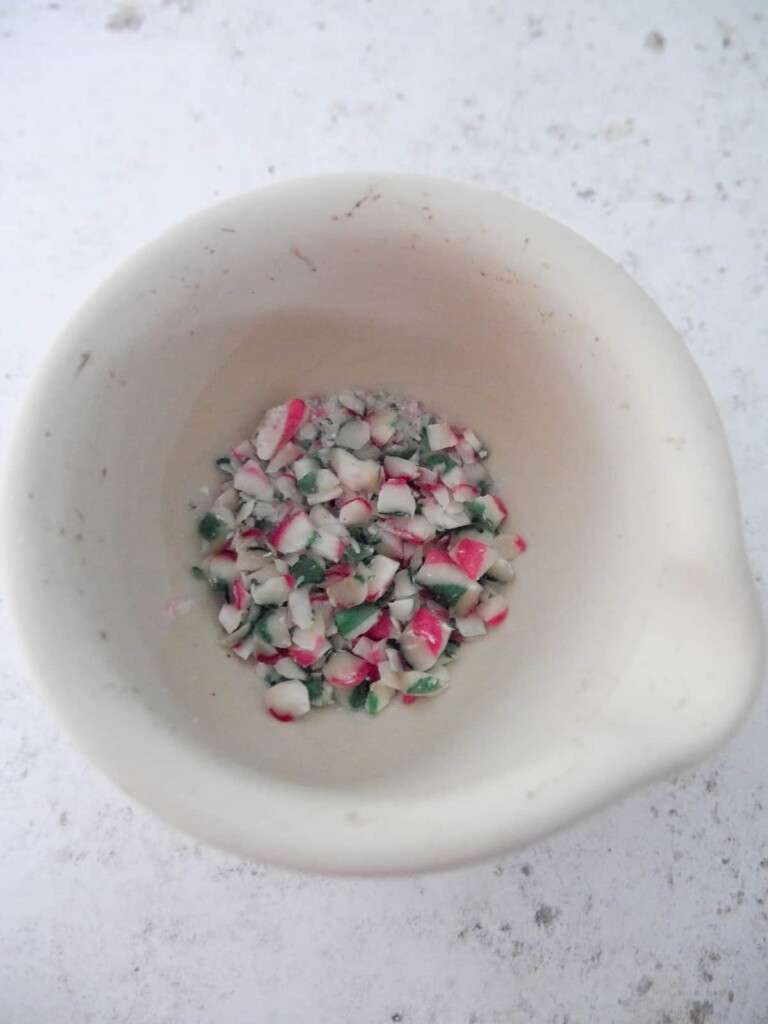
- Crush the candy canes. Do this either by placing them in a Ziploc bag and crushing with a rolling pin, or by using a pestle and mortar.
- Separate the larger pieces of candy cane and set aside for decorating the cookies later, leaving the small powdered pieces for the cookie dough.
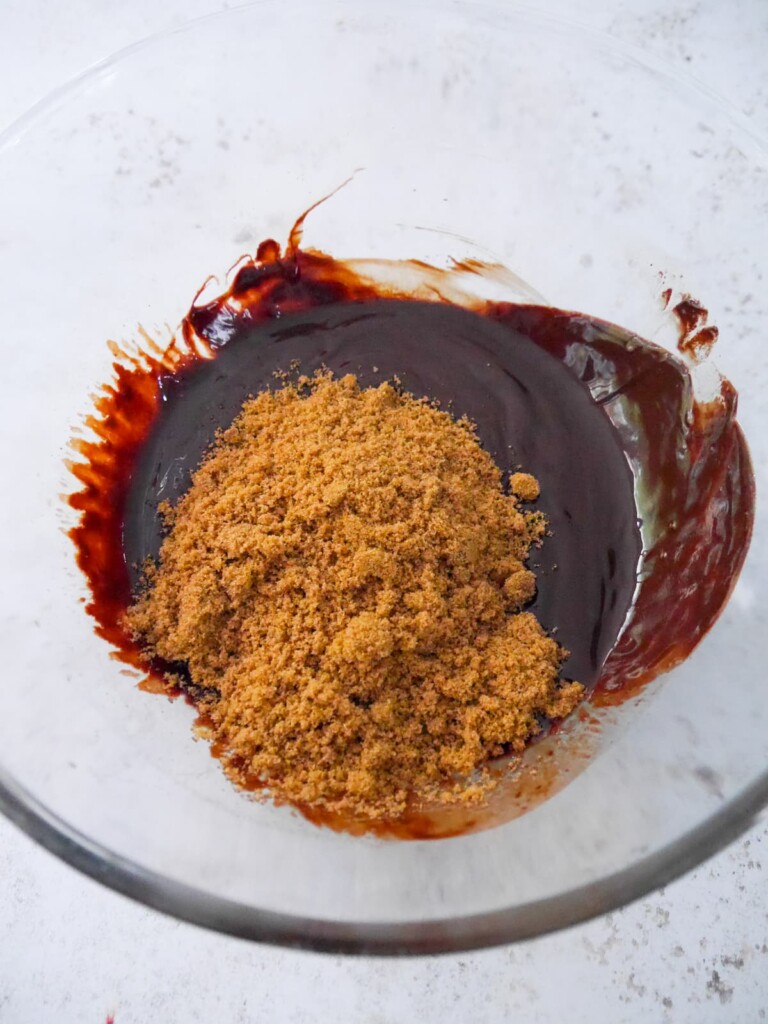
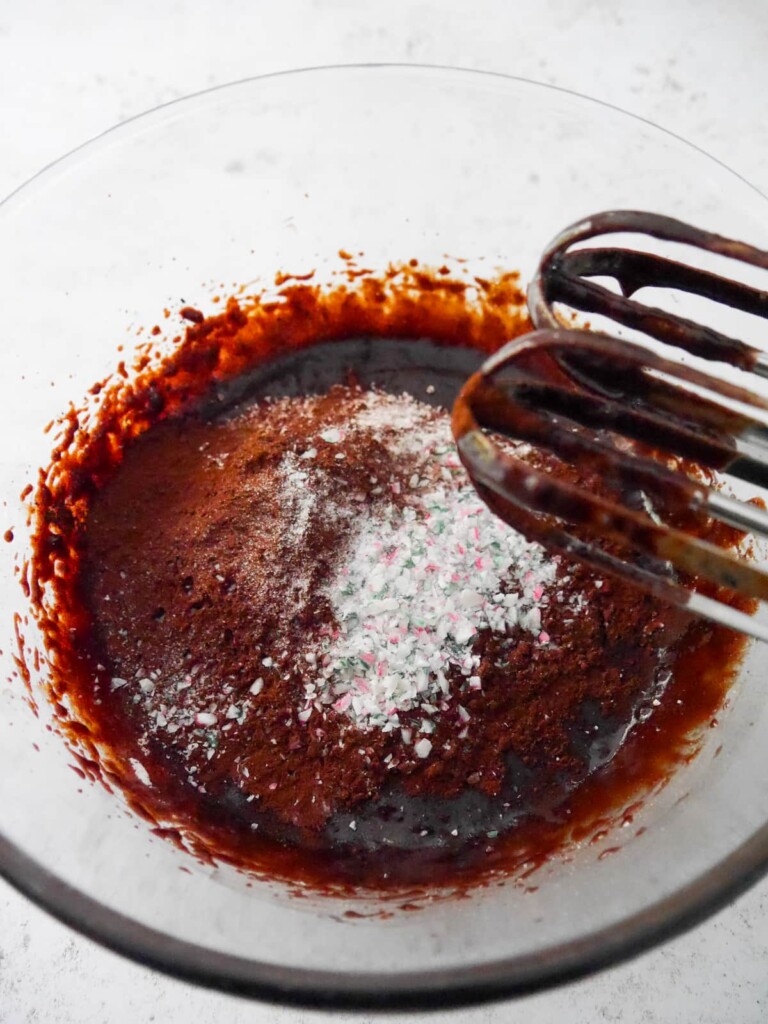
- Place the butter and dark chocolate chips into a large bowl and melt in the microwave in 30 second increments. When fully melted stir to combine.
- Add the sugar to the bowl and whisk for 2 minutes.
- Now mix in the egg, vanilla and peppermint extract and whisk again to combine.
- Add the flour, cocoa powder, coffee powder, salt and bicarbonate of soda to the bowl along with the powdered candy cane pieces.
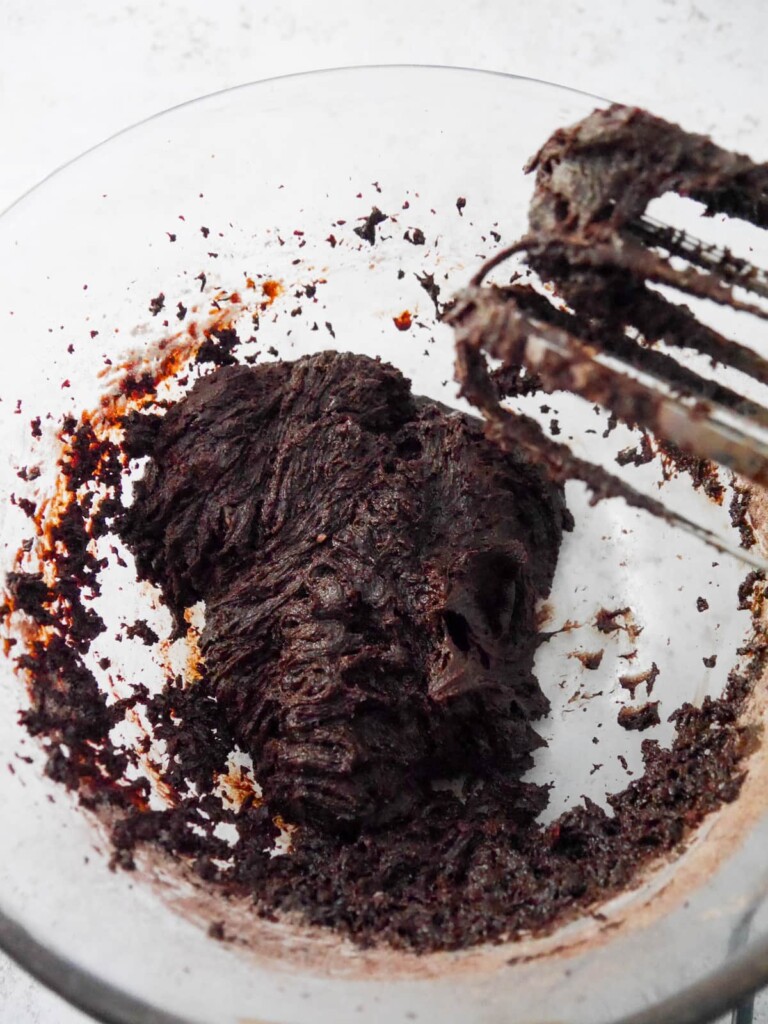
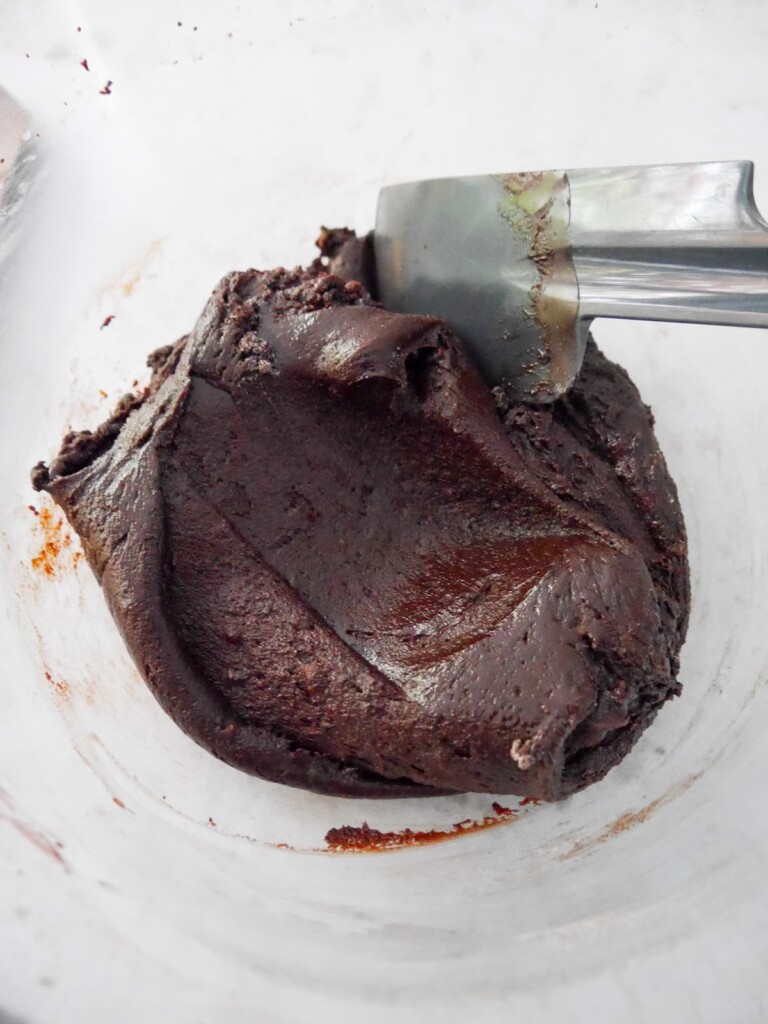
- Whisk to combine, then scrape down the sides and whisk again.
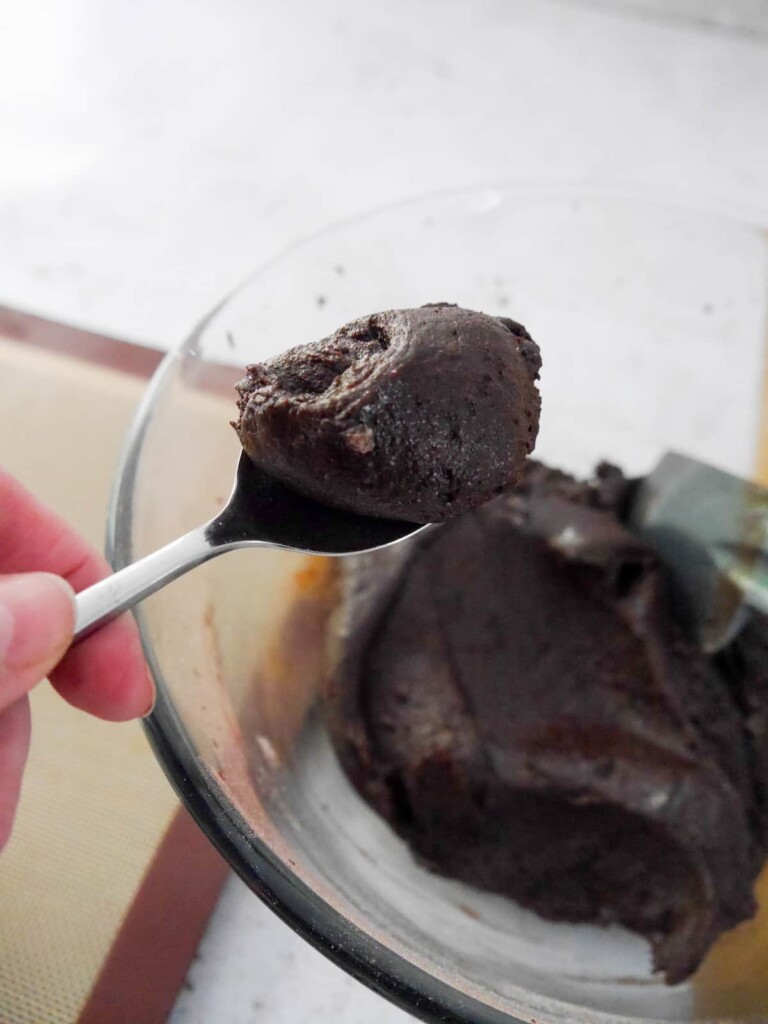
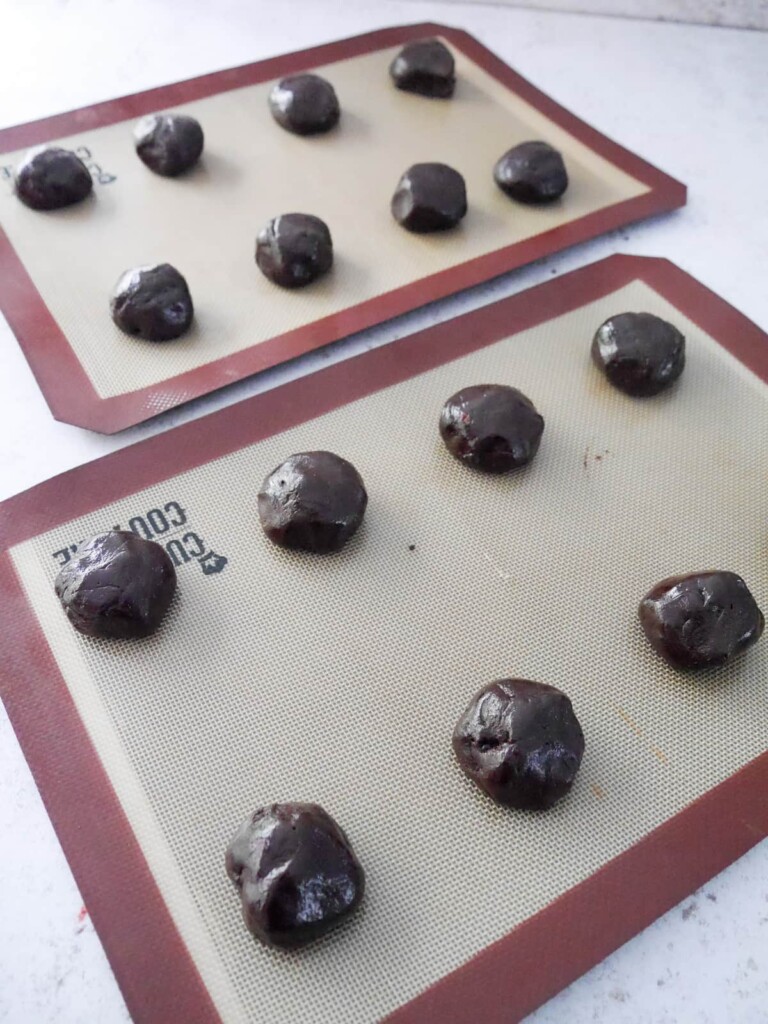
- This is a sticky dough, so bring the dough together using a spatula.
- Shape the dough into small golf ball sized balls, using a heaped dessert spoon of the cookie dough, Roll into a ball and place the cookies onto the lined baking sheet.
- Allow 8 balls of cookie dough per sheet, this will allow space for spreading during the bake.
- Now place both trays of cookies into the fridge and chill for 3 hours (or overnight). Do not skip this step, this is a moist cookie dough than needs to be chilled so the cookies hold their shape when baked.


- When ready to bake the cookies, preheat the oven to 180C/160CFan/350F.
- Take the baking sheets from the fridge directly to the oven and bake the cookies for 14 minutes, if still too wet you can add another 1-2 minutes to the bake.
- Remove the baking sheets from the oven and place on a wire rack.
- Take the remaining chunky pieces of candy cane and scatter these over the top of the warm cookies, gently pressing any pieces into cracks in the cookie.
- Leave for 10 minutes to allow the cookies to set, then carefully remove the cookies onto the wire racks to cool completely.
- Store the cookies in an airtight container, on the countertop for 5 days.

Recipe variations
- Chocolate - I've used dark chocolate chips, but for a sweeter cookie you can use milk chocolate or try a mix of both dark and milk.
- White chocolate - stir 50g of white chocolate chips through the cookie dough just before shaping the cookies.
- Peppermint - I like a strong peppermint flavour so add 2 teaspoons of peppermint extract to the cookie dough. For a milder flavour you can reduce that to 1 teaspoon.
- Nuts - some chopped nuts are a great addition to a cookie dough, try hazelnuts, pecans or walnuts.
- Alternative toppings
- add a drizzle of melted dark or white chocolate before adding the crushed candy cane
- add some festive red, white and green sprinkles
- scatter over some chocolate chips, or chocolate shavings, as soon as the cookies come out of the oven
Serving suggestions
These cookies are perfect served with a warm mug of hot chocolate, coffee, or a cold glass of milk. For an easy dessert, serve them warm from the oven with a scoop of vanilla ice cream of peppermint and chocolate chip ice cream.
Cookies are a great sweet treat to serve at parties and holiday gatherings. They also make a great edible gift, so layer some up in a festive tin and gift to friends and family.

Useful hints and tips
- If you want thicker cookies, you need to chill the dough - 3 hours or overnight if time allows. If the dough is warm going into the oven, the cookies will spread too much during the bake, leaving you with thin cookies.
- For larger cookies, split the dough into 8 cookies rather than 16. You will just need to bake them longer in the oven.
- Double the cookie dough recipe if planning a festive party, or to wrap up as edible gifts.
- Allergy advice: nut free and soya free. For comprehensive and detailed allergy advice go to Allergy UK.
FAQs
Yes, this cookie dough can be made up to 3 days ahead and stored in the fridge until you are ready to bake.
Yes, you can freeze the unbaked balls of cookie dough for up to 3 months in an airtight container. The cookies can be baked straight from frozen, just allow an extra 1-2 minutes bake time so they thaw properly.
No you don't have to use the candy canes. Most of the flavour in these cookies comes from the peppermint extract, so leave the candy canes out if you prefer.
The first tip is to avoid overbaking the cookies, and they will firm up and set once out of the oven. For best results store the cookies in an airtight container at room temperature. Also note that they will be at their softest and chewiest a day or 2 after baking.
Pin the recipe

Additional recipe suggestions
If you like this recipe then try these easy cookie recipes:
- Spiced Christmas Cookies
- Mincemeat Cookies
- Chocolate & Hazelnut Cookies
- Lemon Pistachio Cookies
- Pistachio White Chocolate Cookies
- Easy Date Oat Cookies with Ginger
- Ginger & Chilli Biscuits
If you enjoyed this bake have a look at my Fun Baking with Kids post, full of great recipe suggestions for baking with children.

Dark Chocolate Peppermint Cookies Recipe
Equipment
- large mixing bowl
- Electric hand whisk
- weighing scales
- measuring spoons
- dessert spoon
- 2 Baking sheets
- 2 silicone liners or baking parchment
- 2 wire cooling racks
Ingredients
- 3 peppermint candy canes (crushed)
- 115 g unsalted butter
- 200 g dark chocolate chips
- 150 g light muscovado sugar
- 1 large egg
- ½ teaspoon vanilla bean paste or extract
- 1-2 teaspoon peppermint extract (1 teaspoon for milder peppermint flavour, 2 teaspoon for a stronger peppermint flavour)
- 130 g plain flour (all purpose)
- 30 g cocoa powder
- 1 teaspoon instant coffee powder
- 1 pinch fine sea salt
- ½ teaspoon bicarbonate of soda
Instructions
- Crush the candy canes. Do this either by placing them in a Ziploc bag and crushing with a rolling pin, or by using a pestle and mortar. Separate the larger pieces of candy cane and set aside for decorating the cookies later, leaving the small powdered pieces for the cookie dough.
- Place the butter and dark chocolate chips into a large bowl and melt in the microwave in 30 second increments. When fully melted stir to combine.
- Add the sugar to the bowl and whisk for 2 minutes.
- Now mix in the egg, vanilla and peppermint extract and whisk again to combine.
- Add the flour, cocoa powder, coffee powder, salt and bicarbonate of soda to the bowl along with the powdered candy cane pieces. Whisk to combine, then scrape down the sides and whisk again.
- This is a sticky dough, so bring the dough together using a spatula.
- Shape the dough into small golf ball sized balls, using a heaped dessert spoon of the cookie dough, Roll into a ball and place the cookies onto the lined baking sheet.
- Allow 8 balls of cookie dough per sheet, this will allow space for spreading during the bake.
- Now place both trays of cookies into the fridge and chill for 3 hours (or overnight). Do not skip this step, this is a moist cookie dough than needs to be chilled so the cookies hold their shape when baked.
- When ready to bake the cookies, preheat the oven to 180C/160CFan/350F.
- Take the baking sheets from the fridge directly to the oven and bake the cookies for 14 minutes, if still too wet you can add another 1-2 minutes to the bake.
- Remove the baking sheets from the oven and place on a wire rack.
- Take the remaining chunky pieces of candy cane and scatter these over the top of the warm cookies, pressing gently into any cracks in the cookie.
- Leave for 10 minutes to allow the cookies to set, then carefully remove the cookies onto the wire racks to cool completely.
- Store the cookies in an airtight container, on the countertop for 5 days.
Notes
• Please note that the nutrition information provided above is approximate and meant as a guideline only •



Leave a Reply