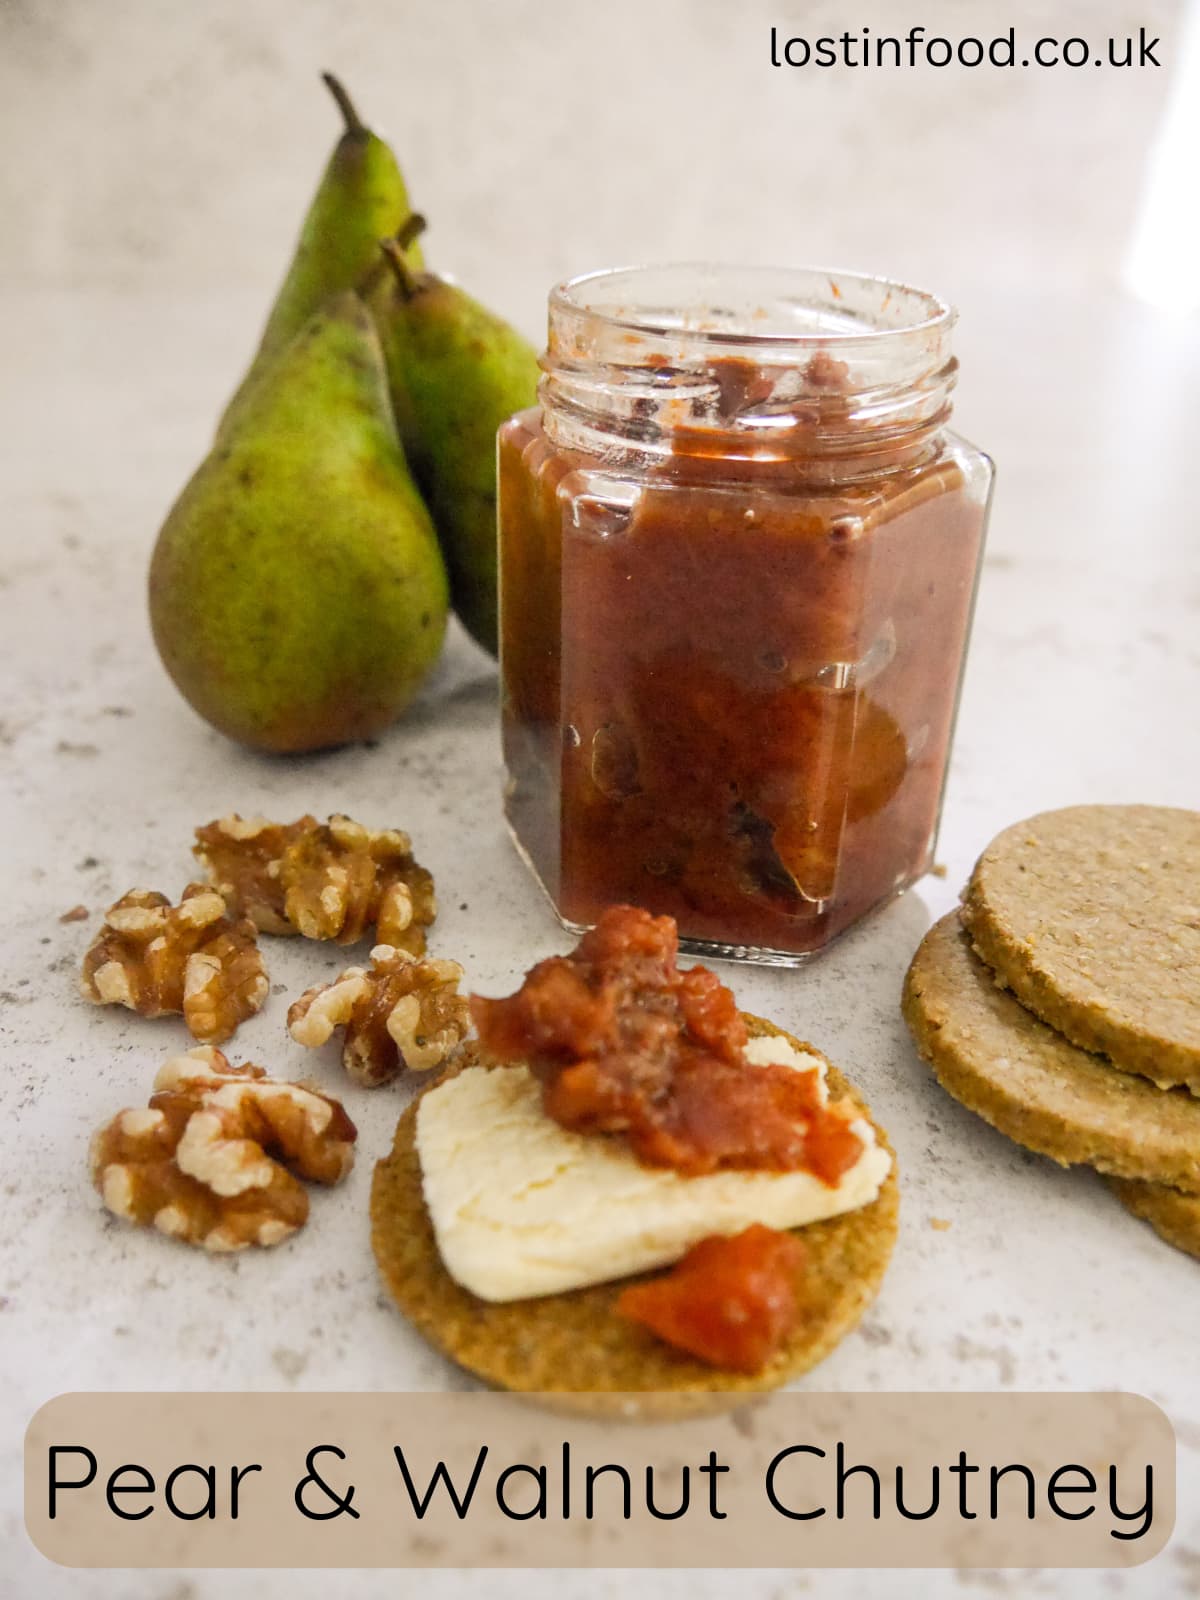
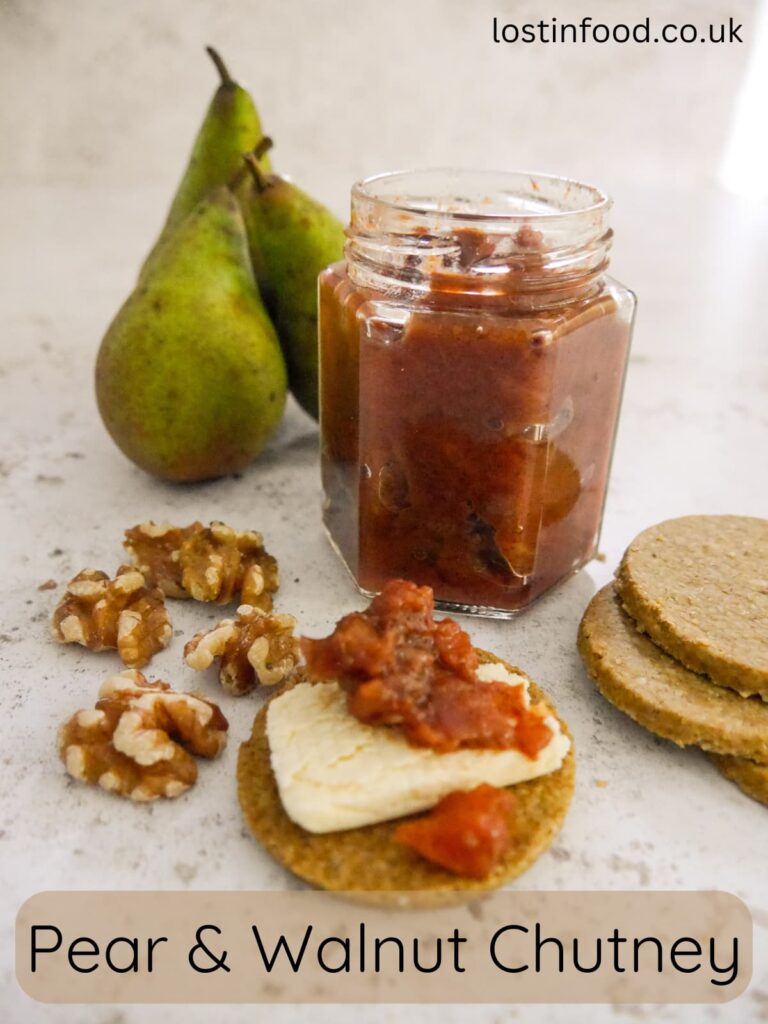
This easy pear and walnut chutney recipe is one of my favourite chutney recipes. I combine fresh pears with a little green apple to add acidity, dates for sweetness and toasted walnuts for crunch and texture. Some warm spices add an extra layer of flavour to the chutney.

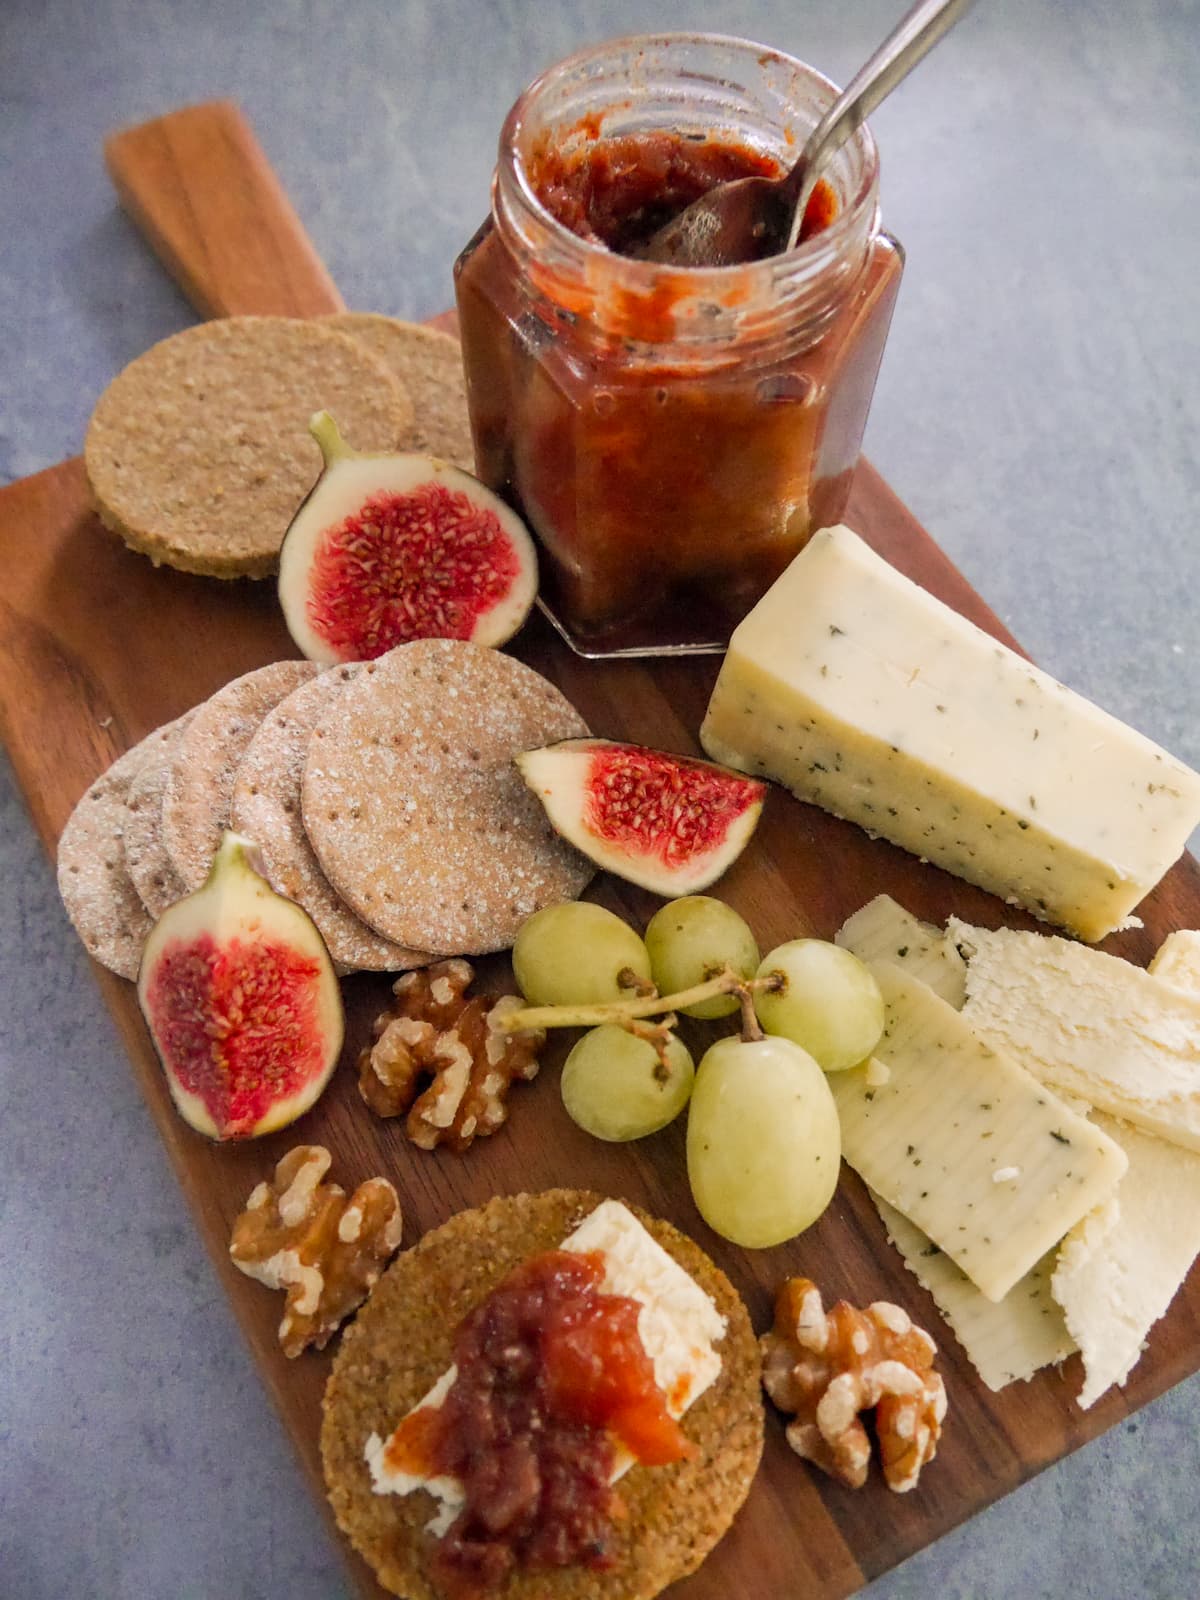
I love cheese and like to serve it with a good homemade chutney. I often serve walnuts and pecans with a cheeseboard, so decided to try adding some toasted walnuts into the actual chutney itself. The results was perfection for me, just the right amount of crunch.
This old fashioned pear and walnut chutney is quite a traditional recipe. However, I think nuts have fallen out of favour a little, being replaced instead with dried fruits. I love adding dates to a chutney as they cook down, adding an almost molasses like sweetness.
However, this is a raisin free chutney recipe. I do not like the addition of raisins or sultanas to any chutney, so you won't find any in this recipe. However, if you like raisins, feel free to add them in.
Why you'll love this recipe
- As with most chutney recipes, this recipe is easily doubled up if you want to make a larger batch of chutney. Just increase the size of your saucepan to suit.
- Homemade pear and walnut chutney makes a great gift for anyone who enjoys a cheeseboard. I always make enough for myself with some leftover to hand out as gifts.
- This easy pear and walnut chutney is gluten free, dairy free and vegan.
Recipe ingredients
- Pear: I used conference pears in this recipe. You can use any variety of pear in this recipe, but look for firm fleshed fruit and not something soft and overly ripe.
- Apples: I used Granny Smith apples and they have a firm texture and lovely sharp apple flavour. You can use any variety of eating apple, but opt for one with firm flesh so that it doesn't break down too much when cooked.
- Dates: dates add great sweetness to the chutney, for ease I use ready pitted dates, but if you have pitted dates its really easy to remove the pit.
- Onion: I use a brown onion as it has a great strong flavour which works well in a chutney.
- Vinegar: I use apple cider vinegar in this recipe as it adds acidity which balances out all the sweetness.
- Sugar: I like to use soft brown sugar in a chutney as it has a better depth of flavour than white sugar.
- Ground spices: I use a combination of ground ginger, cinnamon and nutmeg in this chutney.
- Sea salt: I like to add a teaspoon of sea salt which helps to balance out the sweetness and acidity in this chutney.
- Walnuts: walnuts add great texture and a bit of crunch in the chutney.
How to make pear & walnut chutney
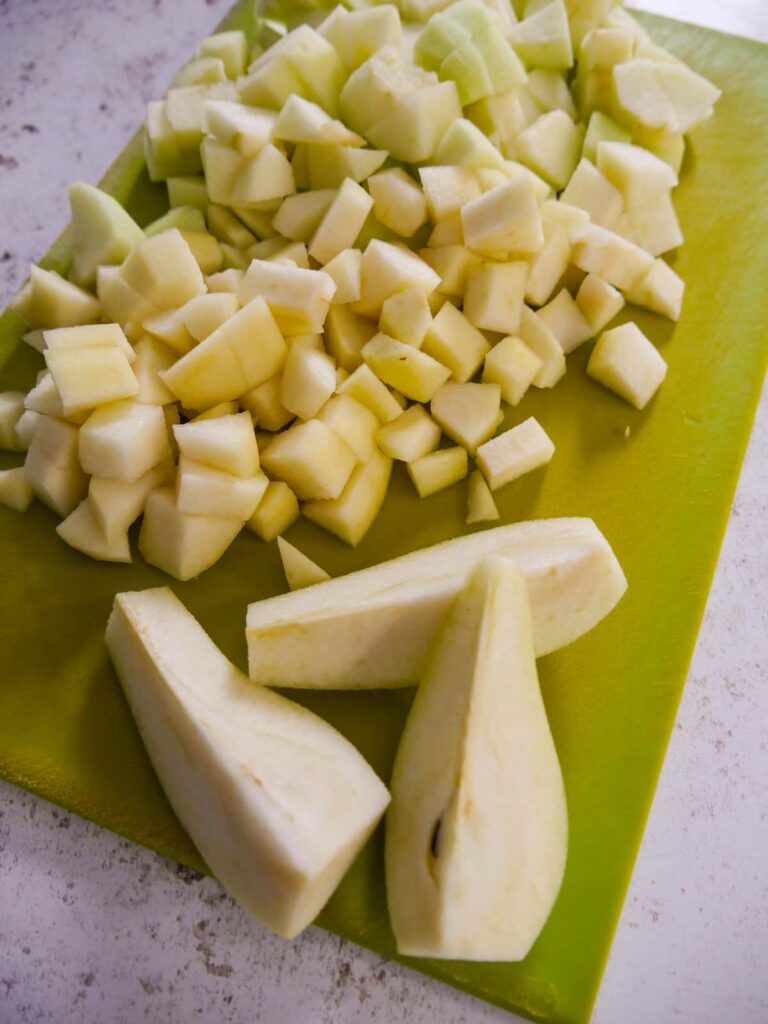

- Take time to peel and core the apples and pears, then cut into even sized 1cm pieces.
- If not using pitted dates, remove and discard the pits, then chop the dates into small pieces.

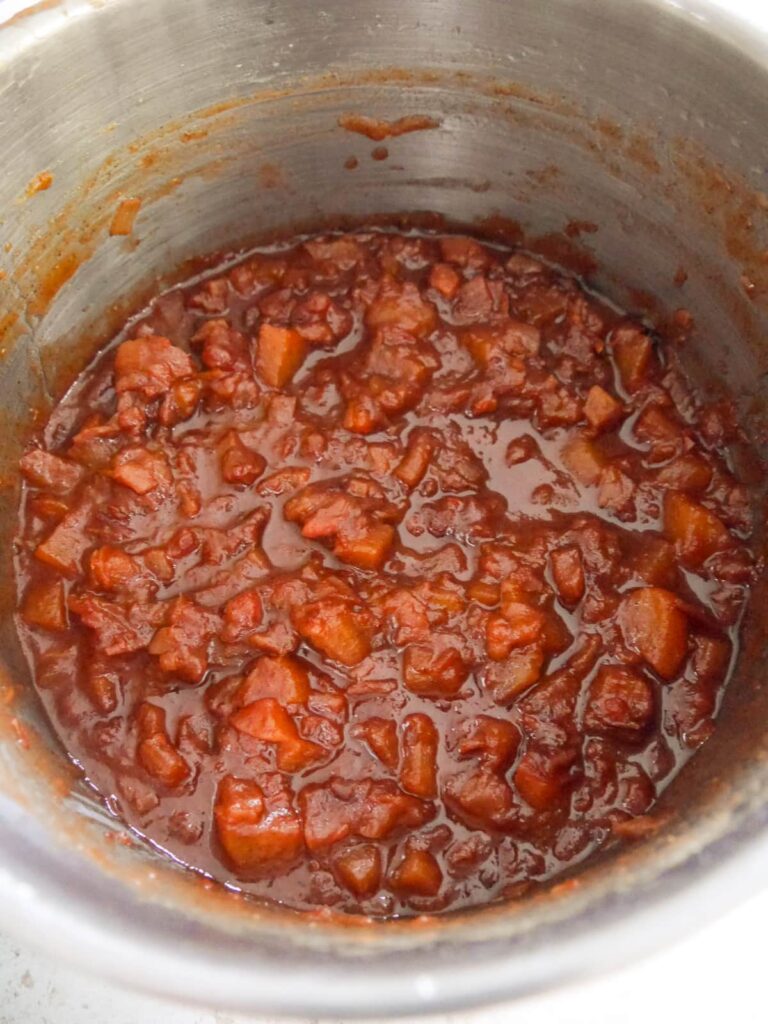
- Place the pears, apples and dates into a large heavy bottomed saucepan, along with the onion, vinegar, brown sugar, ground spices and salt. Give everything a stir.
- Place the saucepan over the heat, bring to a boil, then turn the pan down low and simmer gently for 1 hour to 1 hour 15 minutes, until the chutney is soft and has a jam like consistency.
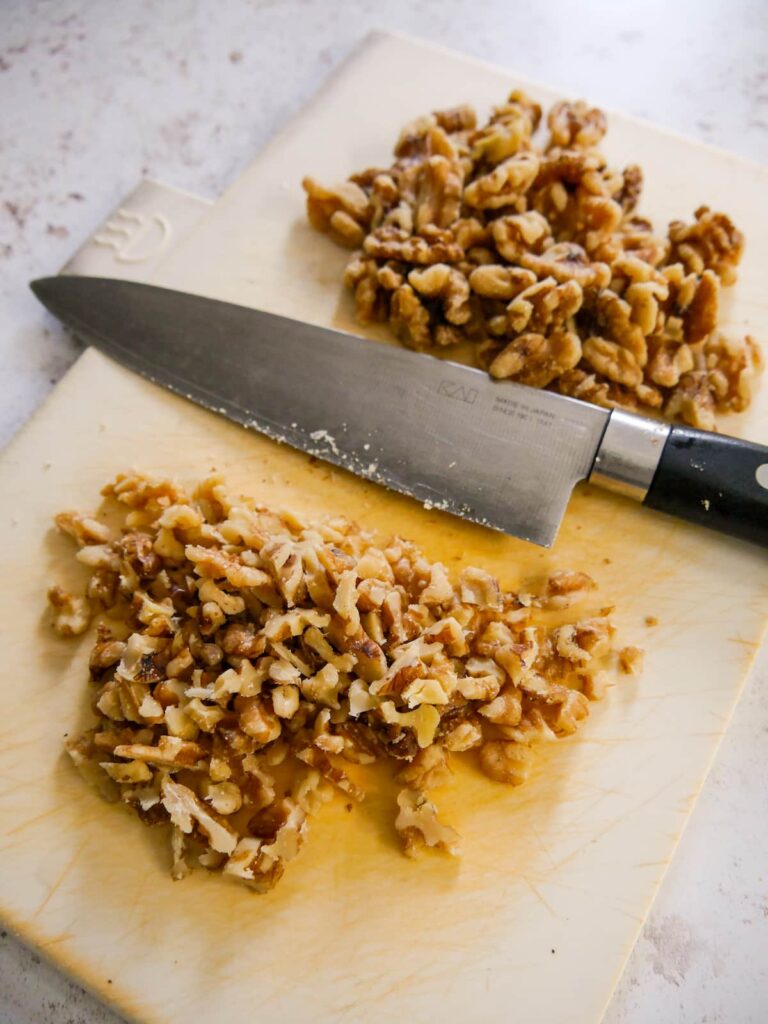

- While the chutney is cooking, lightly toast the chopped walnuts in a dry non stick pan. Keep the nuts moving to stop them from burning. Once toasted remove the nuts from the heat and set aside.
- You should also sterilise the chutney jars while the chutney is bubbling away.
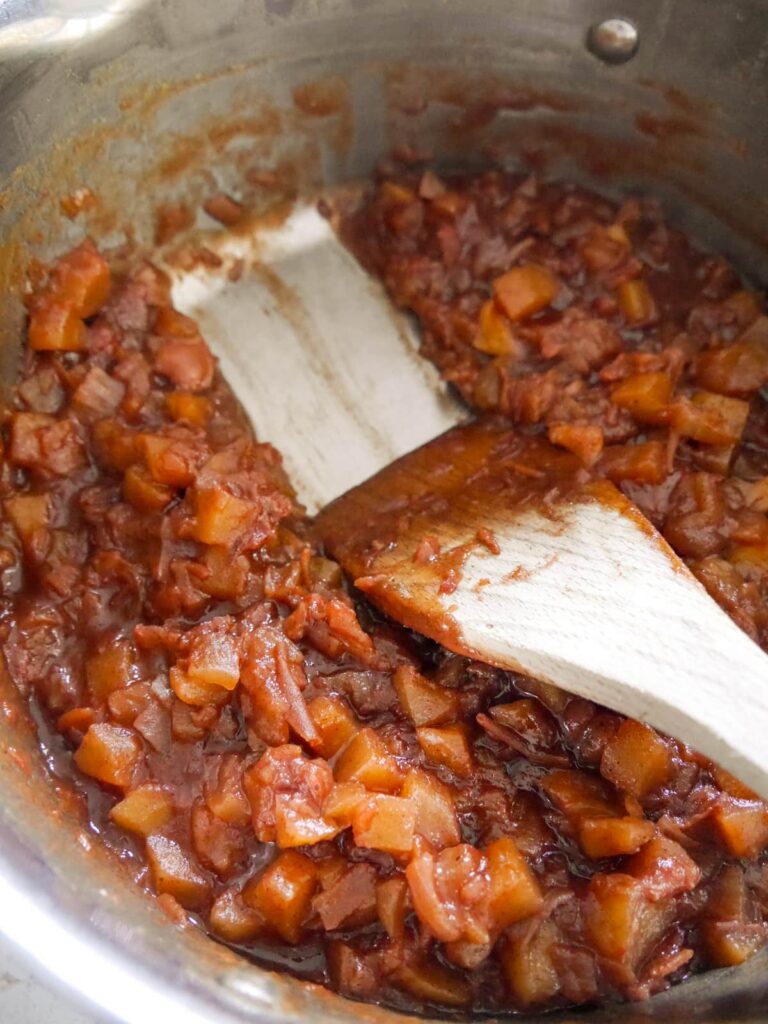
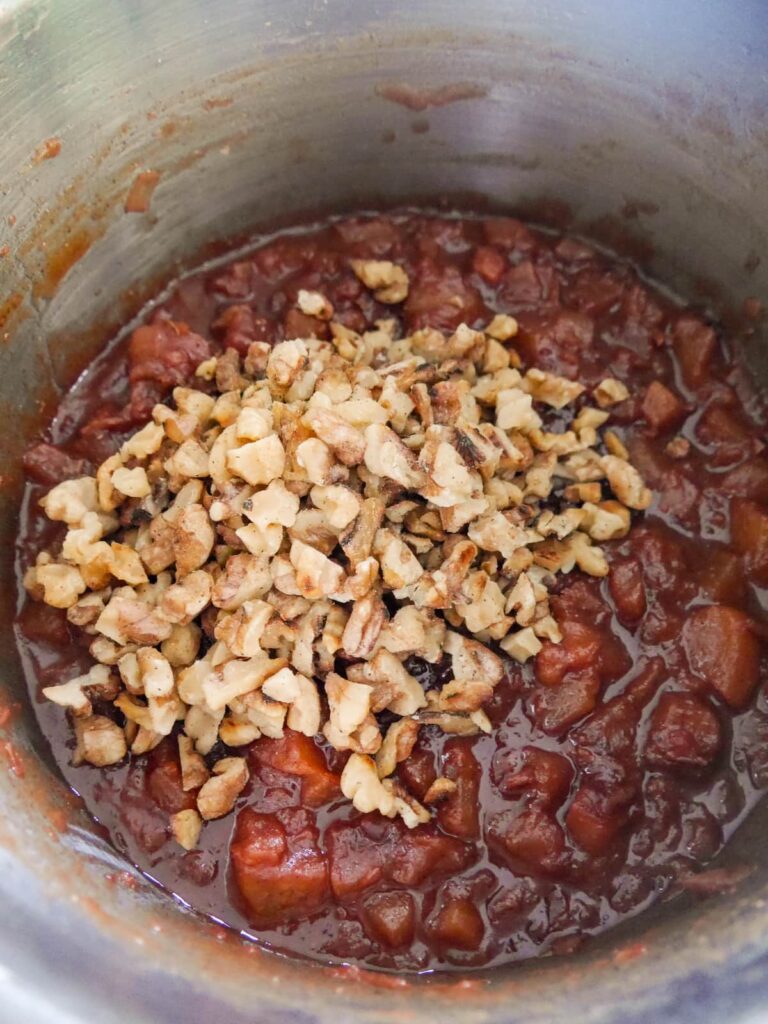
- You will know the chutney is ready when you pull a wooden spoon through the mixture, and it remains separate and does not run together again.
- Once the chutney is ready stir through the toasted walnuts, ensuring they are well combined and spread through the chutney.


- Place a jam funnel over the mouth of the jar and carefully ladle in the chutney.
- Fill each jar, leaving a little space at the top, and carefully cover with a wax disc.
- Using oven gloves, place the lid on the jar and secure tightly.
- Set the jars aside to cool completely before labelling and storing in a cool, dark space.
How to sterilise jars?
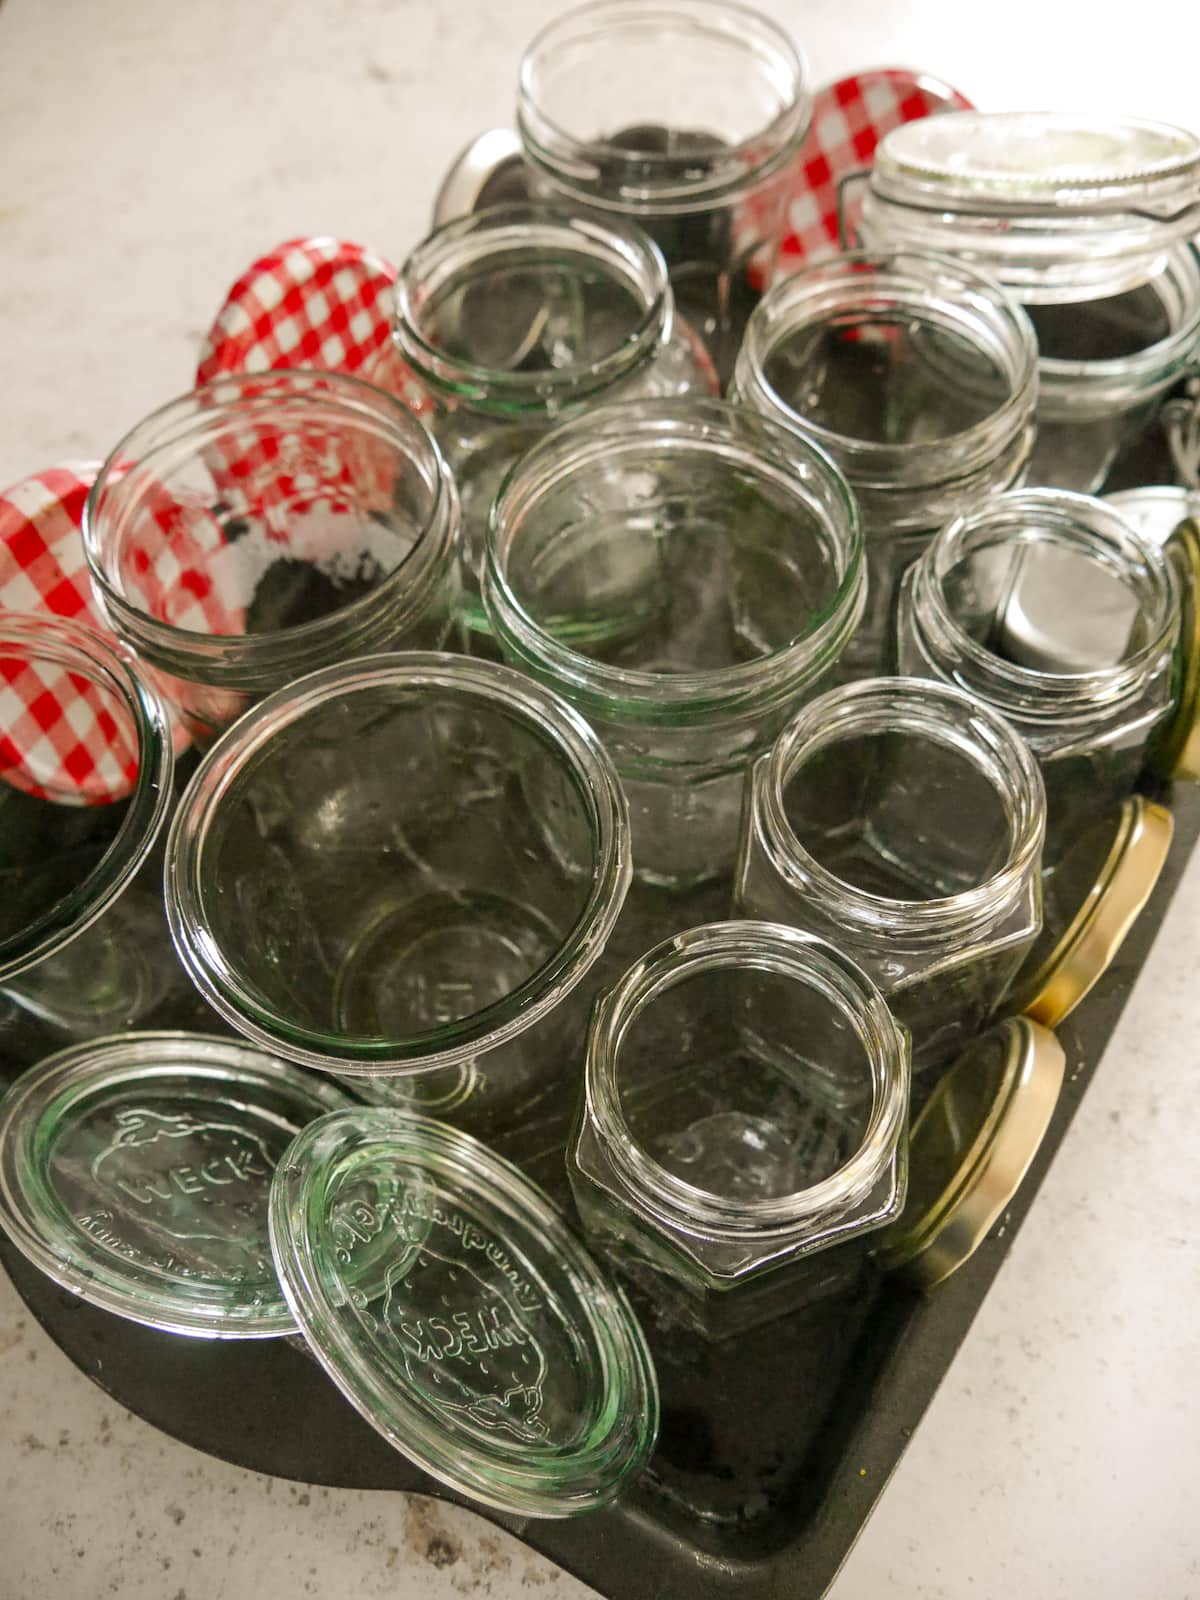
It is essential that before jarring or bottling any food for storage, that you sterilise the glass jar or bottle first. There are many methods for doing this, all of them relatively straight-forward:
- Firstly, you can wash the glass and lids in hot soapy water, rinse them (do not towel dry) and place on a tray in the oven at 160C/320F for 15 minutes, removing when you are ready to fill. This is my preferred method.
- You can put them through a dishwasher cycle, removing them from the dishwasher as soon as the cycle has finished and filling them with jam immediately afterwards. I use this method if my dishwasher happens to be going on.
- You can boil the jars and lids in a large pan for 10-15 minutes. [I’m never keen on this method as it involves boiling water and leads to a risk of scalding.]
- Finally, you can wash and rinse the glass jars, placing them into the microwave wet and then cooking them on high for 60 seconds. However, the lids would have to be boiled in a pan of water separately for 10-15 minutes as metal cannot go in the microwave. [I have never used this method as it involves 2 separate processes which I think is a bit of a faff!]
Recipe variations
- Fruit - I've chosen to combine pear with a little apple for acidity. You can leave the apple out altogether if you prefer, just make sure the total weight of fruit remains the same.
- Dried fruits - I love to add dates to chutney, they add a lovely sweetness. You could also add in other dried fruits like raisins or sultanas.
- Vinegar - I've opted for apple cider vinegar which enhances the overall flavour of apple in the chutney. White wine or sherry vinegar would be a great alternatives.
- Spices - you can use any combination of spices in this recipe. If there's a spice you don't like, leave it out. You could also use a spice blend like mixed spice or apple pie spice.
- Sugar - I like to use soft brown sugar as it adds a molasses flavour. You could also use dark soft brown sugar if you want to really enhance the molasses flavour, or regular granulated white sugar if you don't have brown sugar.
- Nuts - chopped nuts make a great addition to chutney, I've opted for walnuts, but pecans or hazelnuts would be great alternatives.
Serving suggestions
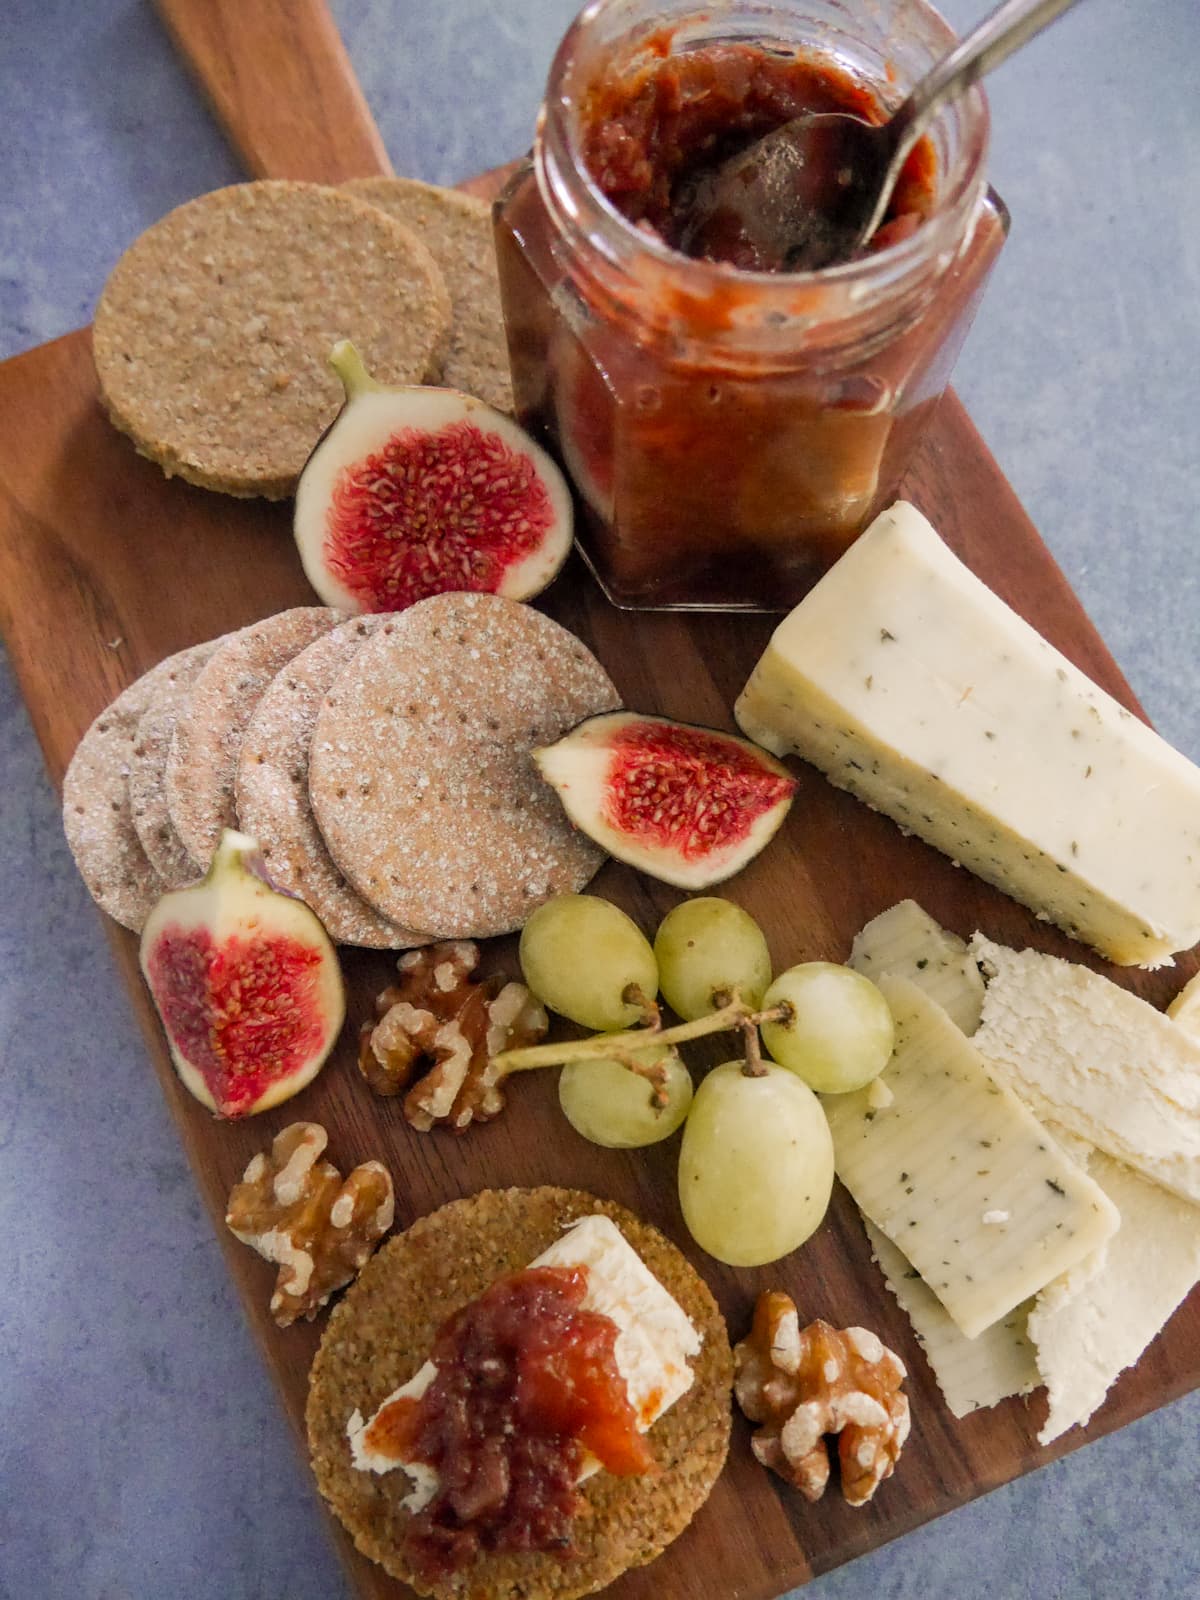
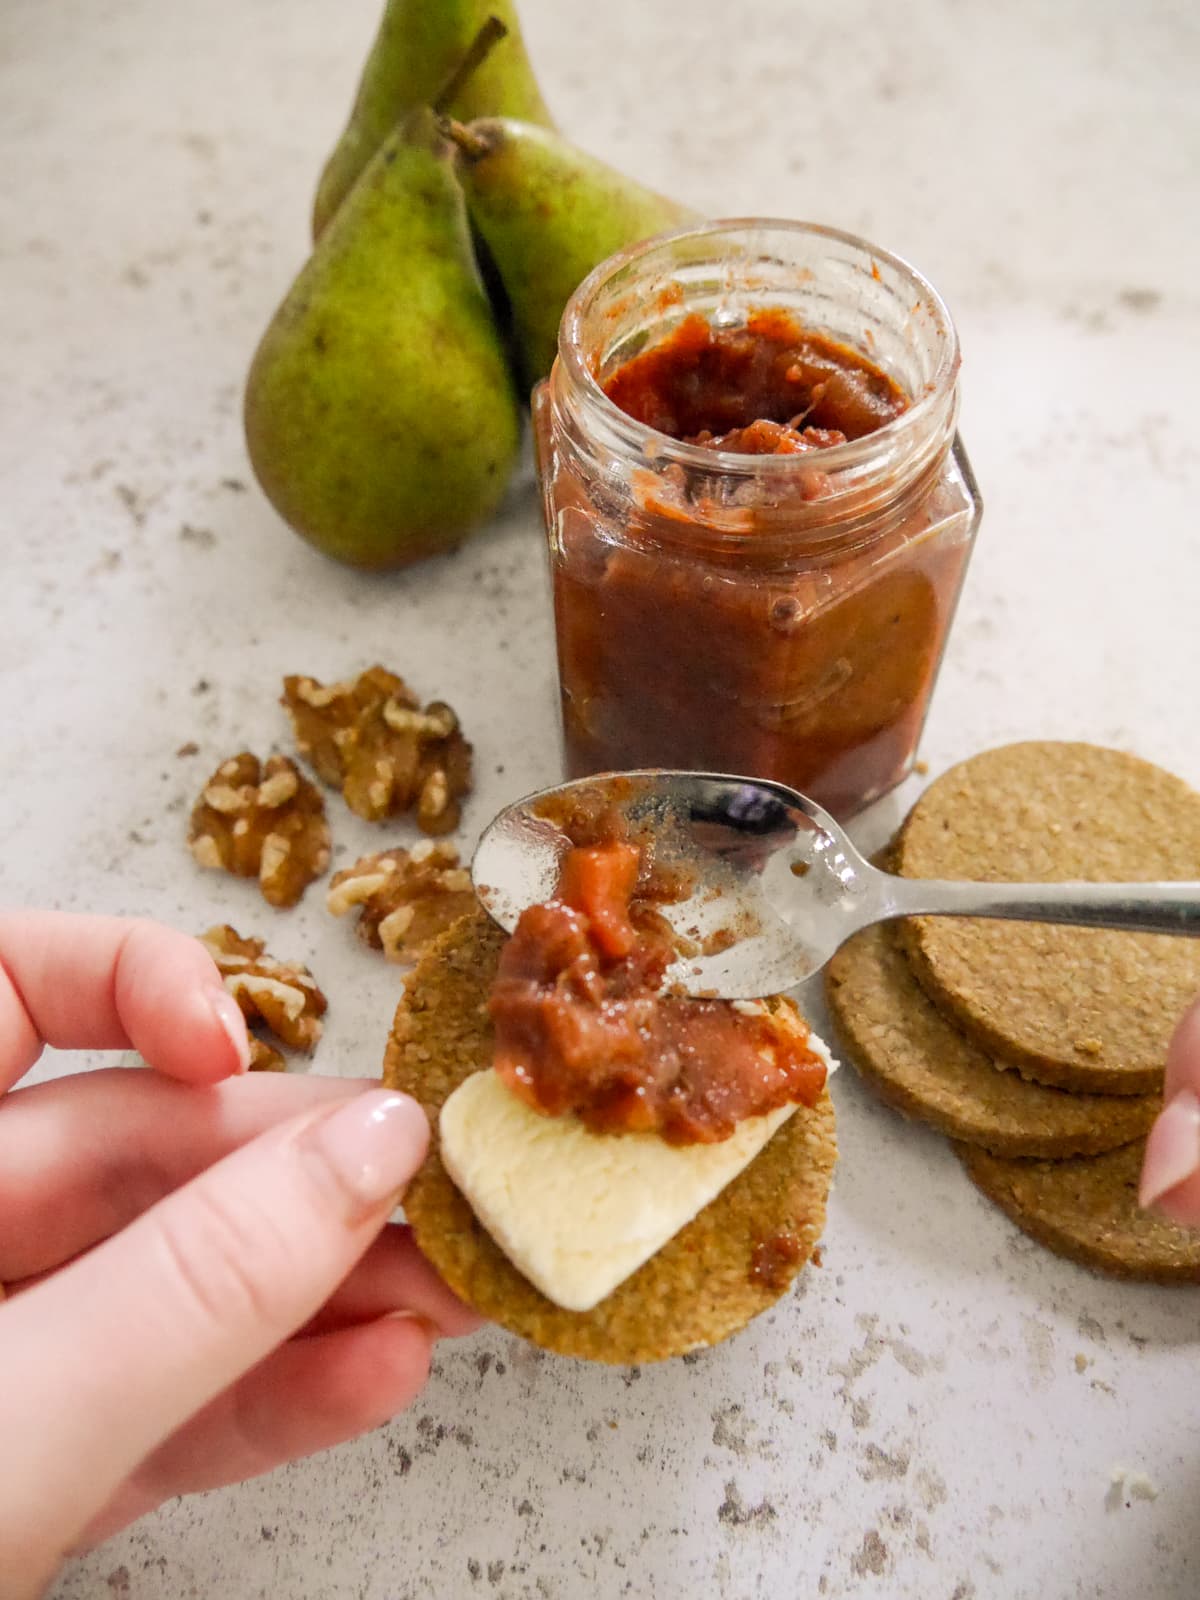
This pear and walnut chutney works really well on a cheeseboard with crackers and oat cakes, or on a cold cuts platter. It would also make a great addition to Ploughman's platter with some crusty bread.
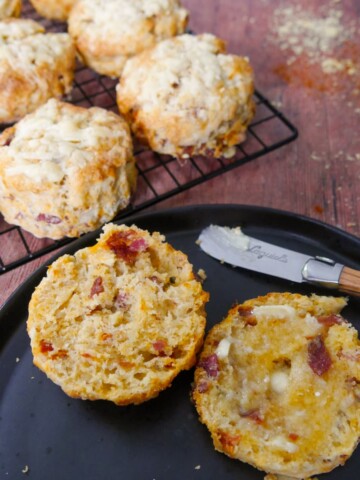
I also like to serve chutney with my Savoury Cheese Scones, replacing the jam with chutney and the cream with cream cheese!
Useful hints and tips
- Opt for firm fleshed fruit: When choosing fruit for chutney opt for fruit with a firm flesh, which will hold it's shape a better when cooked. If you use overly ripe fruit, you risk it breaking down too much which can make the chutney sloppy.
- Use a heavy bottomed pan: I always use a pan with a heavy base when making jams or chutneys. This is essential as it retains an even heat. Do not use a thin bottomed pan or you risk the chutney heating up too quickly, sticking and burning to the bottom!
- Use a wax jam/chutney disk: Place a wax disc over the top of the chutney, this helps keep the chutney fresh, stopping the air from spoiling it. Seal with a tight fitting lid and set aside to cool before labelling.
- Jars: This recipe will give you approximately 4 x 350g jars.
- Allow to sit: For the best flavour, try to leave the chutney to sit for at least 2 weeks before opening. This will allow the flavours to develop and meld together, resulting in a better tasting chutney.
- Containing no dairy this side dish is suitable for dairy free and vegan diners.
- For those with nut allergies leave the walnuts out altogether, you will still have a great tasting chutney.
- Allergy advice: gluten free, dairy free, egg free, soya free. For comprehensive and detailed allergy advice go to Allergy UK.
FAQs
Once jarred, cooled and tightly sealed, label the jars and place in a cool, dark place. Store unopened for up to 12 months. Once you open a jar, store it in the fridge for up to 4 weeks.
Take real care when decanting the hot chutney into jars, you do not want to burn yourself. I like to keep my sterilised jars in a metal baking tray with sides, that way if I do spill a little it doesn’t run everywhere.
I also recommend using a jam funnel. The funnel is placed on top of the empty jam jar. It has a wide lip which then funnels the hot chutney down into the jar.
Pin the recipe
Additional recipe suggestions
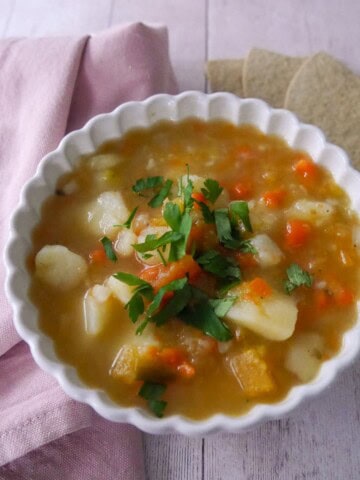
If you like this recipe then try some of my other preserve recipes:
- Spiced Pear & Apple Chutney
- Apple & Cranberry Chutney
- Spiced Plum Chutney
- Date & Tamarind Chutney
- Spicy Sweet Chilli Jam
- Blackberry (Bramble) Jelly
- Blackcurrant Jelly
- Apple Jelly

Pear & Walnut Chutney Recipe
Equipment
- chopping board
- Sharp kitchen knife
- weighing scales
- measuring spoons
- Measuring jug
- 1 large heavy based saucepan
- Wooden spoon
- 4 sterilised jar with lids
- 4 wax jam/chutney disks
Ingredients
- 800 g pears (approx 6/7, peeled, cored and cut into 1cm pieces)
- 280 g apples (approx ⅔, peeled, cored and cut into 1cm pieces)
- 200 g pitted dates (finely chopped)
- 250 g onion (roughly 1 large, finely diced)
- 400 ml apple cider vinegar
- 200 g soft brown sugar
- 1 tablespoon ground ginger
- 1 tablespoon ground cinnamon
- ½ teaspoon ground nutmeg
- 1 teaspoon sea salt
- 100 g walnuts (chopped)
Instructions
- Take time to peel and core the apples and pears, then cut into even sized 1cm pieces.
- If not using pitted dates, remove and discard the pits, then chop the dates into small pieces.
- Place the pears, apples and dates into a large heavy bottomed saucepan, along with the onion, vinegar, brown sugar, ground spices and salt. Give everything a stir.
- Place the saucepan over the heat, bring to a boil, then turn the pan down low and simmer gently for 1 hour to 1 hour 15 minutes, until the chutney is soft and has a jam like consistency.
- While the chutney is cooking, lightly toast the chopped walnuts in a dry non stick pan. Keep the nuts moving to stop them from burning. Once toasted remove the nuts from the heat and set aside.
- You should also sterilise the chutney jars while the chutney is bubbling away.
- You will know the chutney is ready when you pull a wooden spoon through the mixture, and it remains separate and does not run together again.
- Once the chutney is ready stir through the toasted walnuts, ensuring they are well combined and spread through the chutney.
- Place a jam funnel over the mouth of the jar and carefully ladle in the chutney.
- Fill each jar, leaving a little space at the top, and carefully cover with a wax disc.
- Using oven gloves, place the lid on the jar and secure tightly.
- Set the jars aside to cool completely before labelling and storing in a cool, dark space.
Notes
- There are big differences when it comes to fruit, so jams and chutneys are not a precise science. You can never really account for the water content in the fruit used, particularly pears which have a very high juice content. For this reason I only ever use just ripe pears which are still firm, anything softer than that and the pears are too watery.
- If the chutney looks to be too liquid because the pears have released a lot of juice, I suggest ladling some off to reduce the amount of liquid in the pan.
- I always use a pan with a heavy base when making jams or chutneys. This is essential as it retains an even heat. Do not use a thin bottomed pan or you risk the chutney heating up too quickly, sticking and burning!
- This recipe will give you approximately 4 x 350g jars.
- Once jarred, cooled and tightly sealed, label the jars and place in a cool, dark place. Store unopened for up to 12 months.
- For the best flavour, try to leave the chutney to sit for at least 2 weeks before opening. This will allow the flavours to develop and meld together, resulting in a better tasting chutney.
- Once you open a jar, store it in the fridge for up to 4 weeks.
• Please note that the nutrition information provided above is approximate and meant as a guideline only •

Janice says
I love the flavour that the walnuts bring to this chutney. It's so good with cheese.
Lesley says
Thank you Janice, I love adding nuts to chutney for a bit of crunch and texture.
Cat says
Such lovely warming flavours that really compliment each other. Love the texture of the walnuts.
Lesley says
Thank you Cat, I love adding the walnuts for a bit of crunch.
Sisley White - Sew White says
I've made loads of this delicious chutney to give as gifts. Perfect thing for edible Christmas gifts.
Lesley says
Thank you Sisley, I've made some to share as gifts too.
Chloe says
You're always reminding me of the joy of nuts! The walnuts were such a great addition, I'll make more before Christmas!
Lesley says
Thank you Chloe, I'm glad you enjoyed the chutney, it's my favourite. I do love adding nuts for crunch and texture, perfect for the Christmas cheeseboard.